Bakery Photoshoot Ideas: Shoot Your Pastry Case Like a Pro
 Ali Tanis27 min read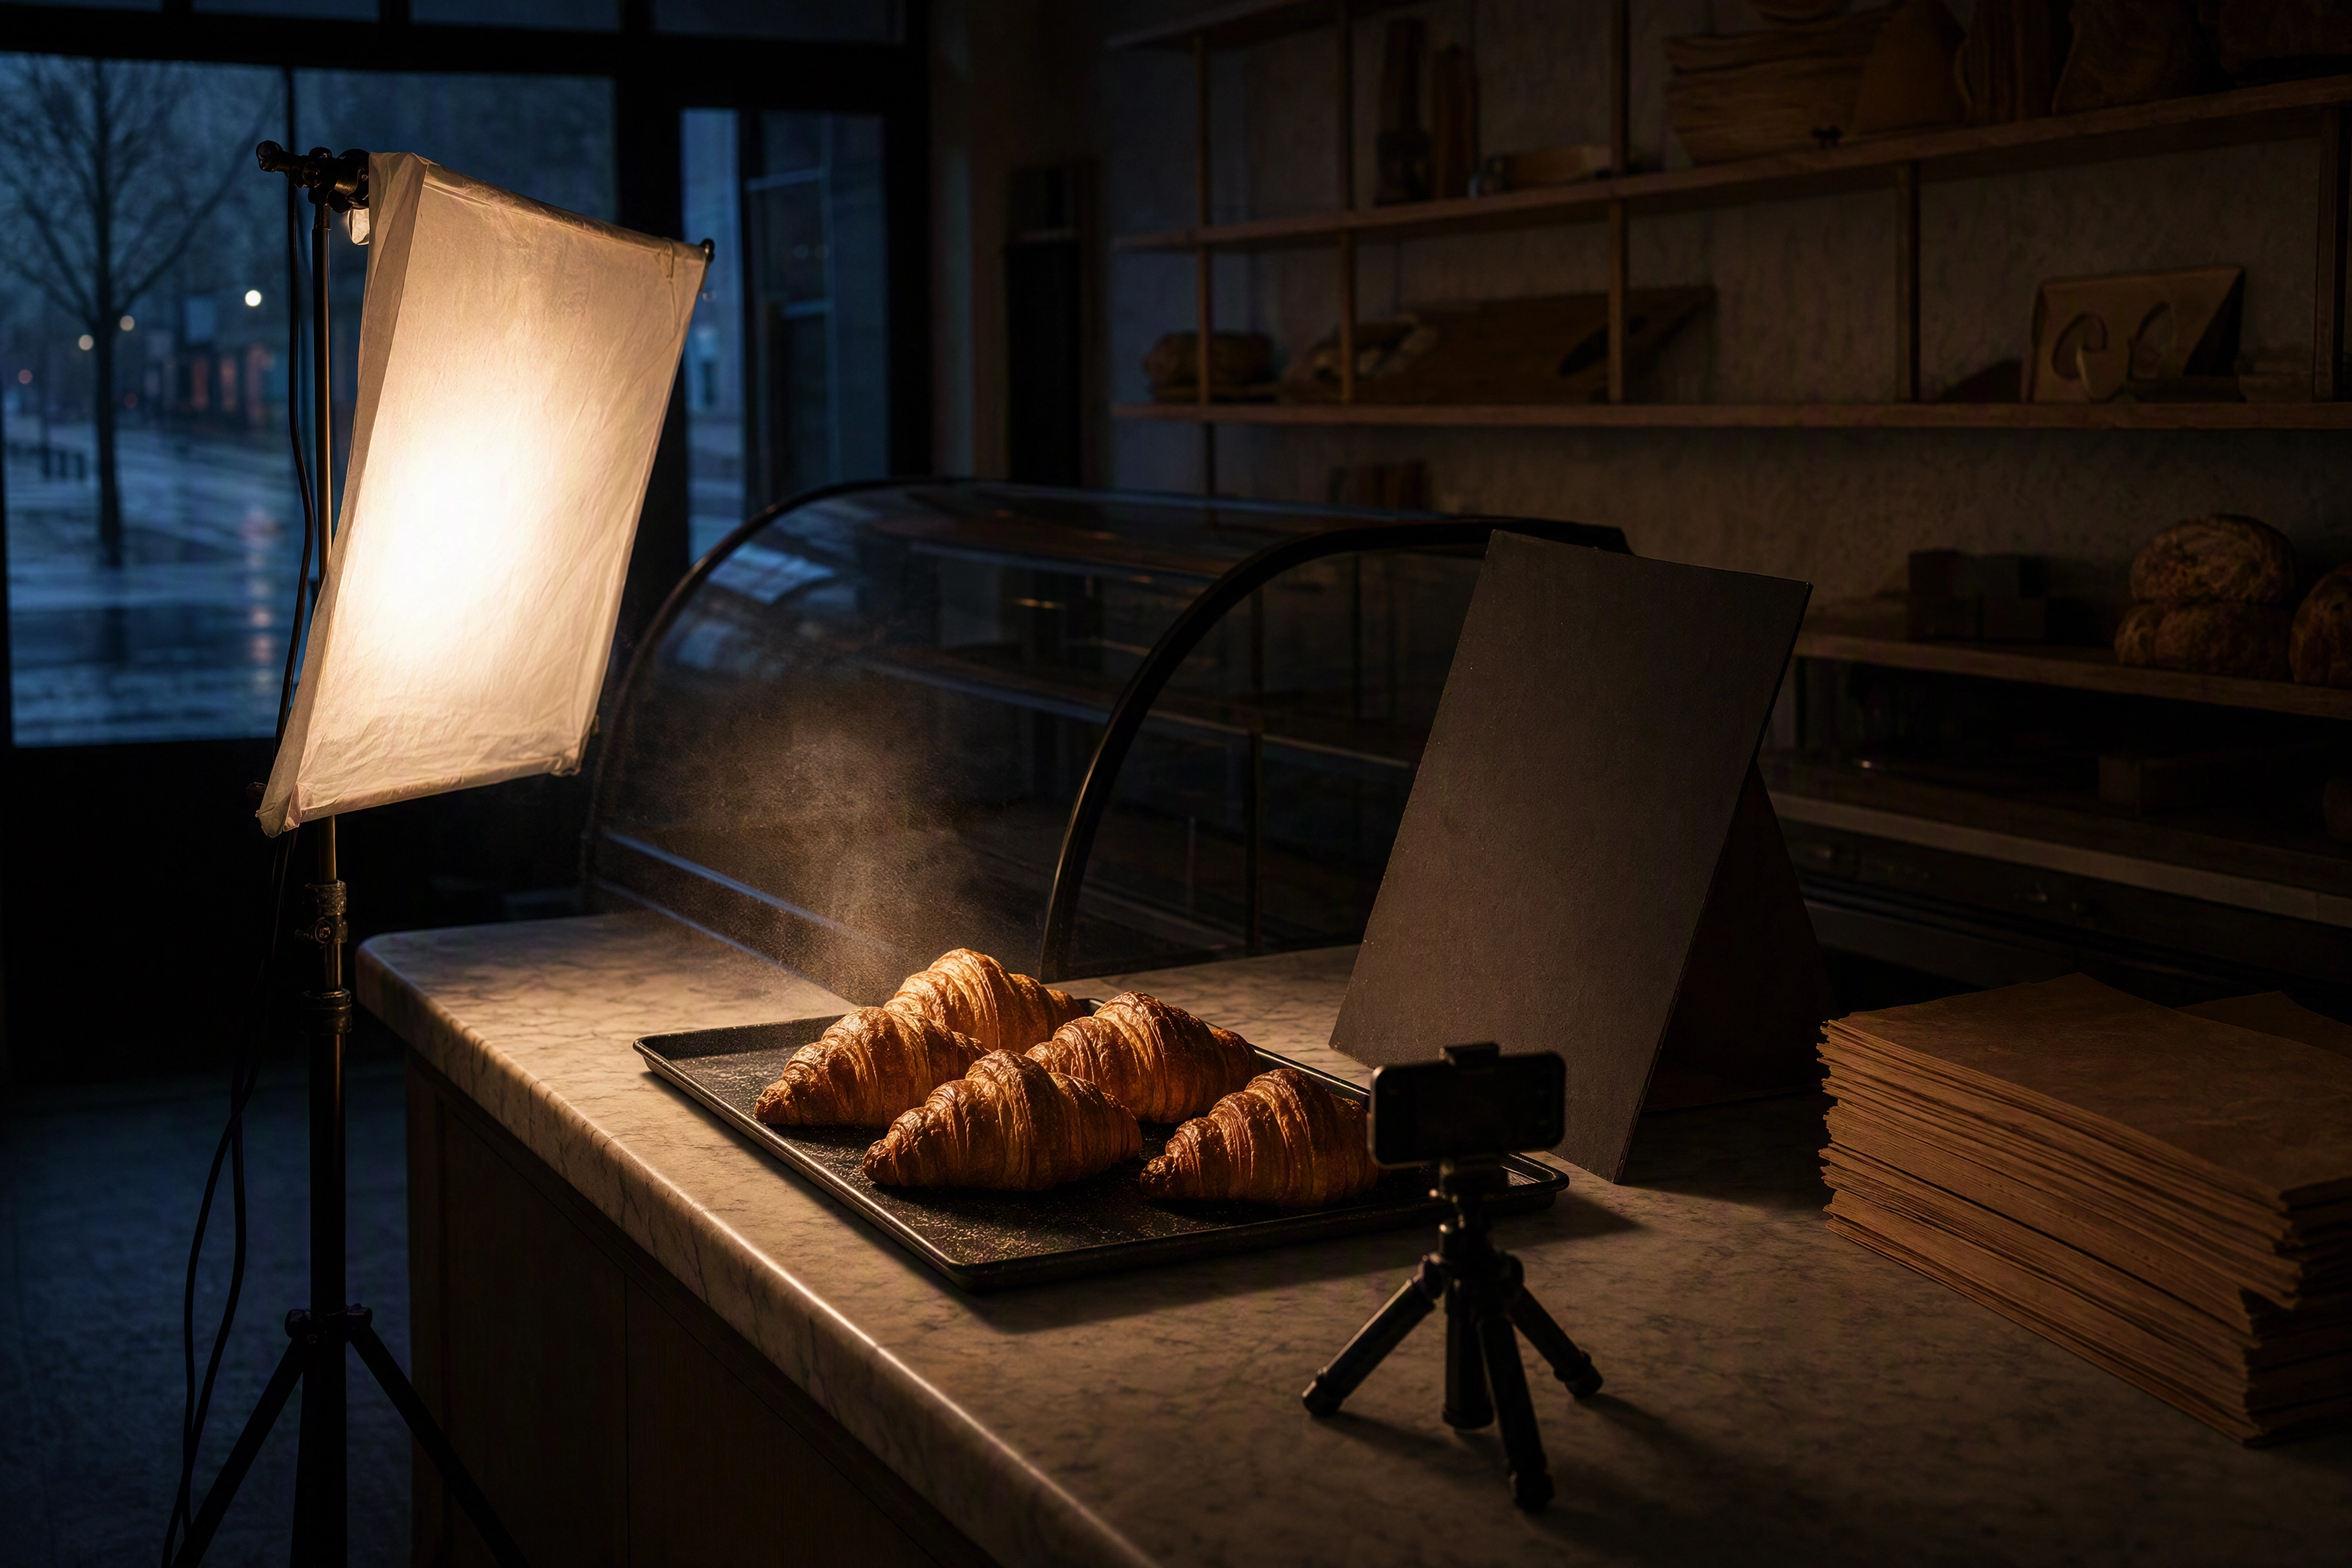
Search for bakery photoshoot inspiration and you get a mood board: pin boards, tagged reels, portfolio pages, thousands of beautiful frames with no instructions attached. Gorgeous, and completely useless at 5:12 on a Tuesday morning when the case is loaded, the doors open in forty minutes, and the only light in the building is the strip under the display glass.
This is the other thing. A shot list you can work through in one morning, a timetable that fits between the last bake and the unlock, and three problems your shop has that a studio photographer never has to solve.
Quick Summary: A bakery photoshoot is a production day inside a working shop, not a lighting course. Six setups cover almost everything a bakery needs — the full case lineup, a single hero pastry, a cross-section, a process frame, the counter, and the window — and the whole set fits in the 30 to 45 minutes between the last bake and opening. Plan around the three real constraints: no daylight at 5am, the best of the range sold out by 10, and glass that reflects the entire room.
A bakery photoshoot is not the same job as baking photography
These two get lumped together and they are different jobs with different deliverables.
Baking photography is a craft problem. It's about light falling across a crust, styling raw butter and flour, freezing a cloud of dust mid-air, catching steam off a loaf as the oven door swings. If that's what you're after, our baking photography guide covers the technique properly, and it is a genuinely different discipline from what follows here.
A bakery photoshoot is an operations problem. You have one morning, one venue, somewhere between 20 and 50 items in rotation, a curved glass case, a counter, a street window, and a staff roster that does not care about your tripod. Nobody is asking you to become a photographer. You're running a short production inside a business that opens on time regardless.
That difference decides everything downstream. A craft session optimises for one perfect frame. A bakery photoshoot optimises for coverage: every line captured once, consistently, in a way you can reuse for six months across a menu board, a delivery listing, a window poster and a local search profile. Most bakery photography ideas circulating online are photographer-led — beautiful, slow, single-subject. What follows is operator-led, which means the mistakes and the clock get equal billing with the aesthetic.
Both jobs are worth doing. But if you only have one morning, run the bakery photoshoot first — it produces images you can put in six different places by Friday.
The six-shot bakery photoshoot lineup
Almost every bakery needs the same six setups. Everything else is a variation on one of them.
For each, here's the setup in a line, the mistake that ruins it, and where the frame ends up. Shoot all six and you have a library that covers your menu, your storefront, your socials and your seasonal campaigns for the next two quarters. These are the photography ideas bakery owners will still be using in six months, not the ones that only work in a studio. Work through all six in a single bakery photoshoot and you cover more ground than a year of scattered bakery photography ideas.
1. The full case lineup
Take the whole range out of the case and shoot it on one surface, under one light, from one angle. A catalogue in a single sitting.
Lay a sheet of unbleached baking paper over a stainless bench. Put the camera directly overhead. Space items evenly — roughly a fist of gap between each — and keep the scale honest so a croissant next to a canelé reads at true relative size. Twelve to sixteen items per frame is the practical ceiling before everything gets small. Shoot two or three frames if your range is bigger.
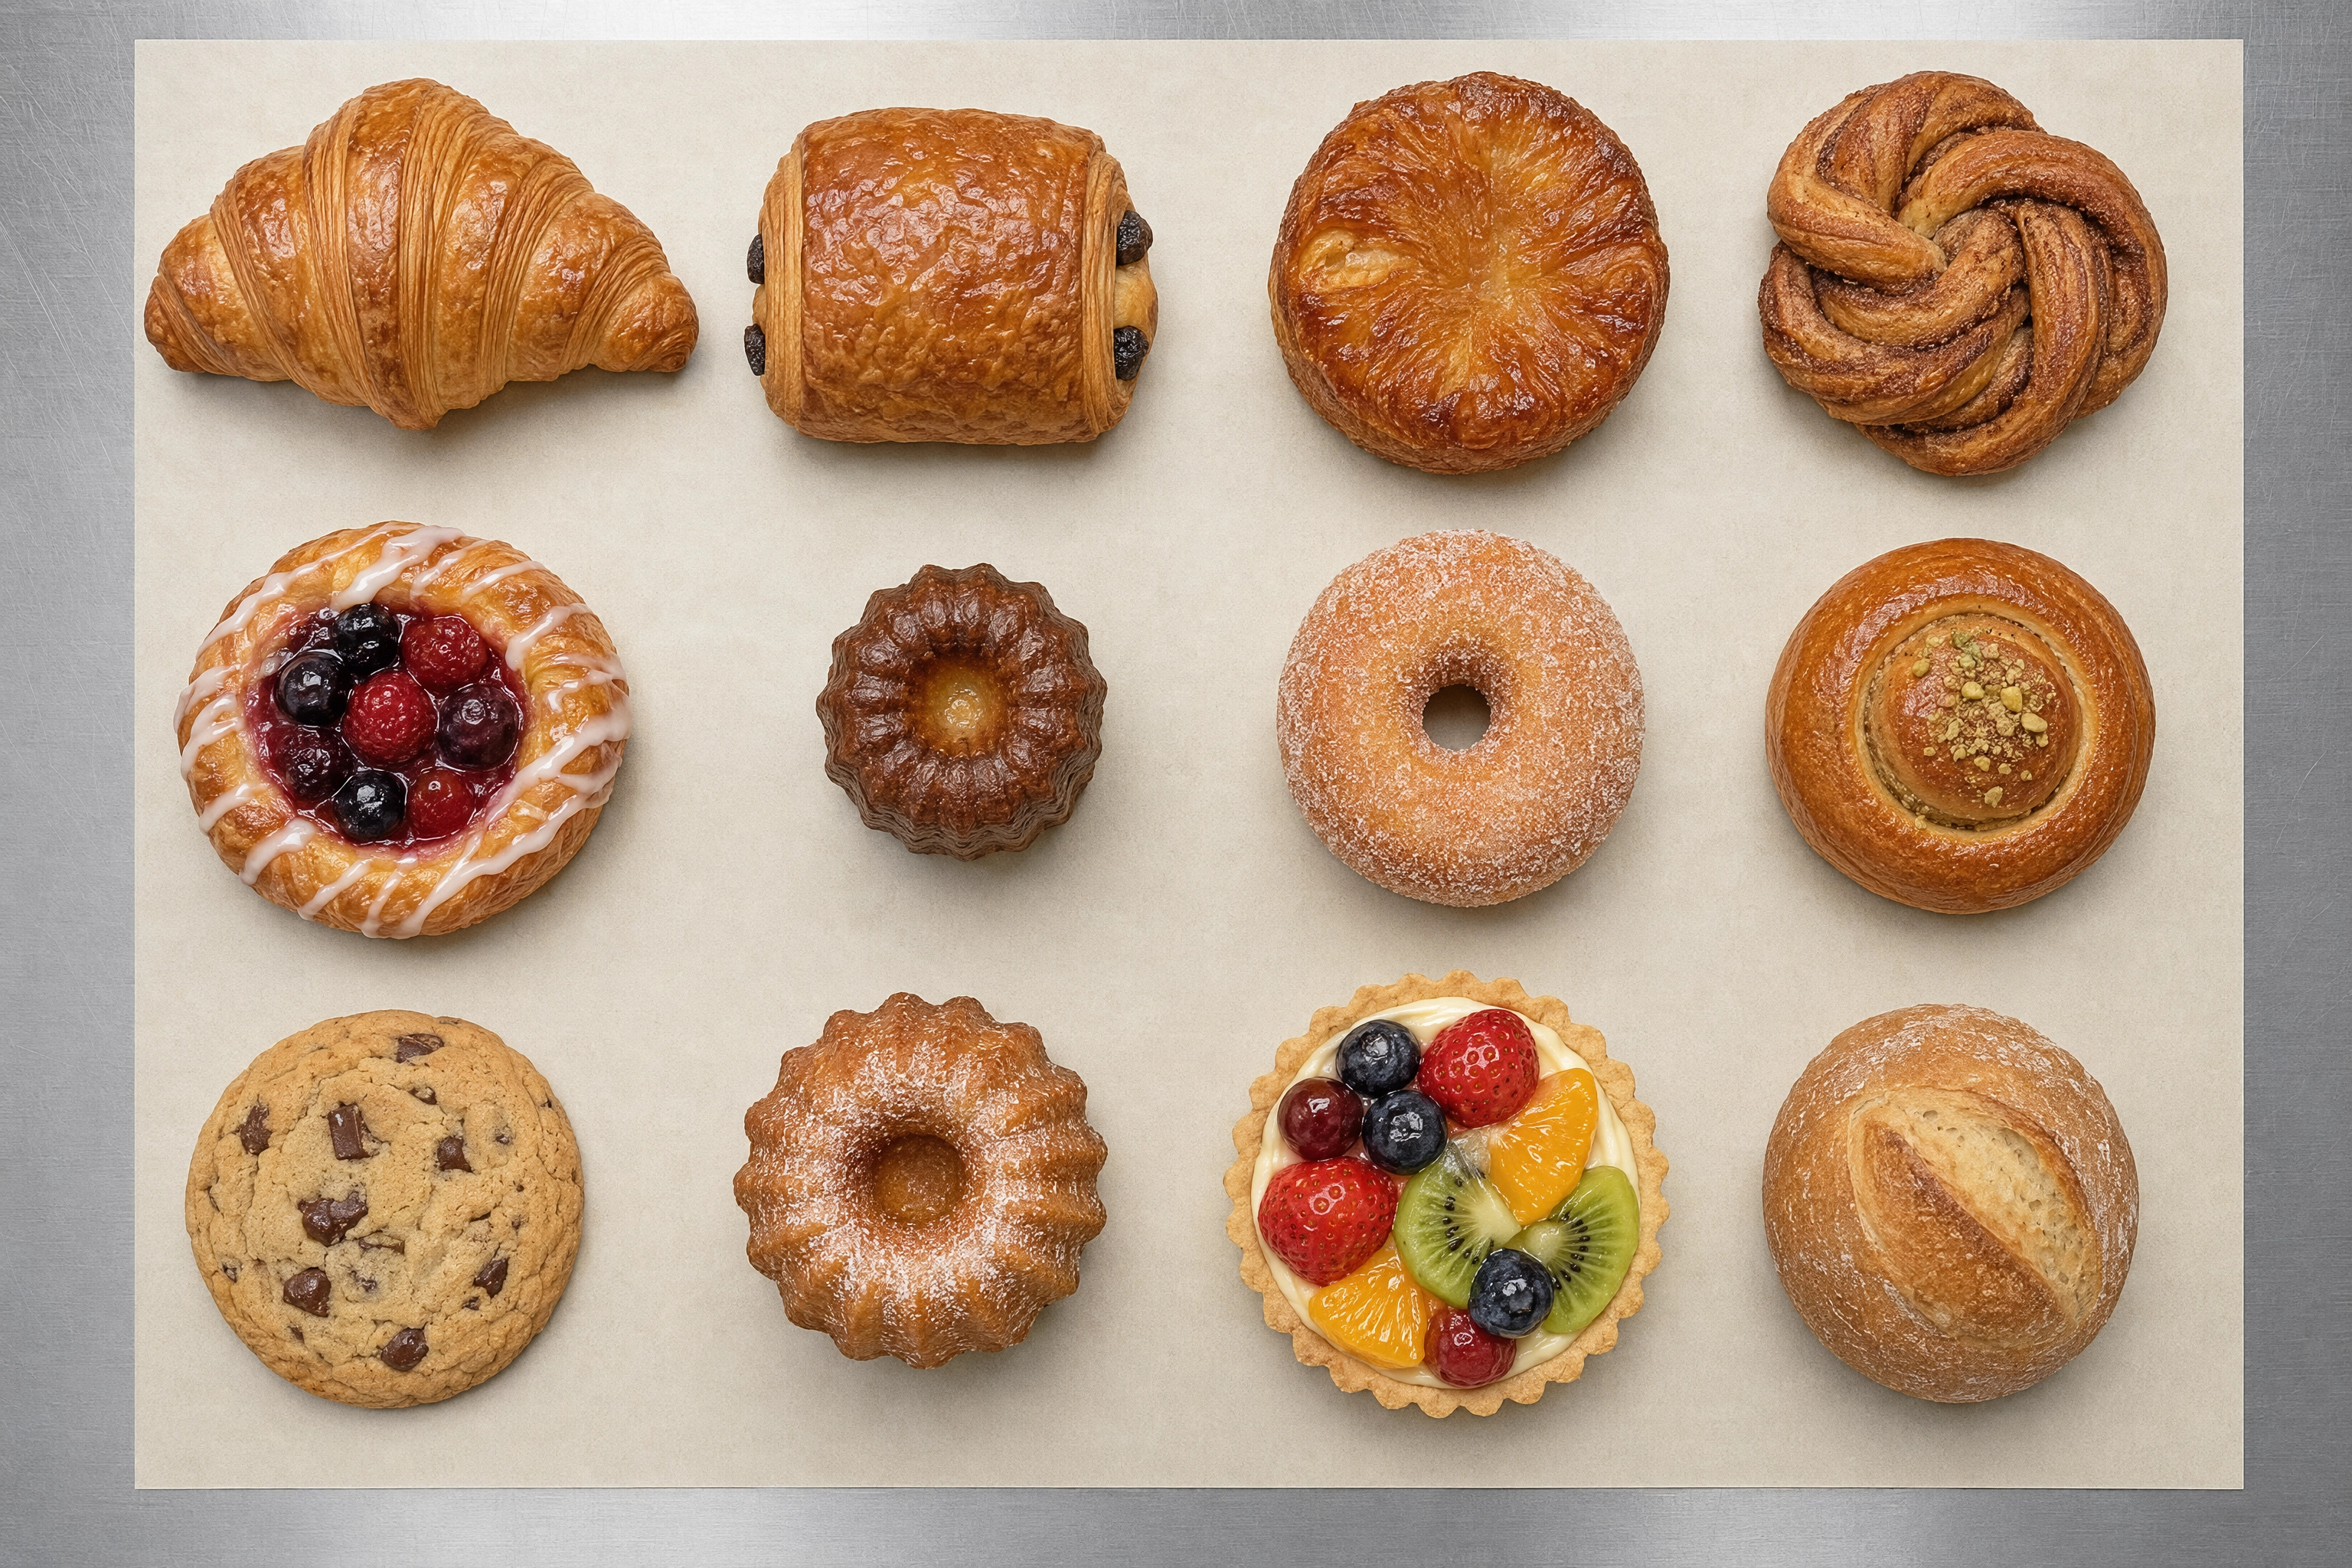 Overhead bakery photoshoot lineup of twelve pastries evenly spaced on parchment for a product catalogue
The mistake: shooting the lineup through the glass while it's sitting in the case. It's the single most common bakery photoshoot error and it wastes the best asset you have, which is that your entire range is already made, already fresh, and already in one place.
Lock the camera height and note it. When the autumn range lands, you re-shoot the same geometry and the two grids sit next to each other on the menu without a redesign.
Lands on: the website menu, a printed board, a seasonal grid post, wholesale sheets. Not a delivery tile — multi-item frames get rejected there.
2. The single hero laminated pastry
One croissant. One hard light raking in almost parallel to the surface. One black card on the opposite side to keep the shadows deep.
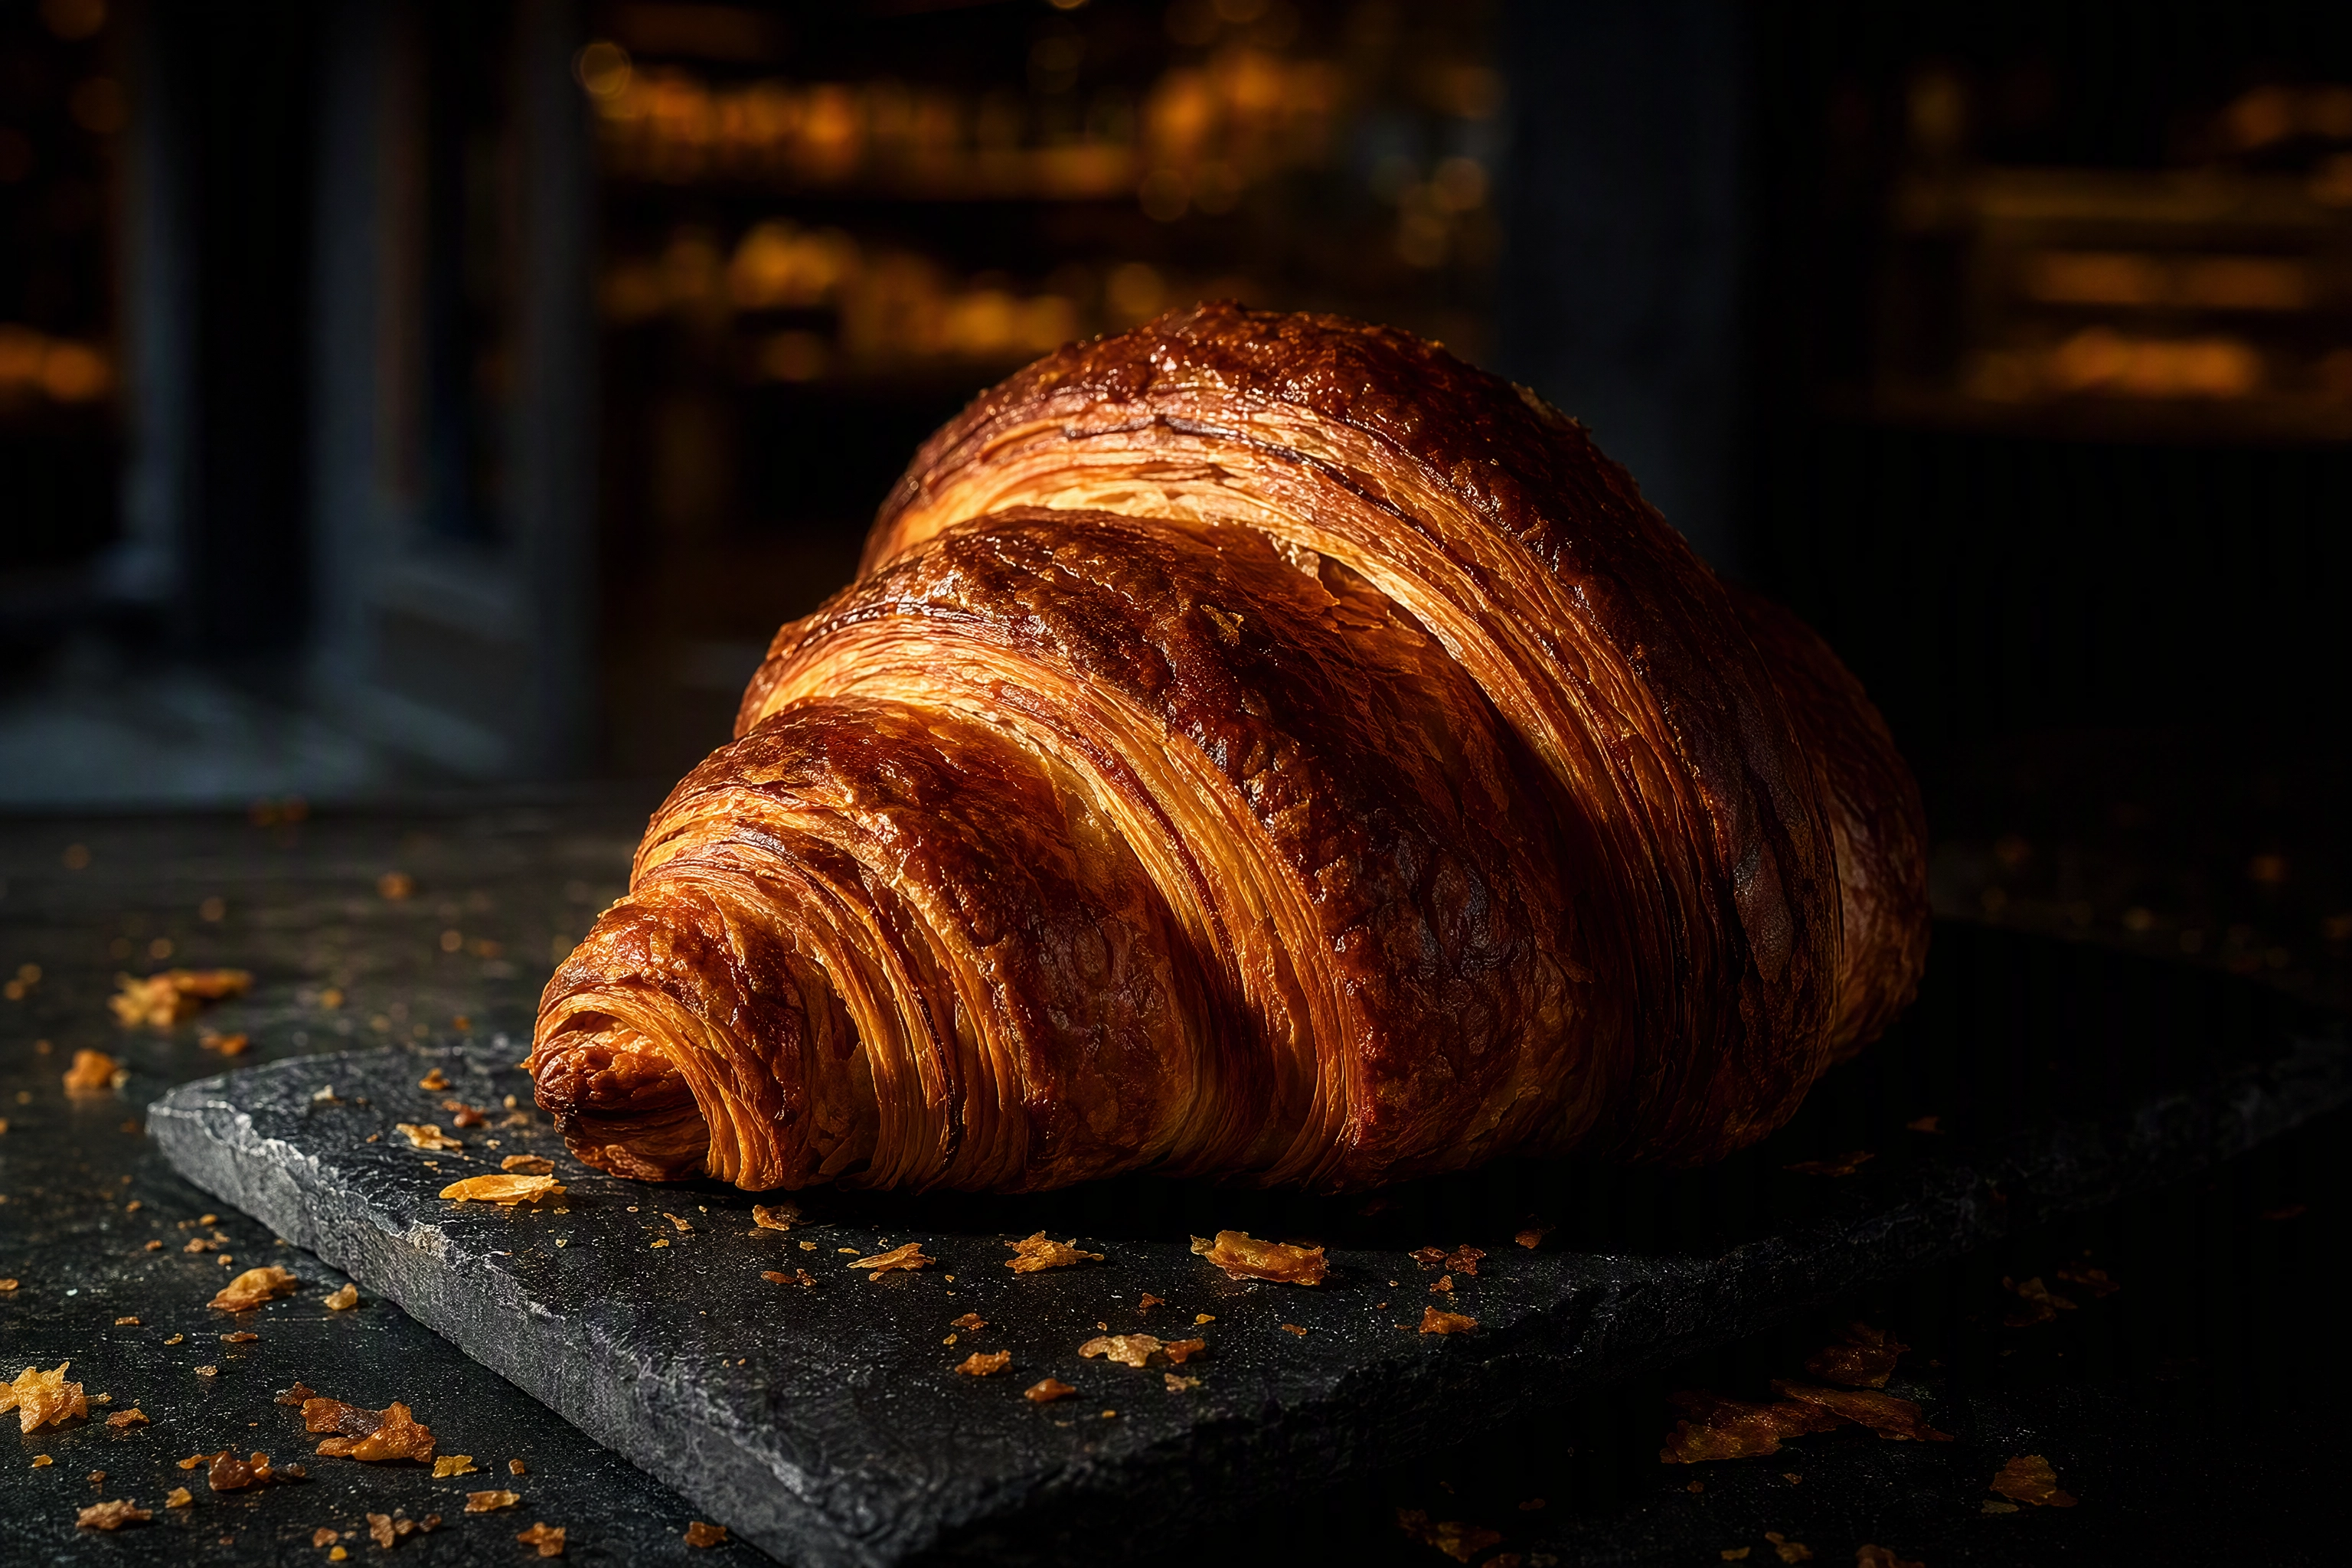 Single croissant lit by hard raking side light showing lamination ridges and flaked crust in a dark bakery
A croissant carries 27 or 81 layers depending on how many turns you give it, and the arithmetic drops lower still once you subtract the layers lost where dough touches dough. Whatever the number, the light has to show them. Raking side light carves each ridge into relief. Flat frontal light erases all of it.
Shoot from a low three-quarter angle, roughly 20 to 30 degrees above the bench, never from overhead. Lamination reads on the flank; the shattered flake reads on the edge. Overhead turns your best pastry into a beige crescent.
Pick the specimen deliberately. Your bakers already know which tray came out best — the tightest spiral, the most blistered crust, the honey-coloured tips. Ask them, then hold that one back.
The mistake: on-camera flash. It flattens every ridge you spent four hours laminating.
Lands on: delivery menu tiles, hero banners, paid ad creative, the top of your own menu.
Related: pastry and dessert photography for the plated end of the range.
3. The cross-section crumb shot
This is the proof shot. It's the frame that says the inside is as good as the outside, and it's the one most bakeries never take.
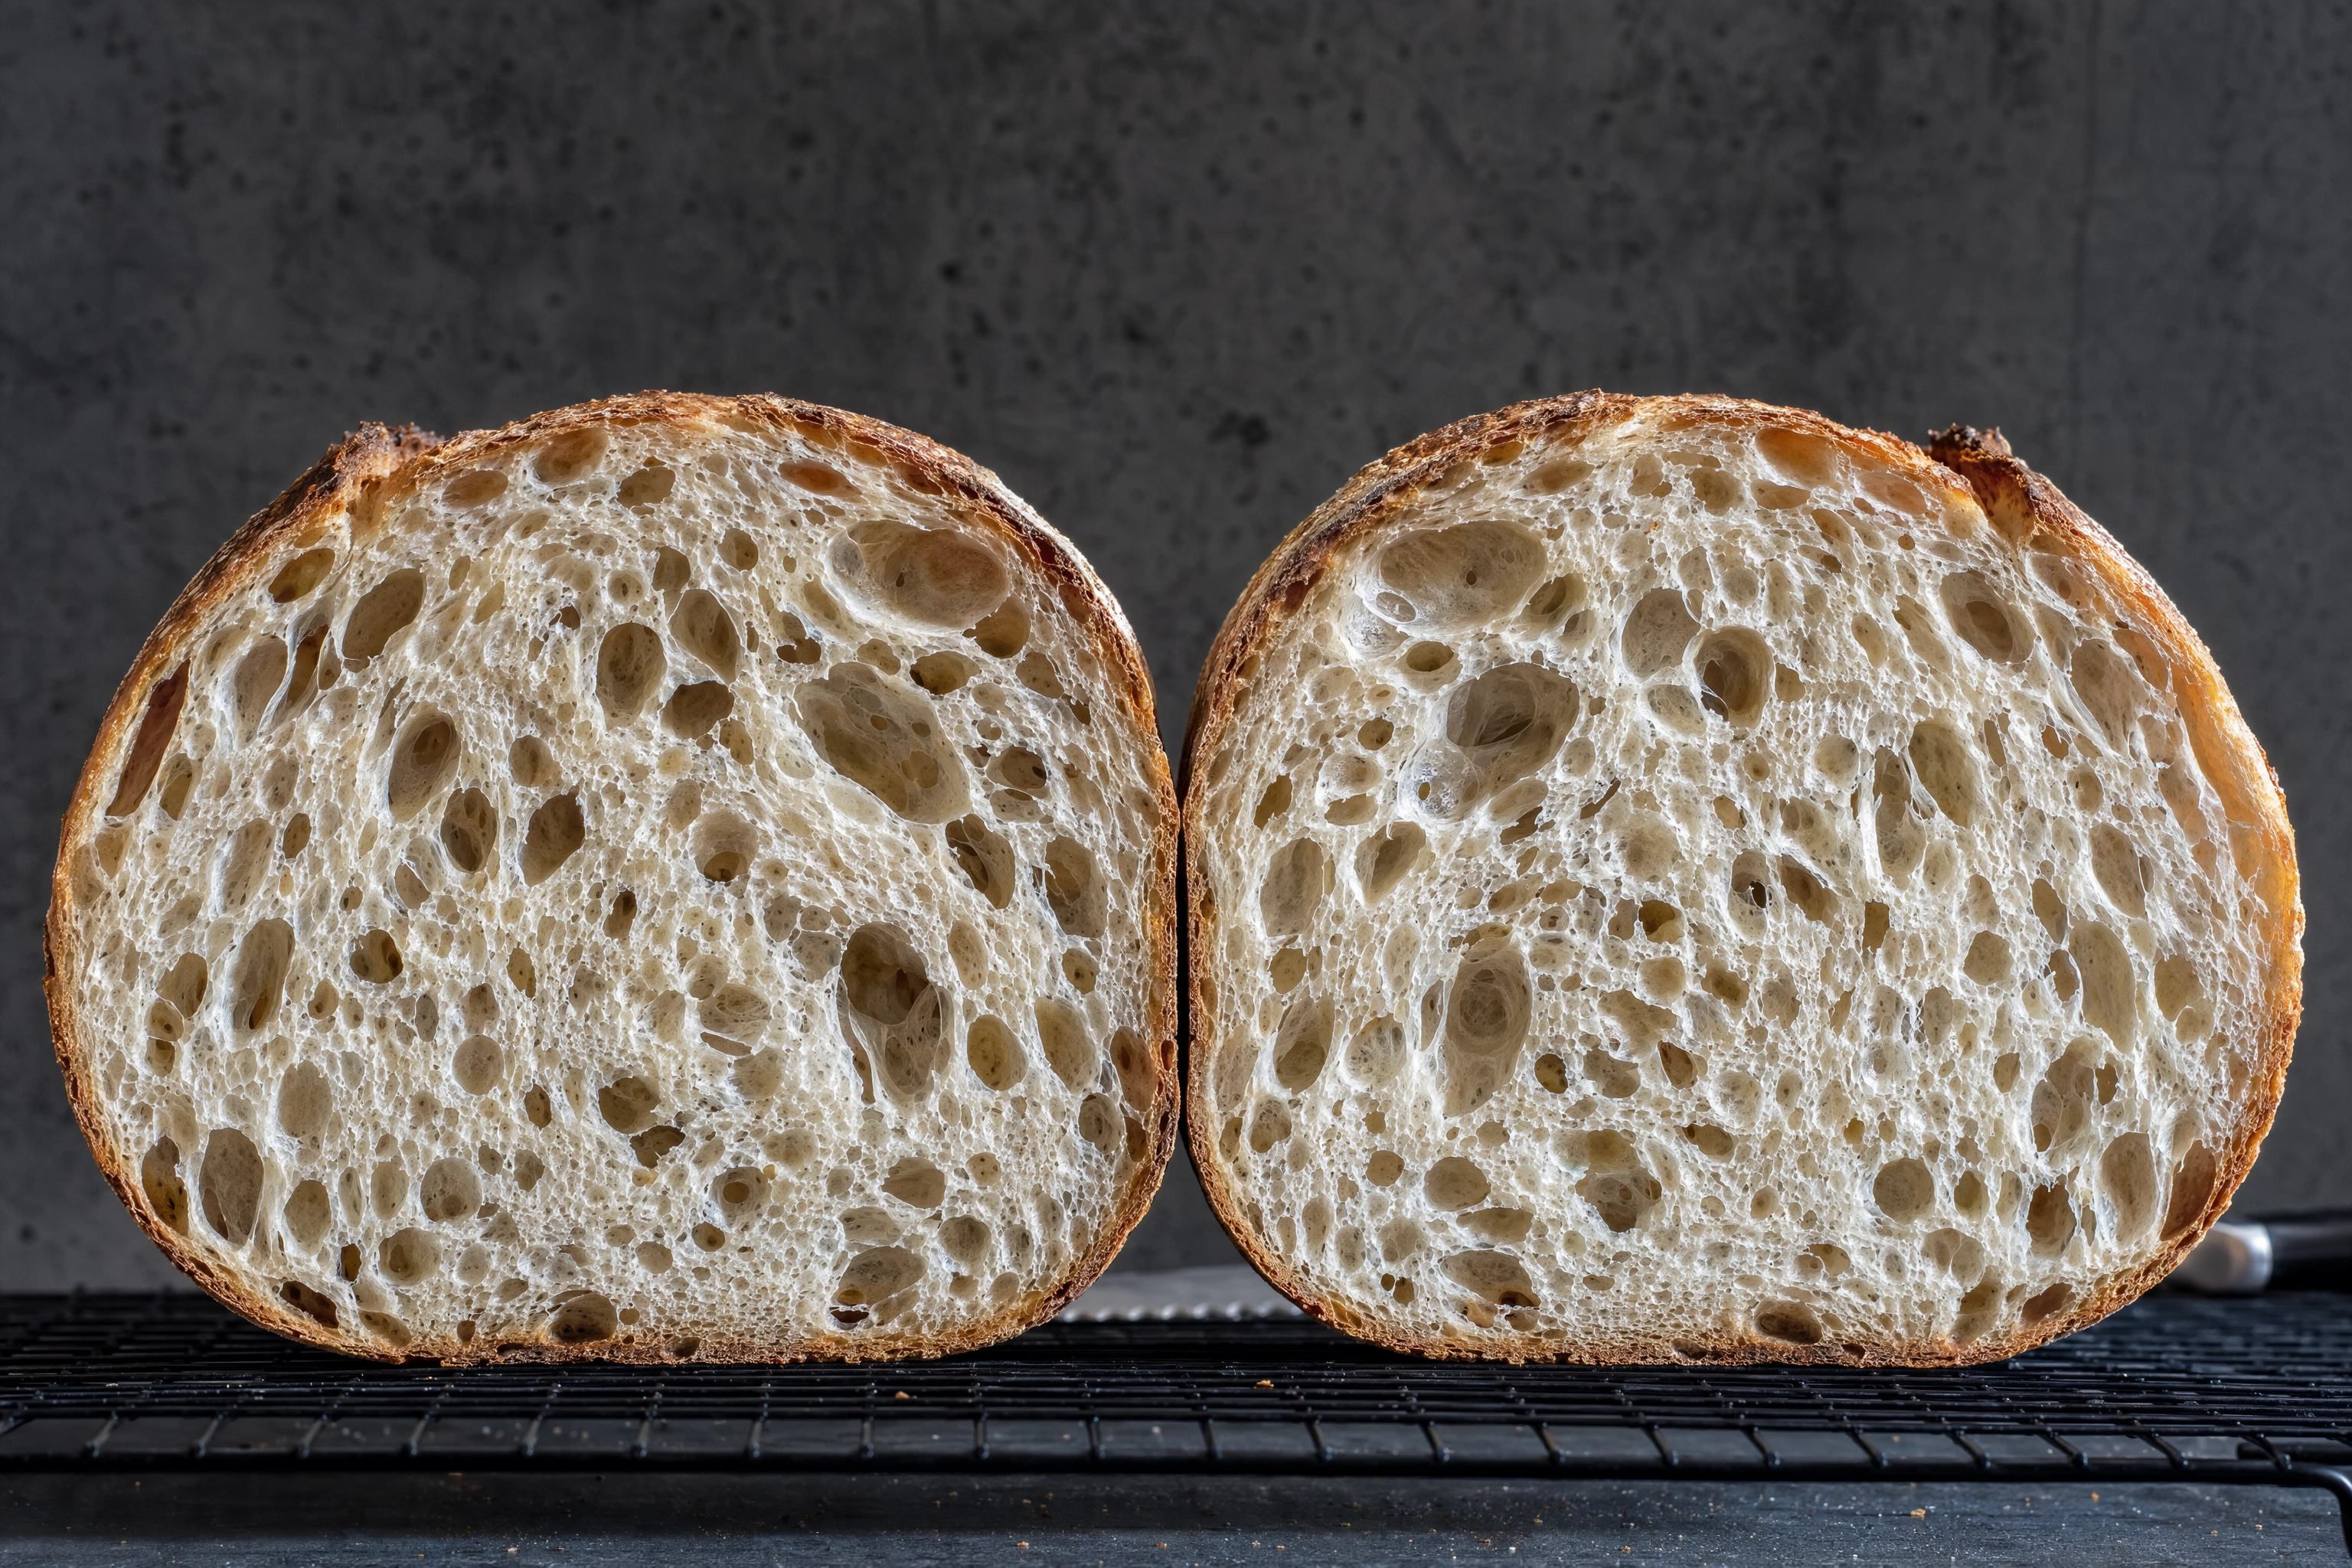 Cross-section crumb shot of a halved sourdough loaf with the cut face square to camera under skimming light
Cut the item, stand the cut face square to the camera, and light it from the side so the beam skims across the surface. Every open hole and translucent gluten wall throws a small shadow, and the crumb structure becomes visible instead of implied.
Three rules make or break it. Use a fully cooled loaf — warm bread smears and gums under the blade. Use a serrated knife and one clean pass, not a sawing motion. And shoot immediately: a cut face starts drying and dulling within a couple of minutes, and no amount of editing brings it back.
It works far beyond bread. A halved laminated pastry, a slice of layer cake, a filled donut torn open, a stuffed cookie pulled apart — same principle, same light, completely different frame each time.
Related: bread photography and cake photography for the item-specific versions.
4. The 4am process shot
Bakeries have the best behind-the-scenes material in the entire food business and almost none of them use it.
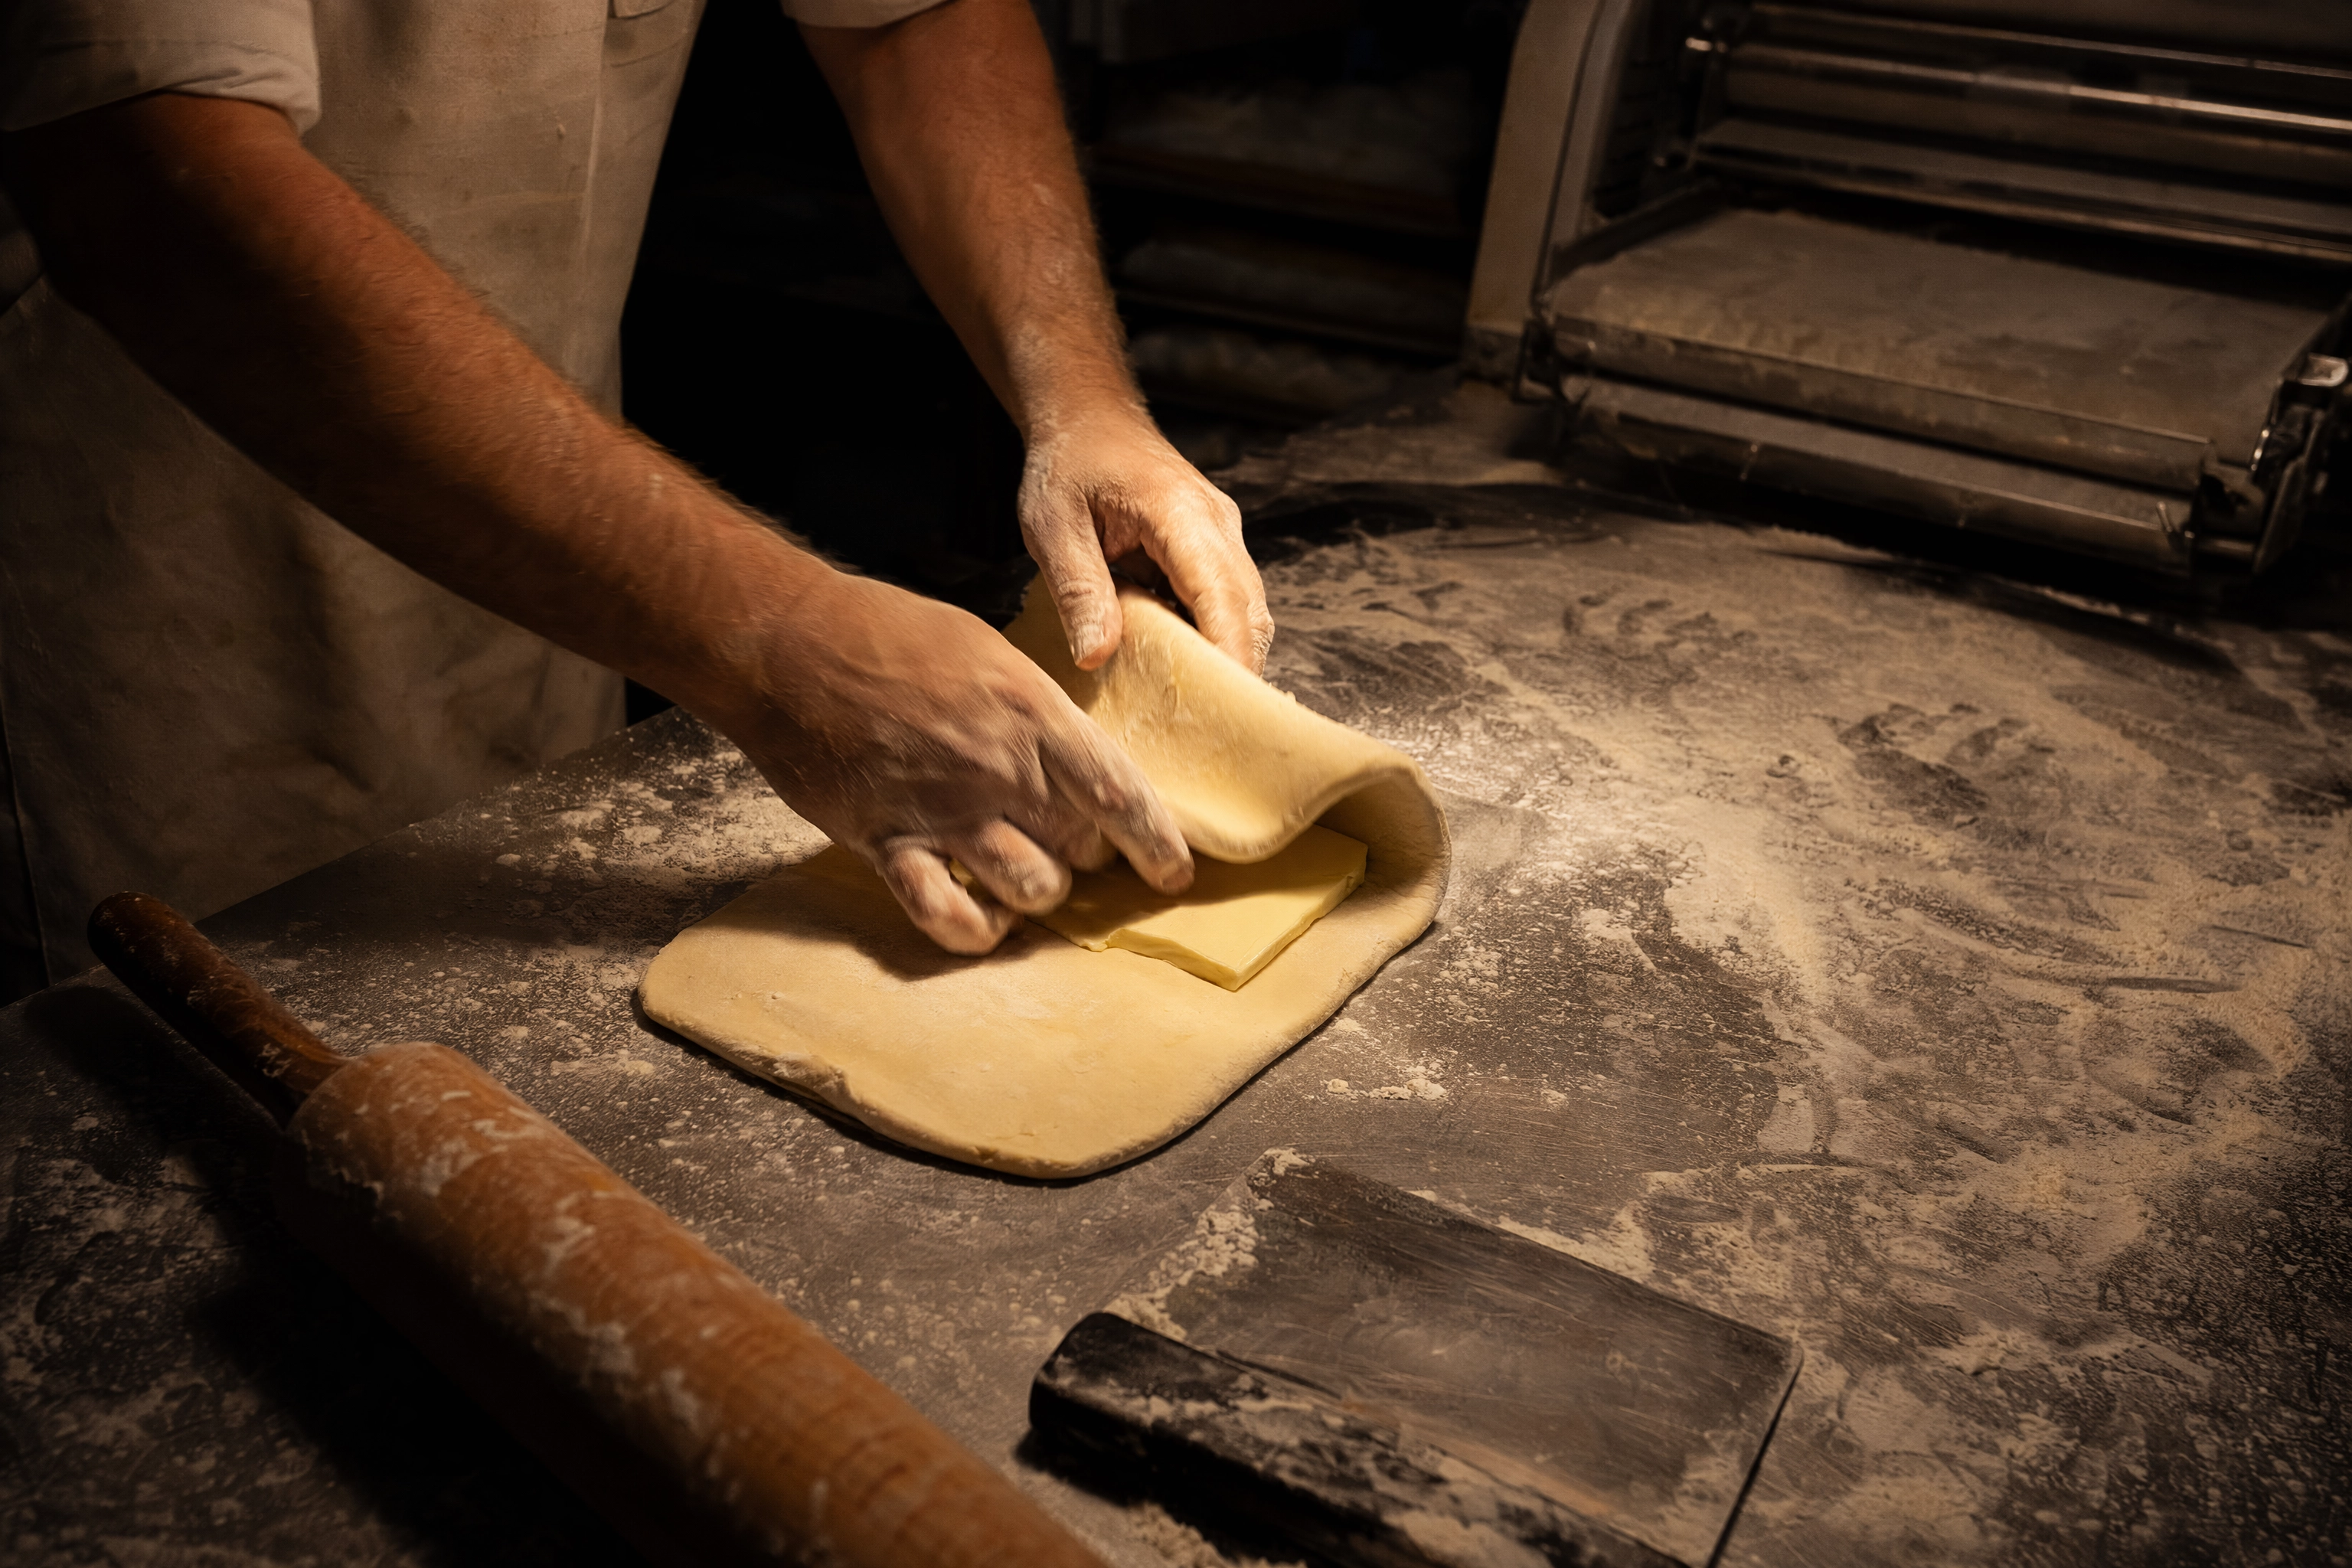 Baker folding a butter block into dough on a flour-dusted stainless bench during the 4am baking shift
A butter block going into a slab of chilled dough. Flour in drifts across steel. A sheeter running. Trays sliding into a deck oven. A blade opening a loaf a half-second before it goes in. Restaurants have to manufacture this kind of content. You generate it every single night.
The rule is to shoot the real window. Do not restage it at two in the afternoon in clean whites — it always looks staged, because it is. Clamp a phone somewhere safe on the bench, shoot short bursts between tasks, and let the bake run at normal speed. Nobody's workflow should slow down for this.
The mistake: waiting for a photogenic moment. Shoot fifteen mediocre frames of real work; three will be excellent and you'd never have predicted which three.
Lands on: Instagram, Pinterest, your About page, hiring posts, press requests. This is also the material that makes local journalists reply.
Related: our baking photography guide covers the craft side of these same frames — steam, flour dust and the ritual of the baking shift.
5. The counter and atmosphere shot
The venue frame. Counter, case, warm bulbs, paper bags, a member of staff mid-motion, the street visible through the door.
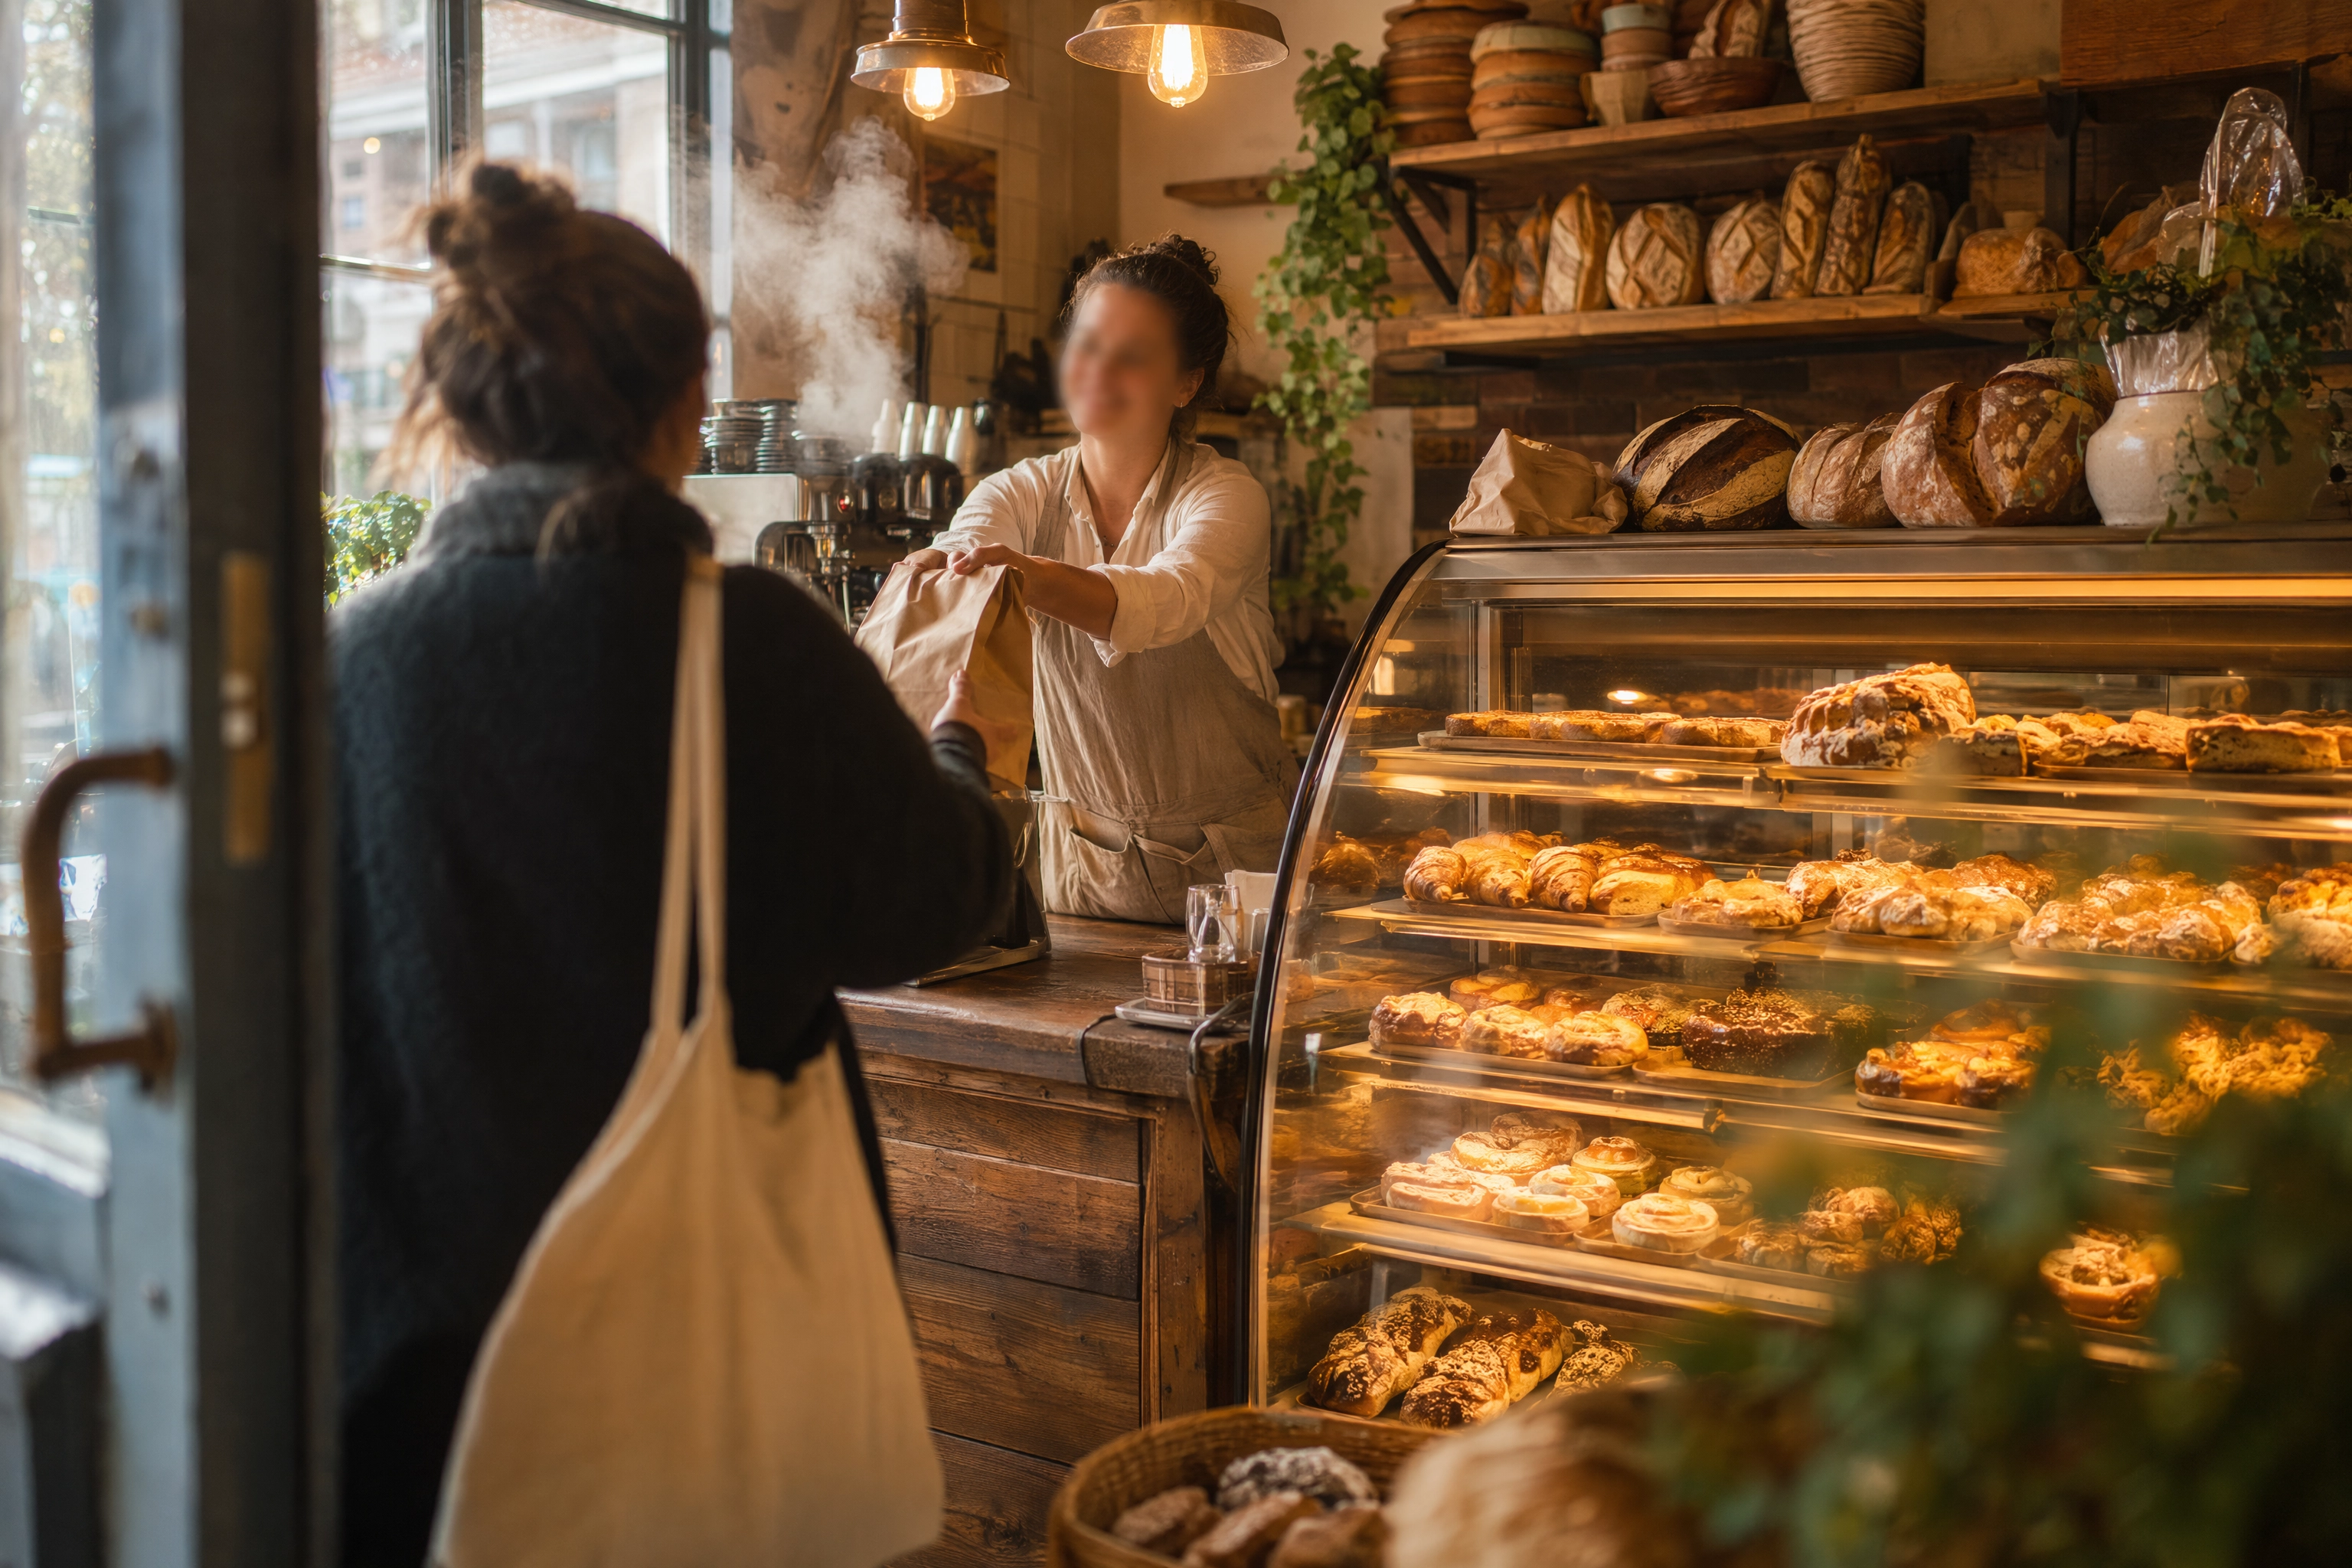 Bakery counter and atmosphere shot at opening with a full case, warm light and a hand passing a paper bag
There are two good moments for it. The first is the minute before you unlock: the case is completely full, the room is clean and empty, and you can shoot without a single person in the way. The second is about ten minutes into the morning rush, when there's a queue and genuine movement, and the frame carries something a styled shot never does.
The mistake is the in-between: an empty room with half the lights on and a picked-over case. That frame reads as closed, and customers scrolling a map listing read it exactly that way.
Keep the shot wide enough to include the case, the counter and some ceiling. This is one of the few frames where clutter helps — stacked loaves, a plant, brown bags, a chalk board. It's the aesthetic your regulars already associate with your branding, and it is very hard to fake.
Lands on: your Google Business Profile, Maps, the homepage, and the header of your delivery storefront.
Related: cafe menu photography if you also run a coffee program.
6. The seasonal window display
Most bakeries rebuild the window four to six times a year. It is the cheapest campaign asset you own and it is almost never photographed properly.
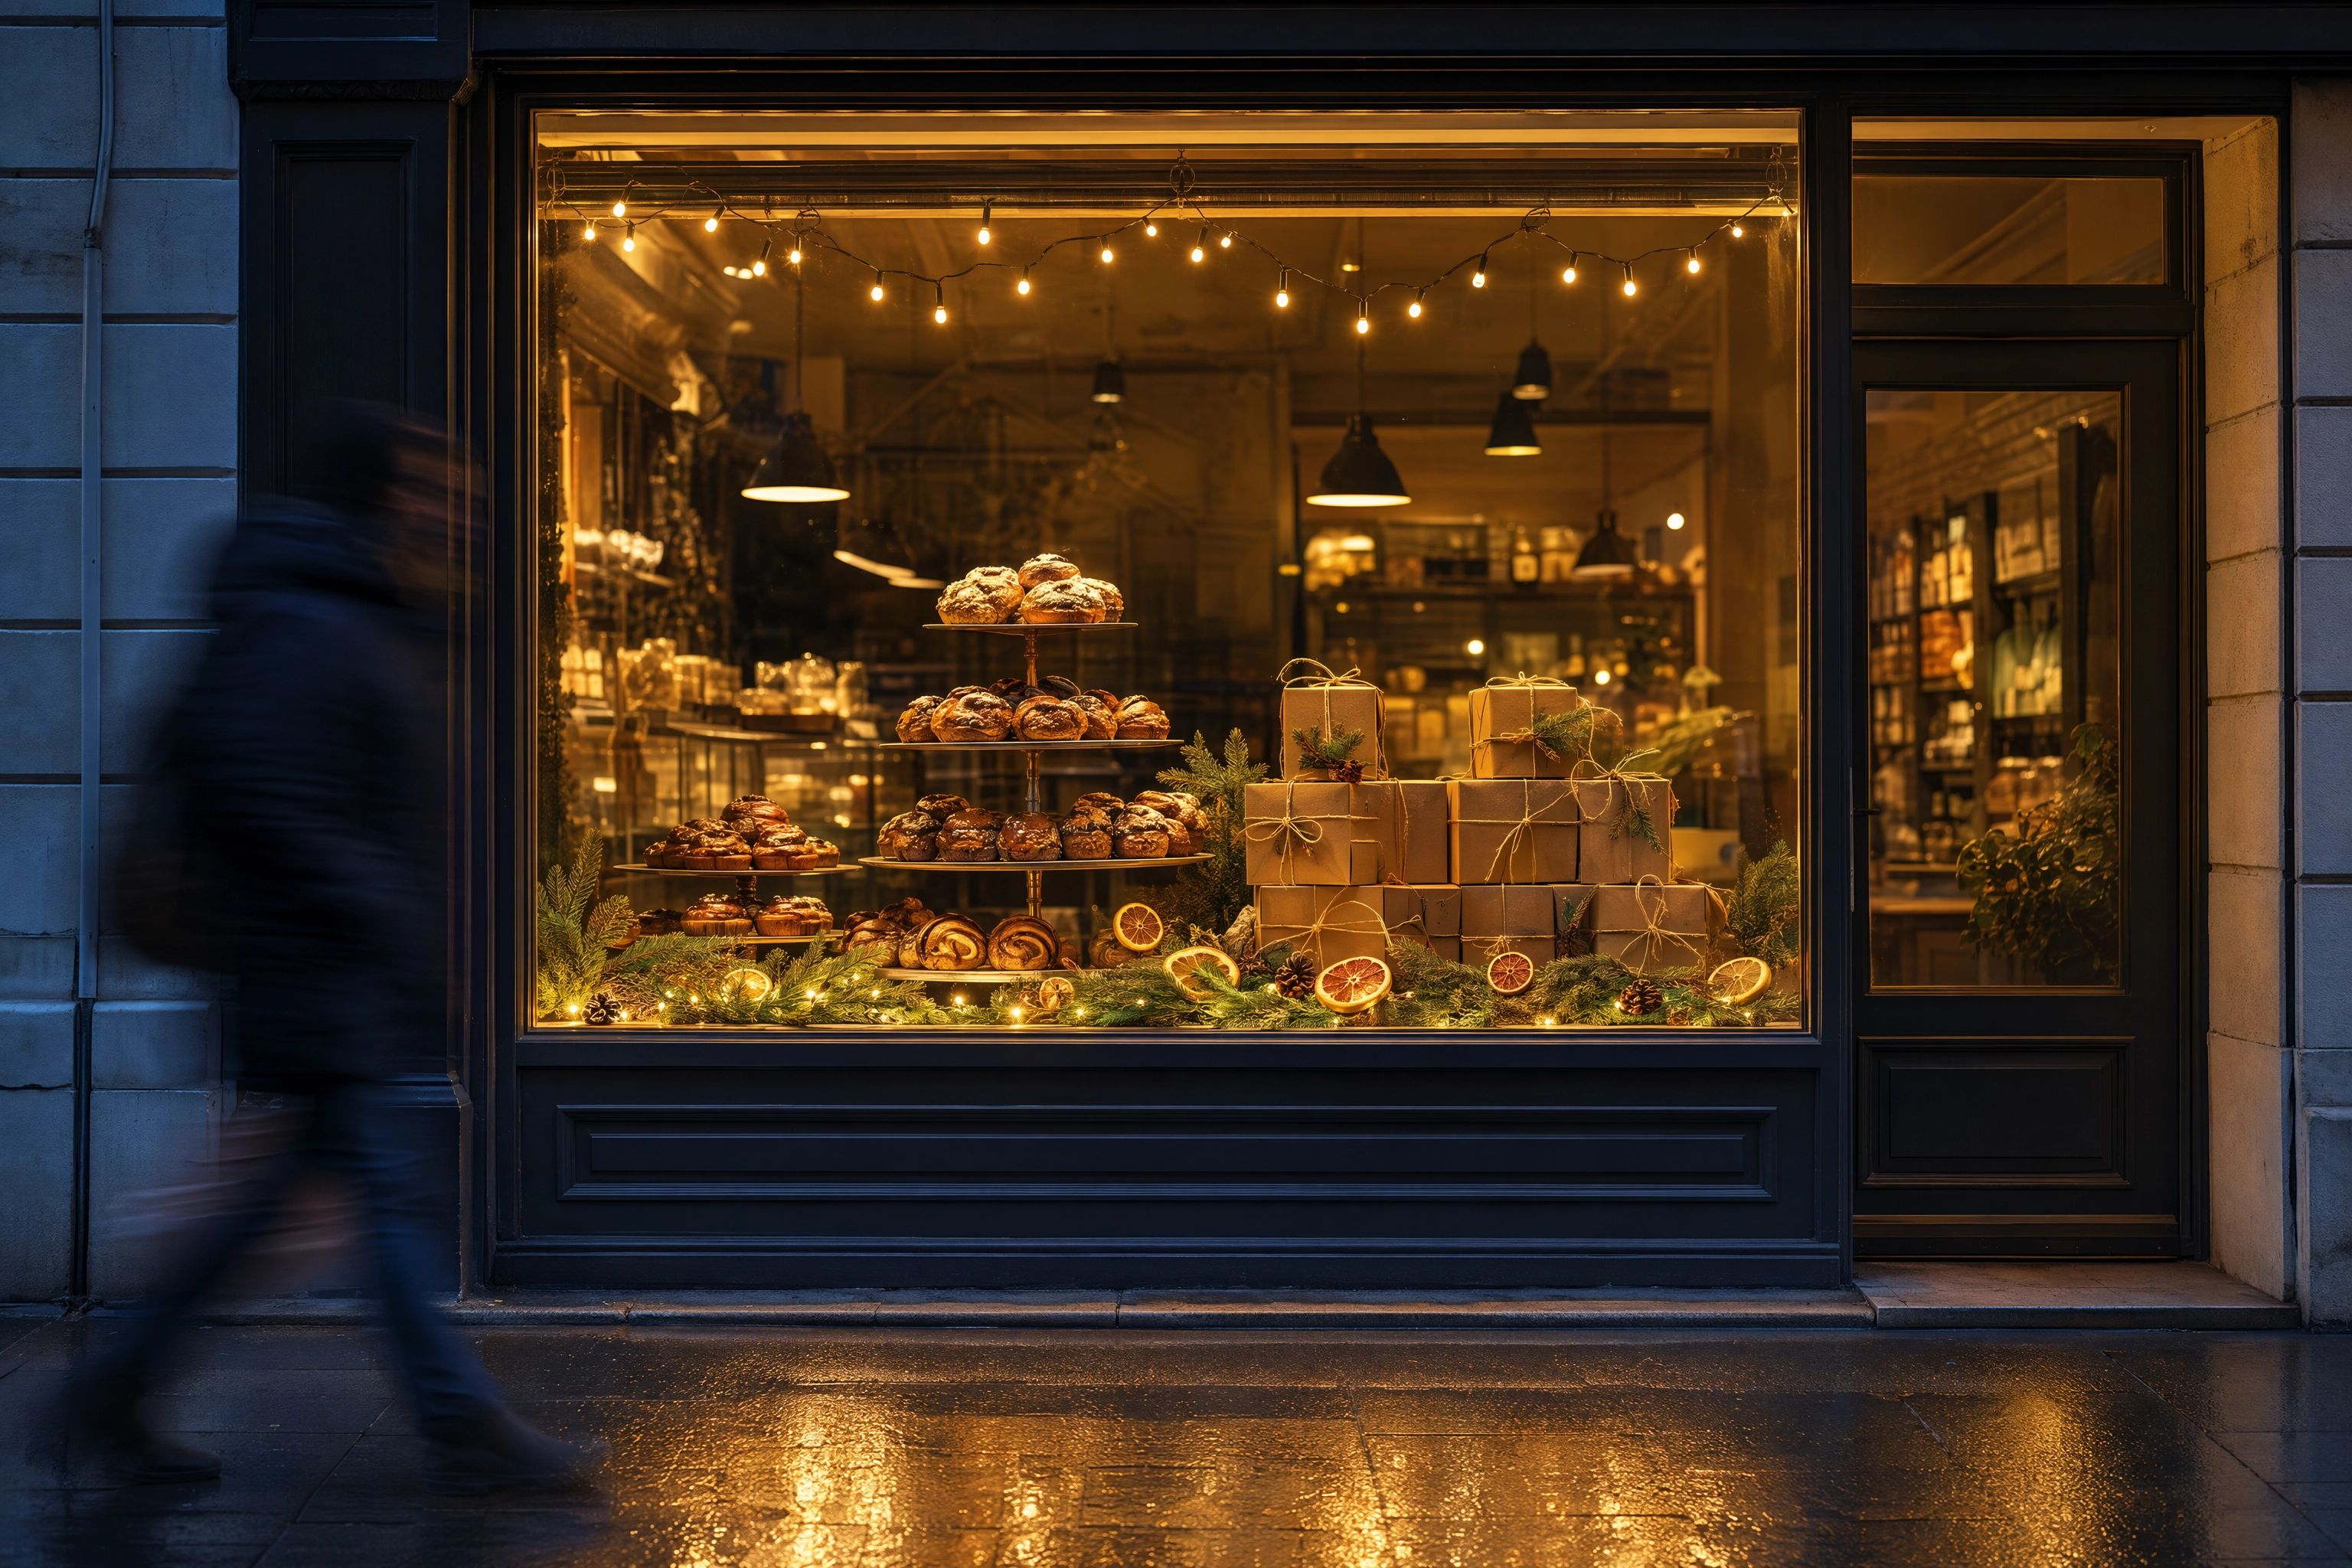 Seasonal bakery window display photographed from the street at blue hour with the interior glowing
Shoot it from the street at blue hour — roughly 20 minutes after sunset, when the sky has gone deep indigo but hasn't gone black. At that moment the interior is brighter than the street, so the glass stops acting like a mirror and starts acting like a frame. The display glows. Reflections mostly disappear on their own.
The mistake: shooting the window at noon, when the entire street, the parked cars and you are reflected across it.
Lands on: seasonal campaigns, food flyer layouts, window posters, local press. If you run a December range, the same frame carries the whole campaign — see Christmas food photography themes for the styling side.
Related: menu photography for turning a seasonal window into a printed board.
Three constraints every bakery photoshoot has to beat
Bakery pictures tend to look worse than the freshly baked reality in front of them, and none of the reasons are about talent. Most bakery photography fails structurally rather than artistically, and every bakery on earth has the same three problems.
Constraint 1: you're shooting at 5am and there is no daylight
Every bakery photoshoot starts in the dark. Production runs somewhere between 2 and 5am, the case is loaded before sunrise, and every photon in the building is artificial — in at least two different colours.
Display cases are usually lit with warm LED strip, roughly 2700K to 3500K, chosen to push the amber in butter and crust. The work lights over the bench are typically neutral or cool, 4000K to 5000K. Put both in one frame and you get orange highlights against grey-green shadows. That colour clash — not sharpness, not composition — is the number one reason bakery photography looks muddy.
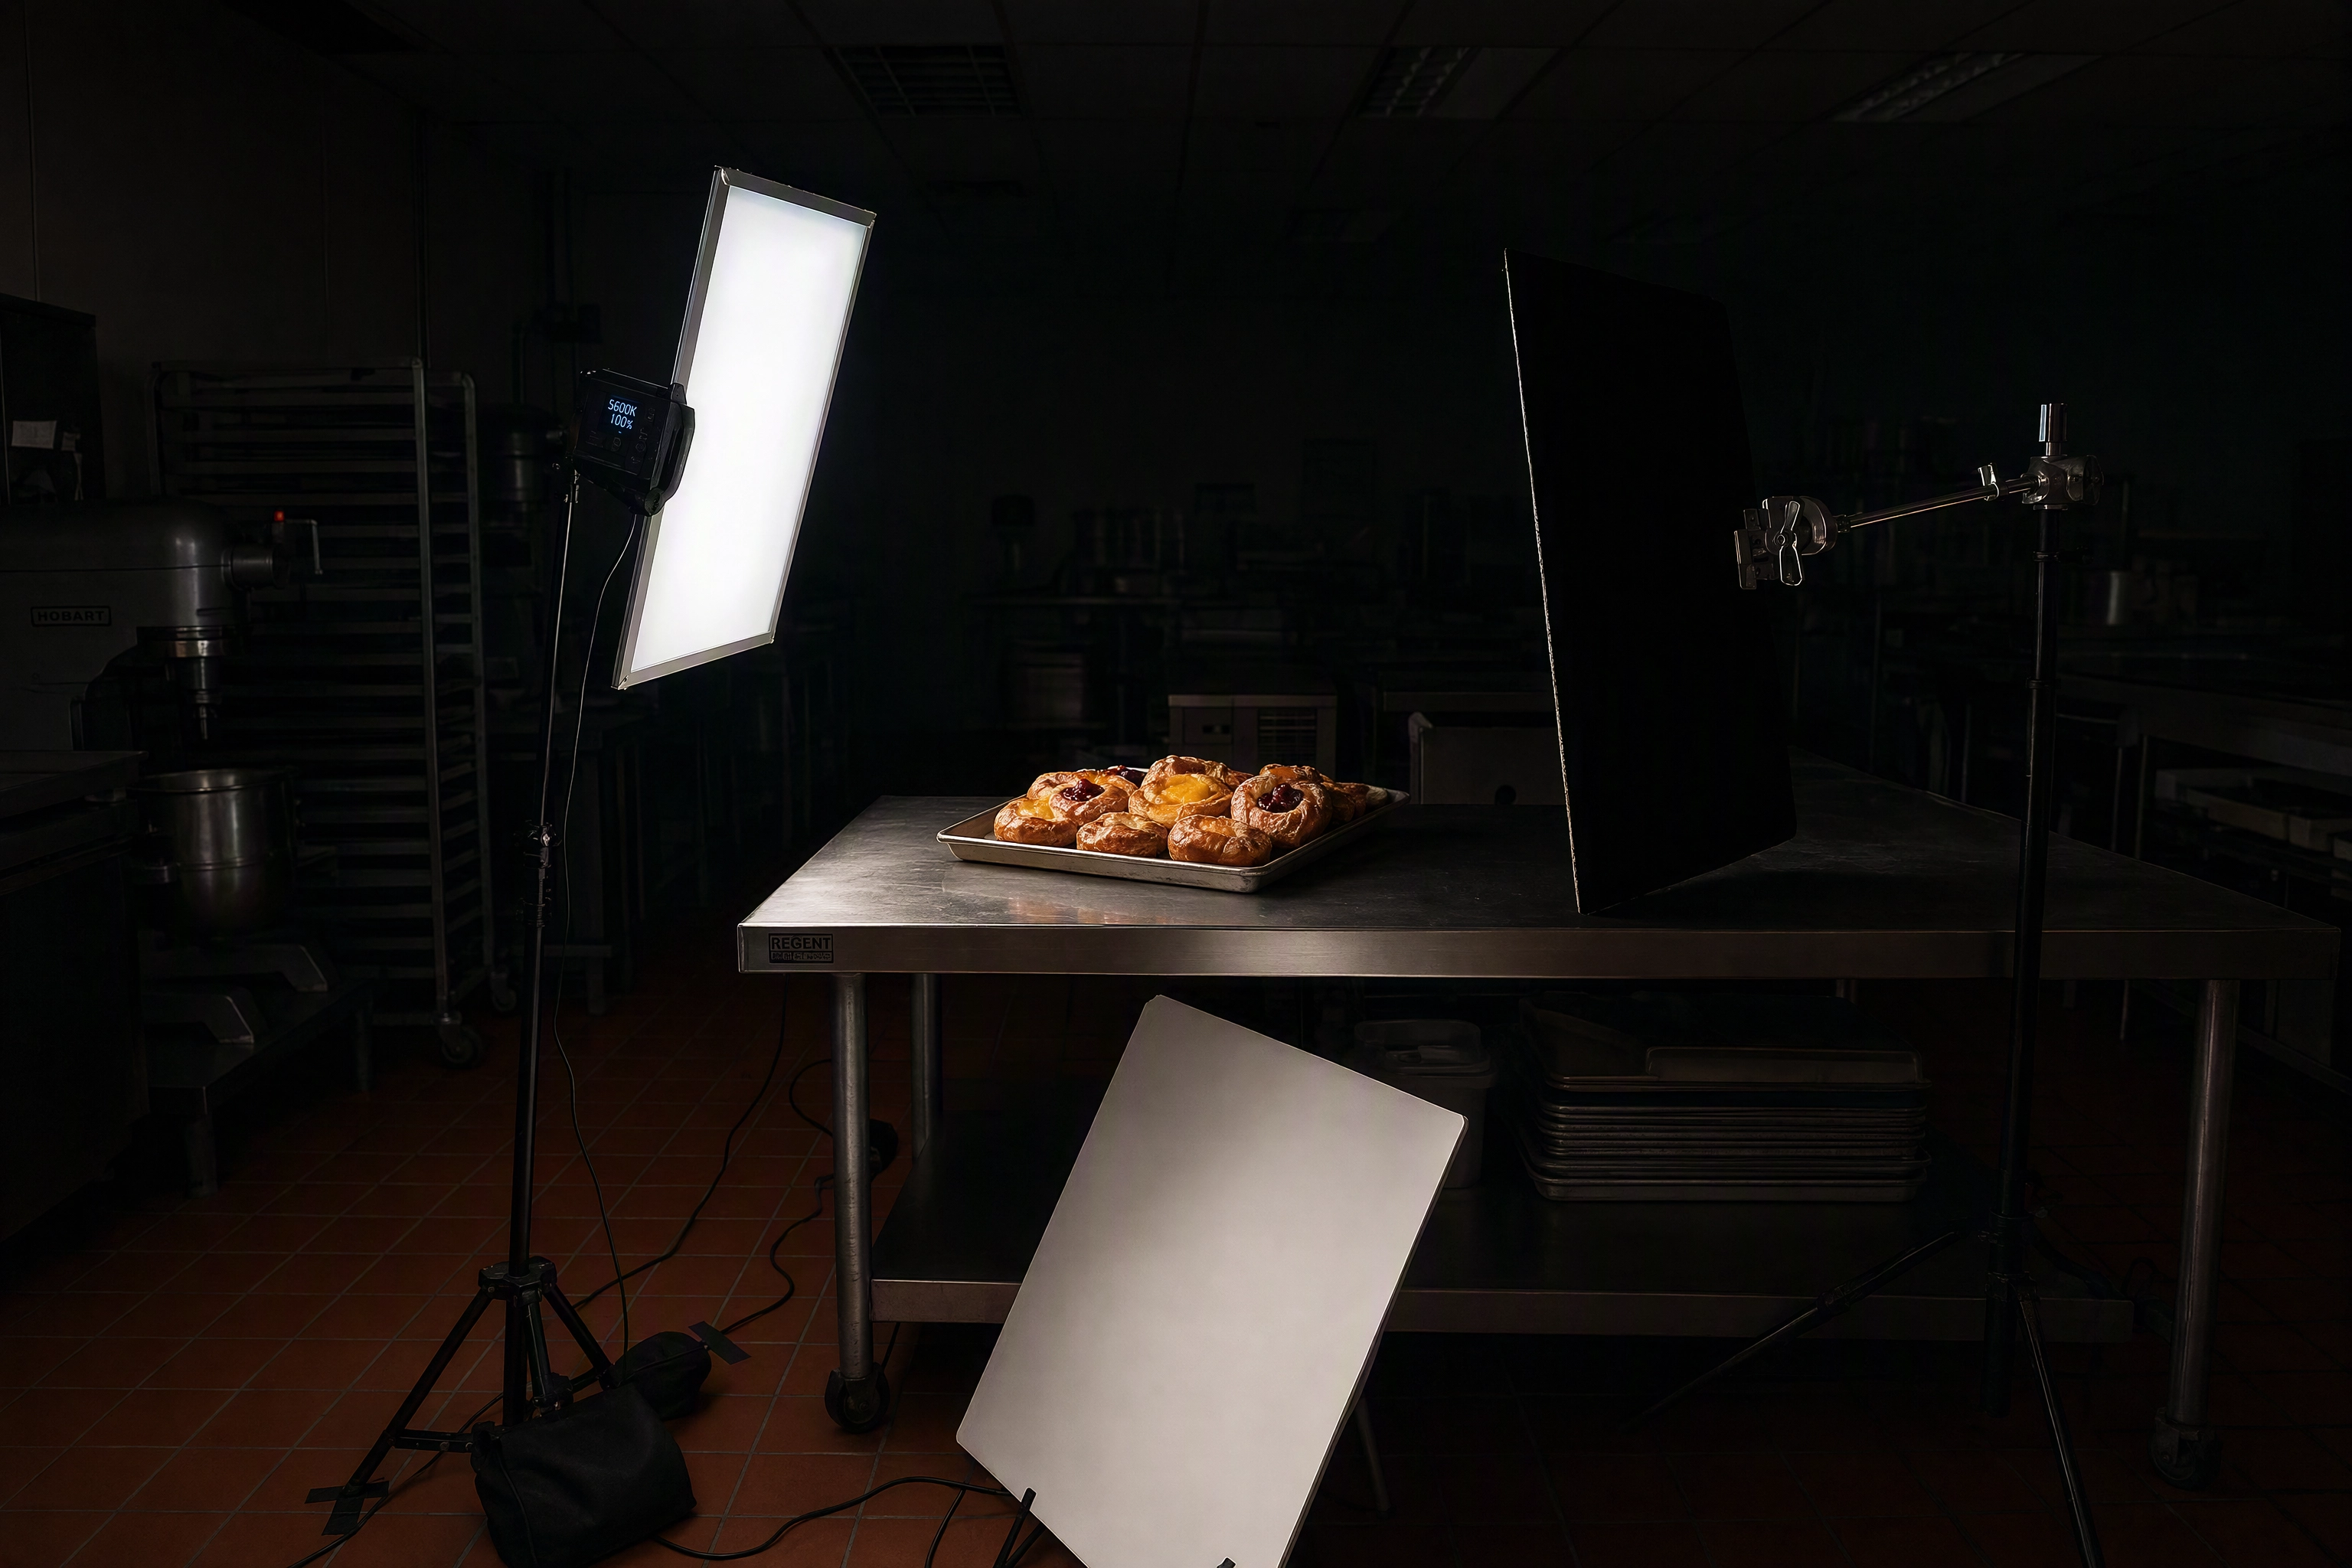 One-light bakery photography setup with diffusion panel and black flag lighting a tray of danishes at 5am
The fix is subtraction. Switch the overheads off in the corner where you're shooting. Use one source through a diffusion panel, one white bounce card on the shadow side, and one black card to deepen the side you want dark. A cheap LED panel and a sheet of baking paper taped to a frame gets you 80% of a studio.
Then shoot a white plate or a grey card as your first frame. Ten seconds of work, and every file after it is correctable in one click. More on the principles in our food photography lighting guide.
Constraint 2: the best of the range is gone by 10am
Laminated goods peak somewhere between 30 and 90 minutes out of the oven. The crust is still crackling, the sheen hasn't dulled, the flake hasn't gone soft. That window closes fast, and the best-looking specimens are usually sold before mid-morning.
So a bakery photoshoot lives inside the gap between the last bake landing and the front door unlocking. In most bakeries that's 30 to 45 minutes. Plan for exactly that and nothing else.
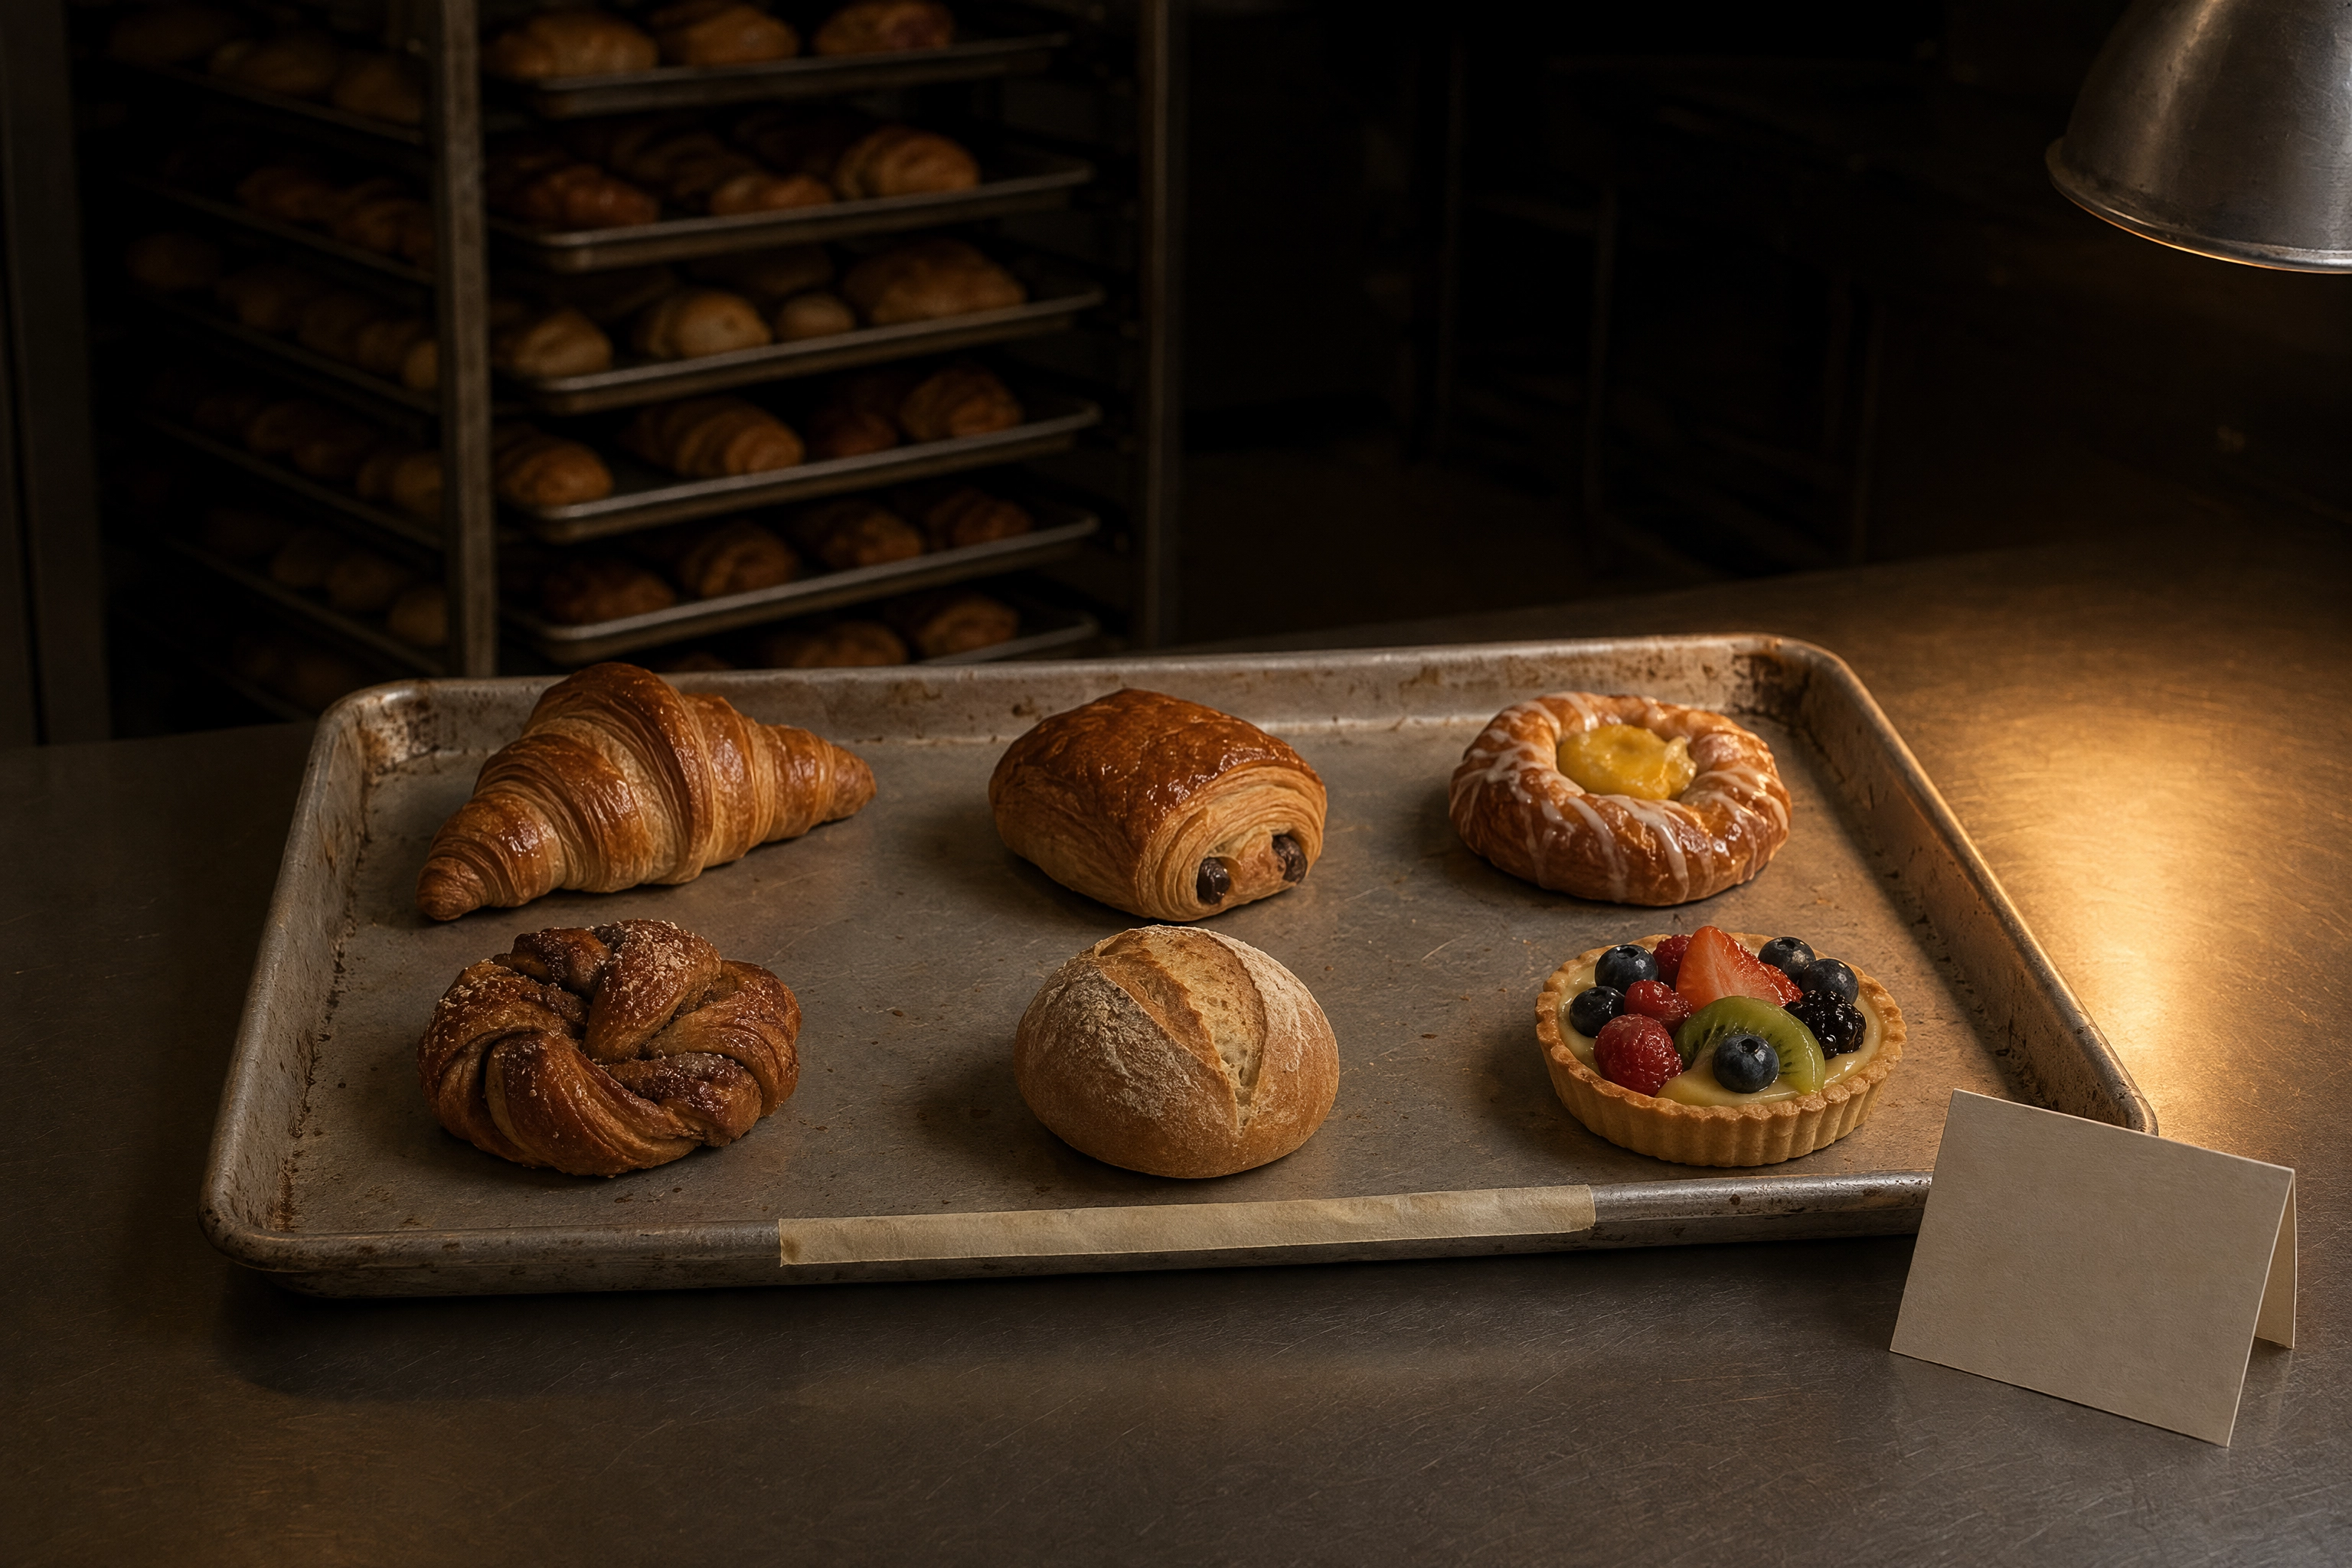 Held-back photo tray with one perfect example of each bake set aside before a bakery photoshoot
Two habits make it work. First, hold back one perfect specimen per line on a labelled tray at the back bench, before anything goes into the display. Never shoot out of the case you are actively selling from — you'll be interrupted, and you'll end up photographing whatever's left rather than what's best. Second, shoot in inventory order: fastest-selling lines first, long-life items last. If the clock beats you, you lose the frames that matter least.
Constraint 3: the case glass reflects everything
Light bouncing off glass is partially polarised, which is why a circular polariser can strip most of it out. The effect peaks near Brewster's angle — for ordinary glass, around 56 degrees off perpendicular. Straight-on is the worst possible position and it's exactly where everyone stands.
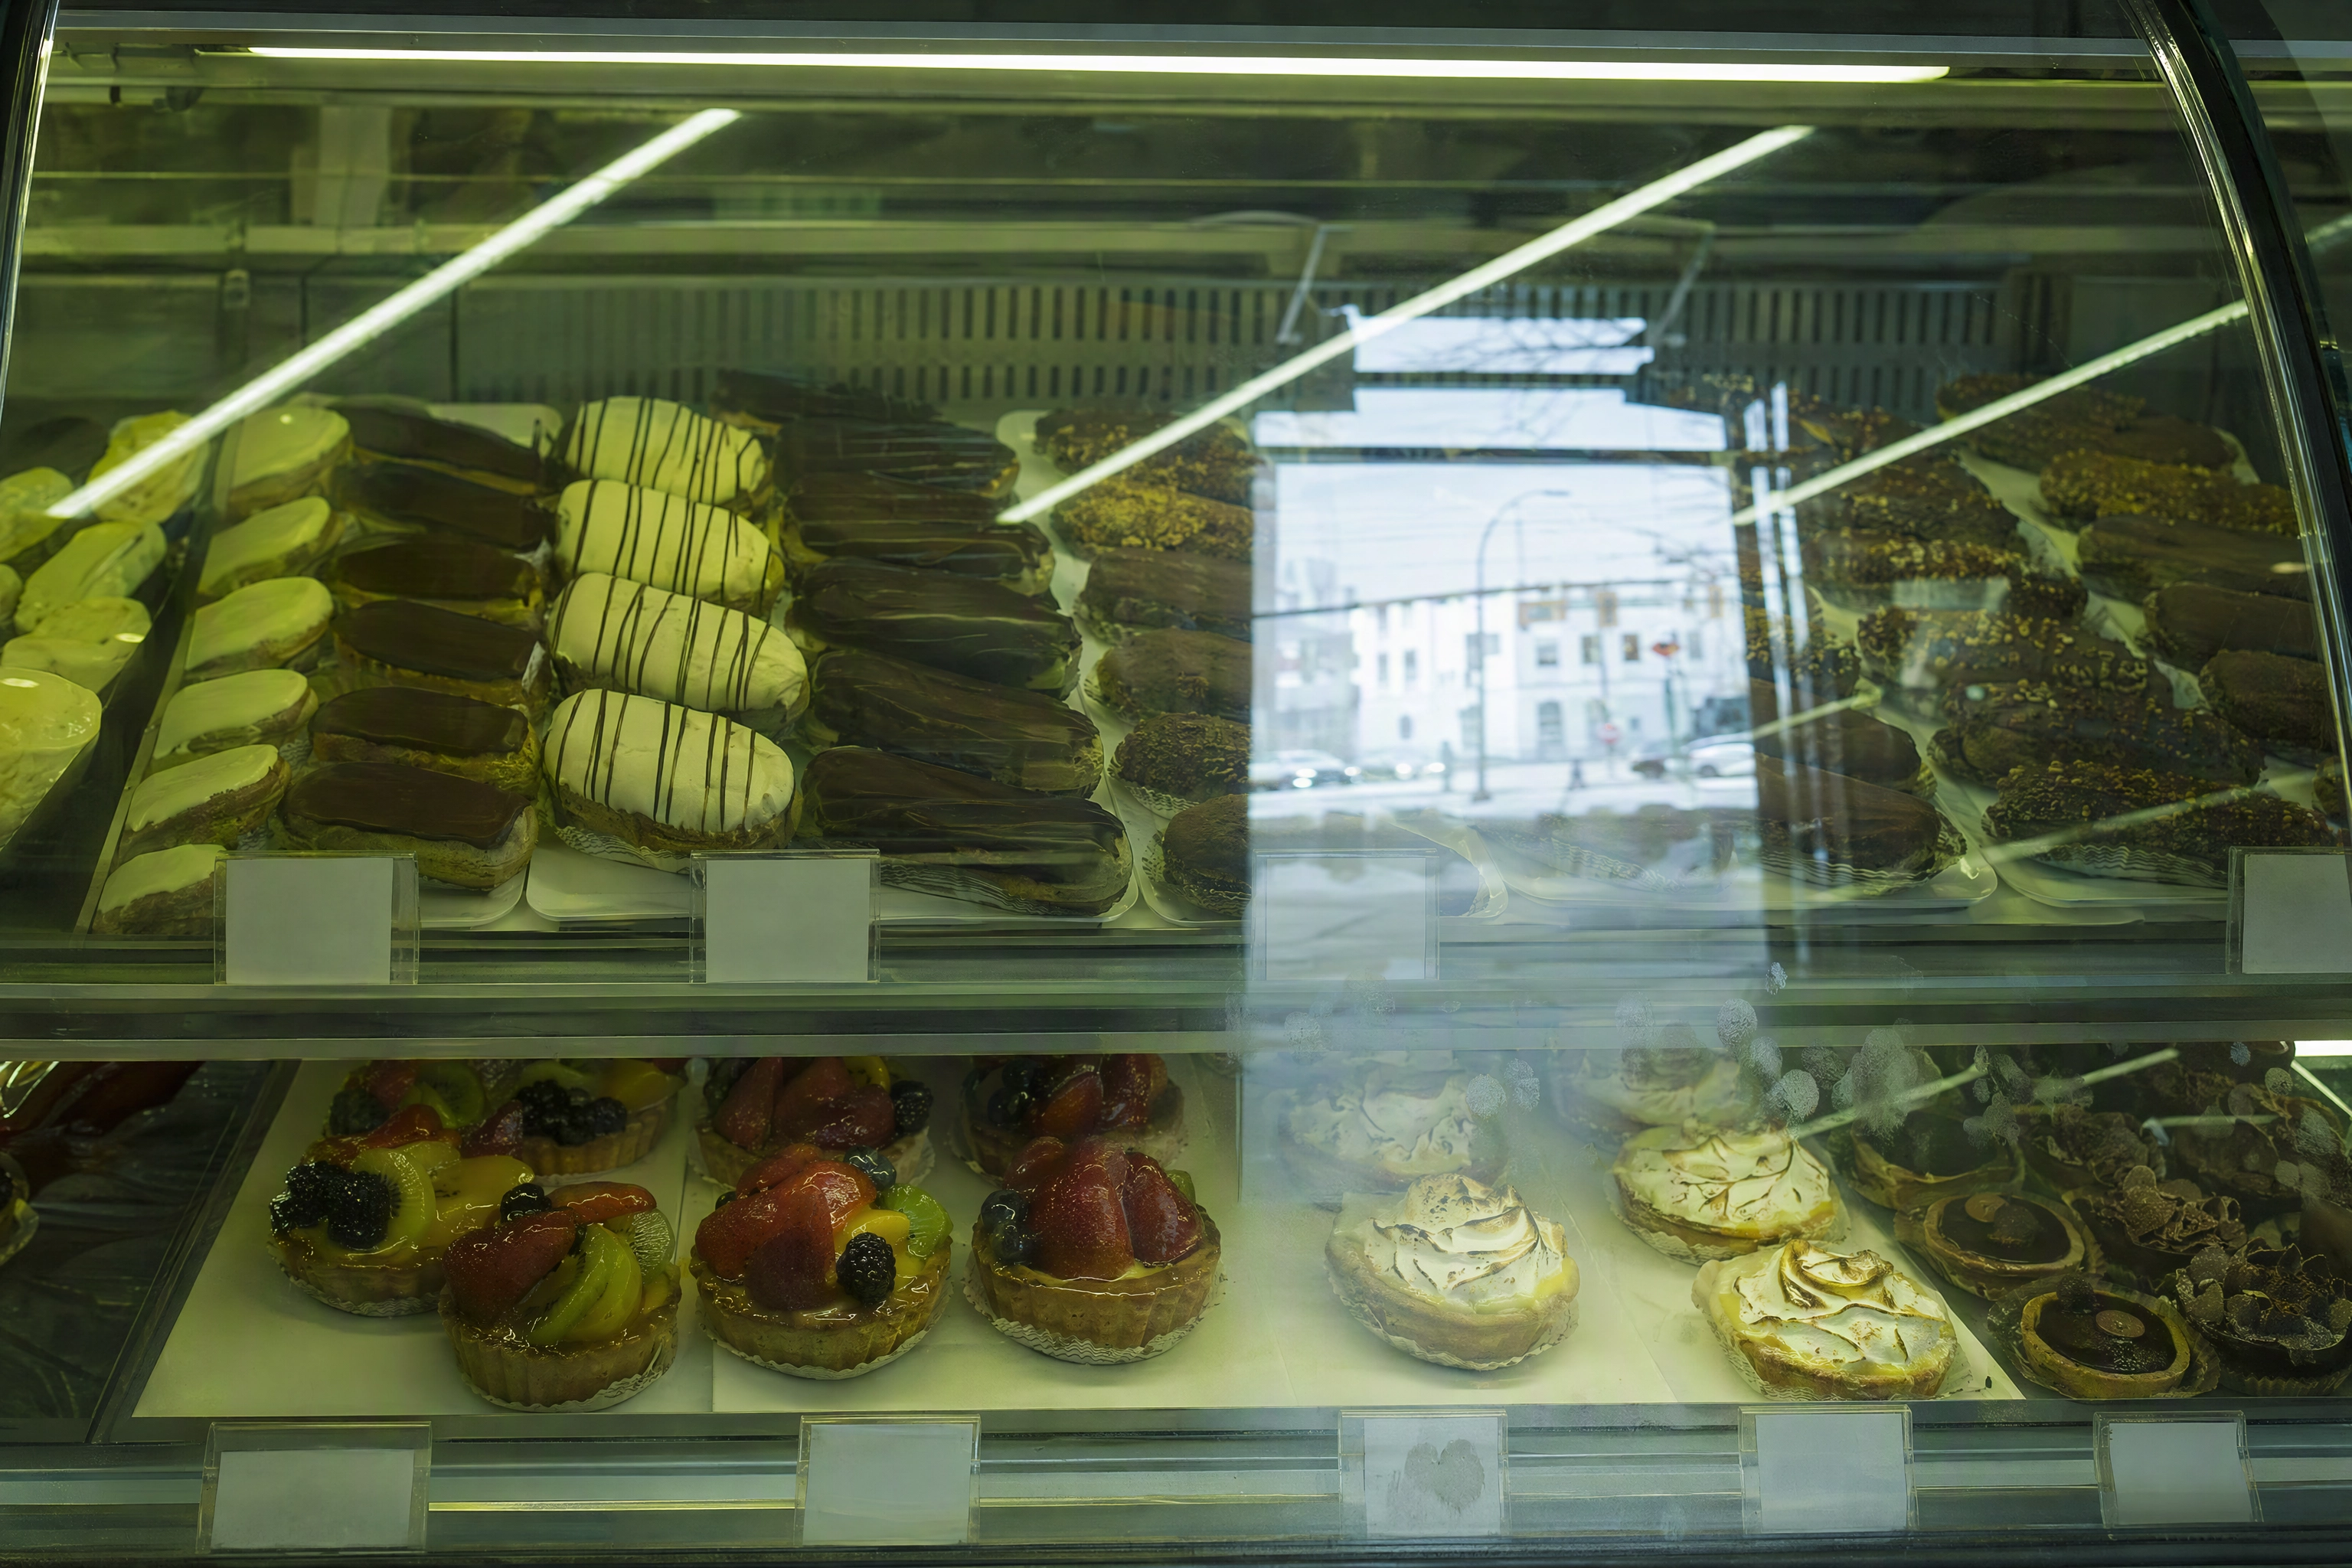 Reflections and glare across bakery display case glass obscuring the pastries behind it
Without a filter you still have three moves. Shoot obliquely rather than square to the pane. Put something dark directly behind the camera — a black jacket over a chair works — so the glass has nothing bright to mirror. And switch off whatever light source is showing up in the reflection, usually a ceiling strip or the street window opposite.
The real fix, though, is the boring one: open the case and take the item out. Ninety percent of case-glass problems disappear the moment the pastry is on a bench instead of behind a pane.
While you're there, clean the glass and pull the price cards. Fingerprints, tape residue and plastic card holders account for at least half of what makes case pictures look cheap, and no filter fixes any of it.
Related: food photo editing for the colour and glare cleanup you'll still need afterwards.
The bakery photoshoot day plan
Here's a real bakery photoshoot timetable. Adjust the clock to your own baking schedule; keep the sequence.
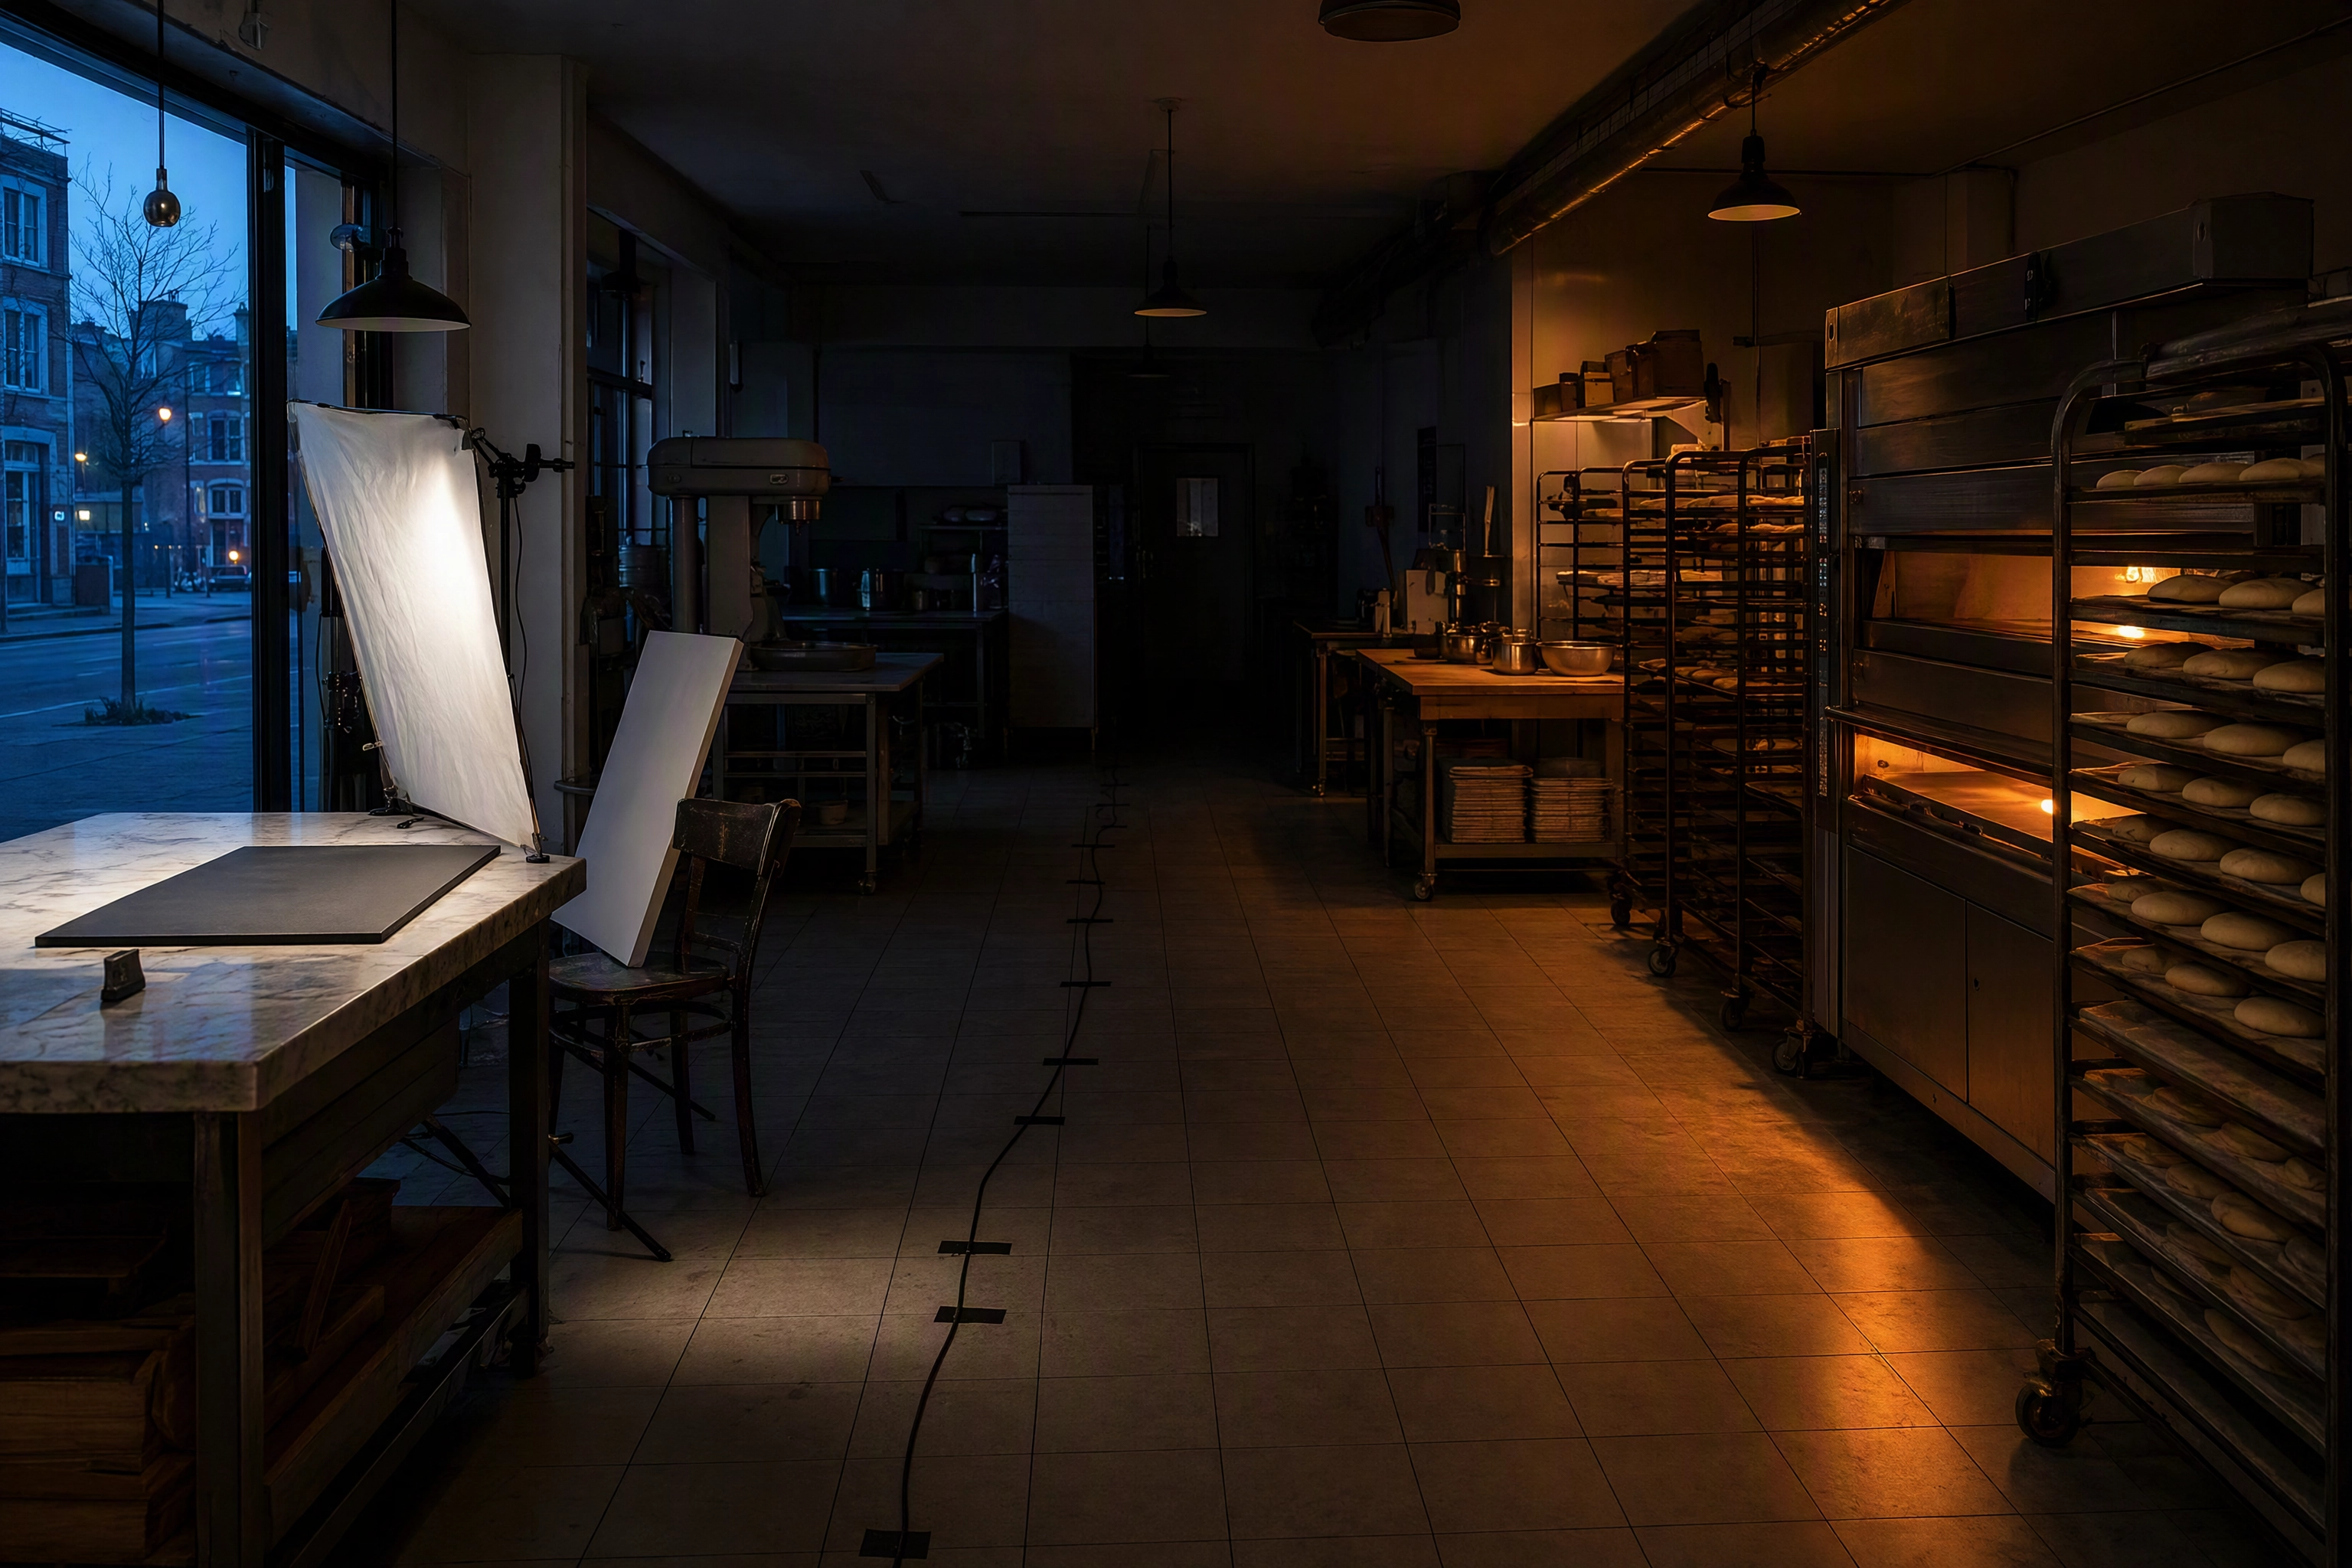 Bakery at 4:45am with a shooting station built at one end and the deck oven working at the other
- 04:45 — Build the station. Surface down, light up, bounce and flag in place, phone clamped. Twenty minutes now saves an hour of fiddling later.
- 05:15 — Process frames while the bake is actually happening. Short bursts, no interruptions to the shift.
- 06:00 — Hero singles. One item at a time, best specimen, raking light, five or six frames each.
- 06:35 — The full case lineup, straight overhead, everything on one sheet.
- 07:05 — Counter and window, then the storefront from across the street if the light has arrived.
- 07:25 — Reset. Everything photographed goes back into service or into staff coffee. Station broken down before the first customer.
Three rules hold the whole thing together.
Build one station and never move it. Surface, light, bounce, flag, camera clamp. Every item comes to the station; the station never goes to the item. This is the single biggest time saving available to you.
Batch by surface, not by item. Everything that gets shot on slate, then everything on marble, then everything on parchment. Re-lighting between every item is what turns a 40-minute bakery photoshoot into a three-hour one.
Name files as you go. Forty unlabelled pastry frames are worthless by Thursday. croissant-plain-hero-01 costs three seconds and saves you re-shooting in September.
Styling a bakery photoshoot with what's already in the shop
A bakery photoshoot needs no prop budget at all. The building is already full of exactly the right materials, and most styling failures in this category come from buying things rather than using what's on the shelf.
Surfaces you already own
Marble bench. Unbleached parchment. A black wire cooling rack. A cane proofing basket. A timber board. Brown paper bags, opened out flat. Brushed stainless.
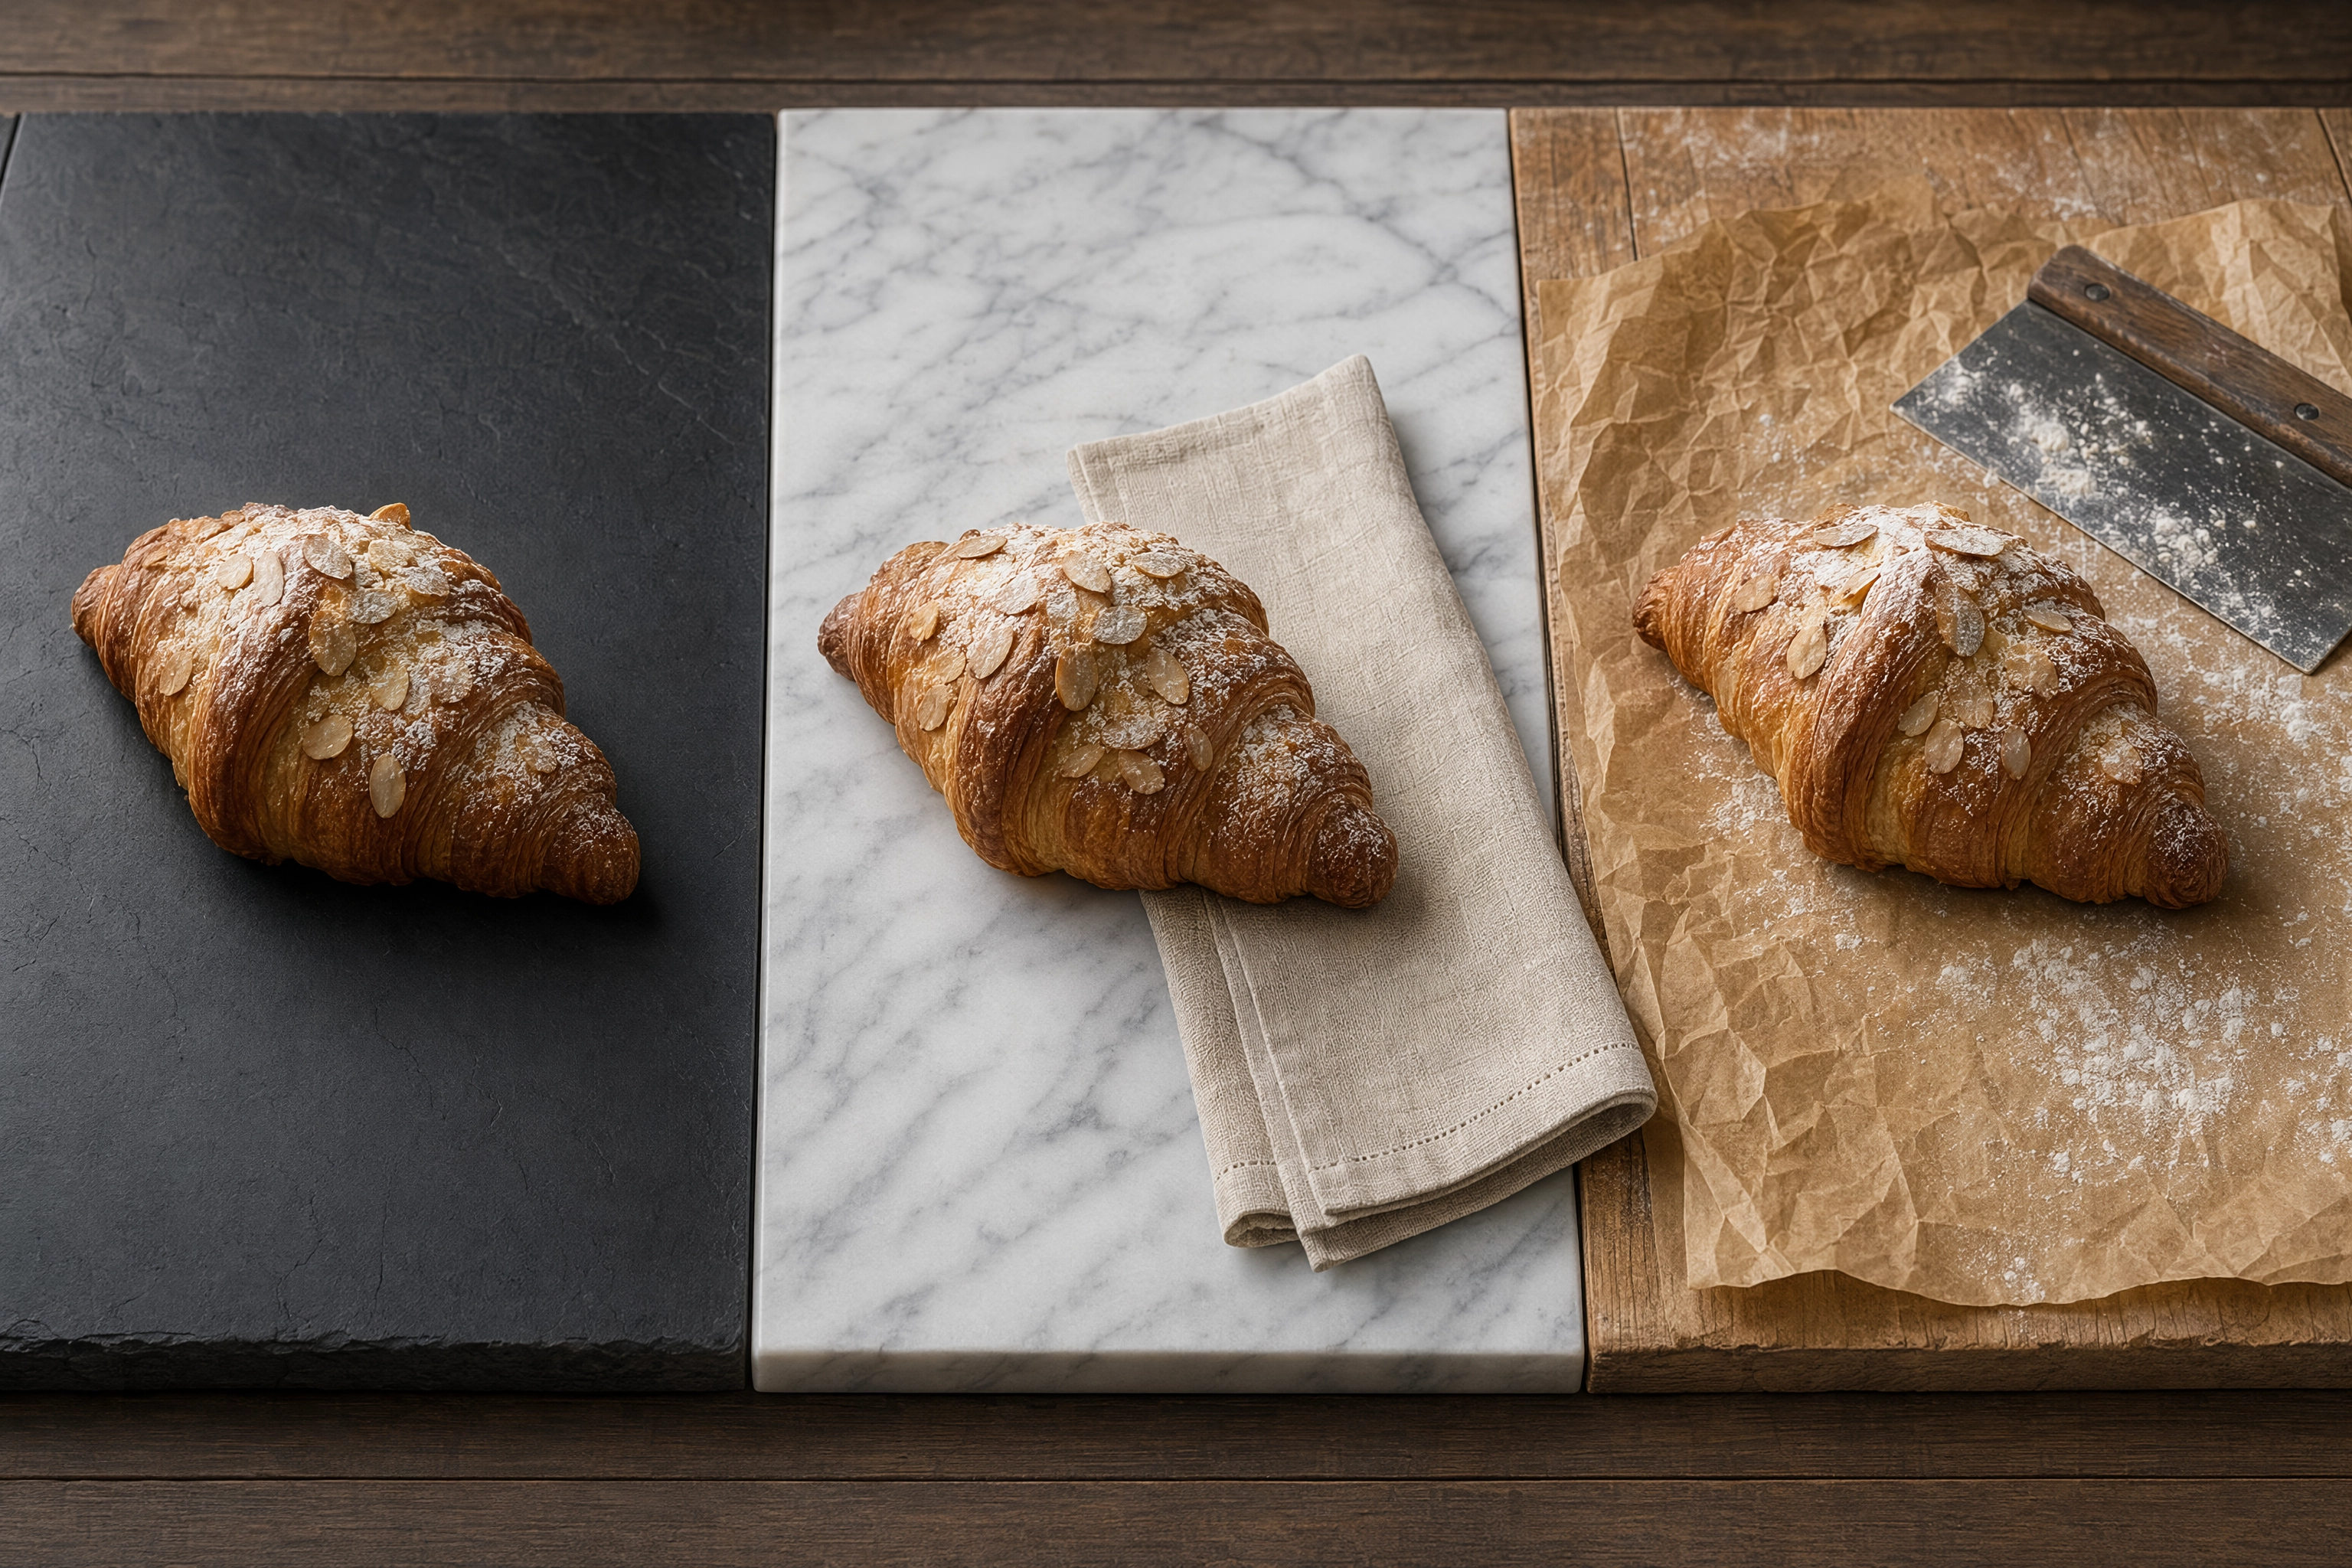 Three bakery styling surfaces compared side by side with an identical pastry on slate, marble and kraft paper
Pick three: one dark, one light, one textured. That trio covers an entire catalogue and gives you visual variety without a single purchase.
The surface sets the register more than anything else in the frame. Kraft paper and linen read handmade and local. Honed slate reads restaurant and evening. White marble reads clean, premium, patisserie. Melamine and speckled granite read canteen — avoid both, even though every commercial kitchen is full of them.
Choose the aesthetic that matches your counter rather than the aesthetic you saw on a board. A rustic, flour-dusted look on a minimalist patisserie's menu reads as borrowed, and customers notice the mismatch before they can explain it.
Related: food styling fundamentals, if you want to go deeper than surfaces.
Props that read bakery, and props that read stock photo
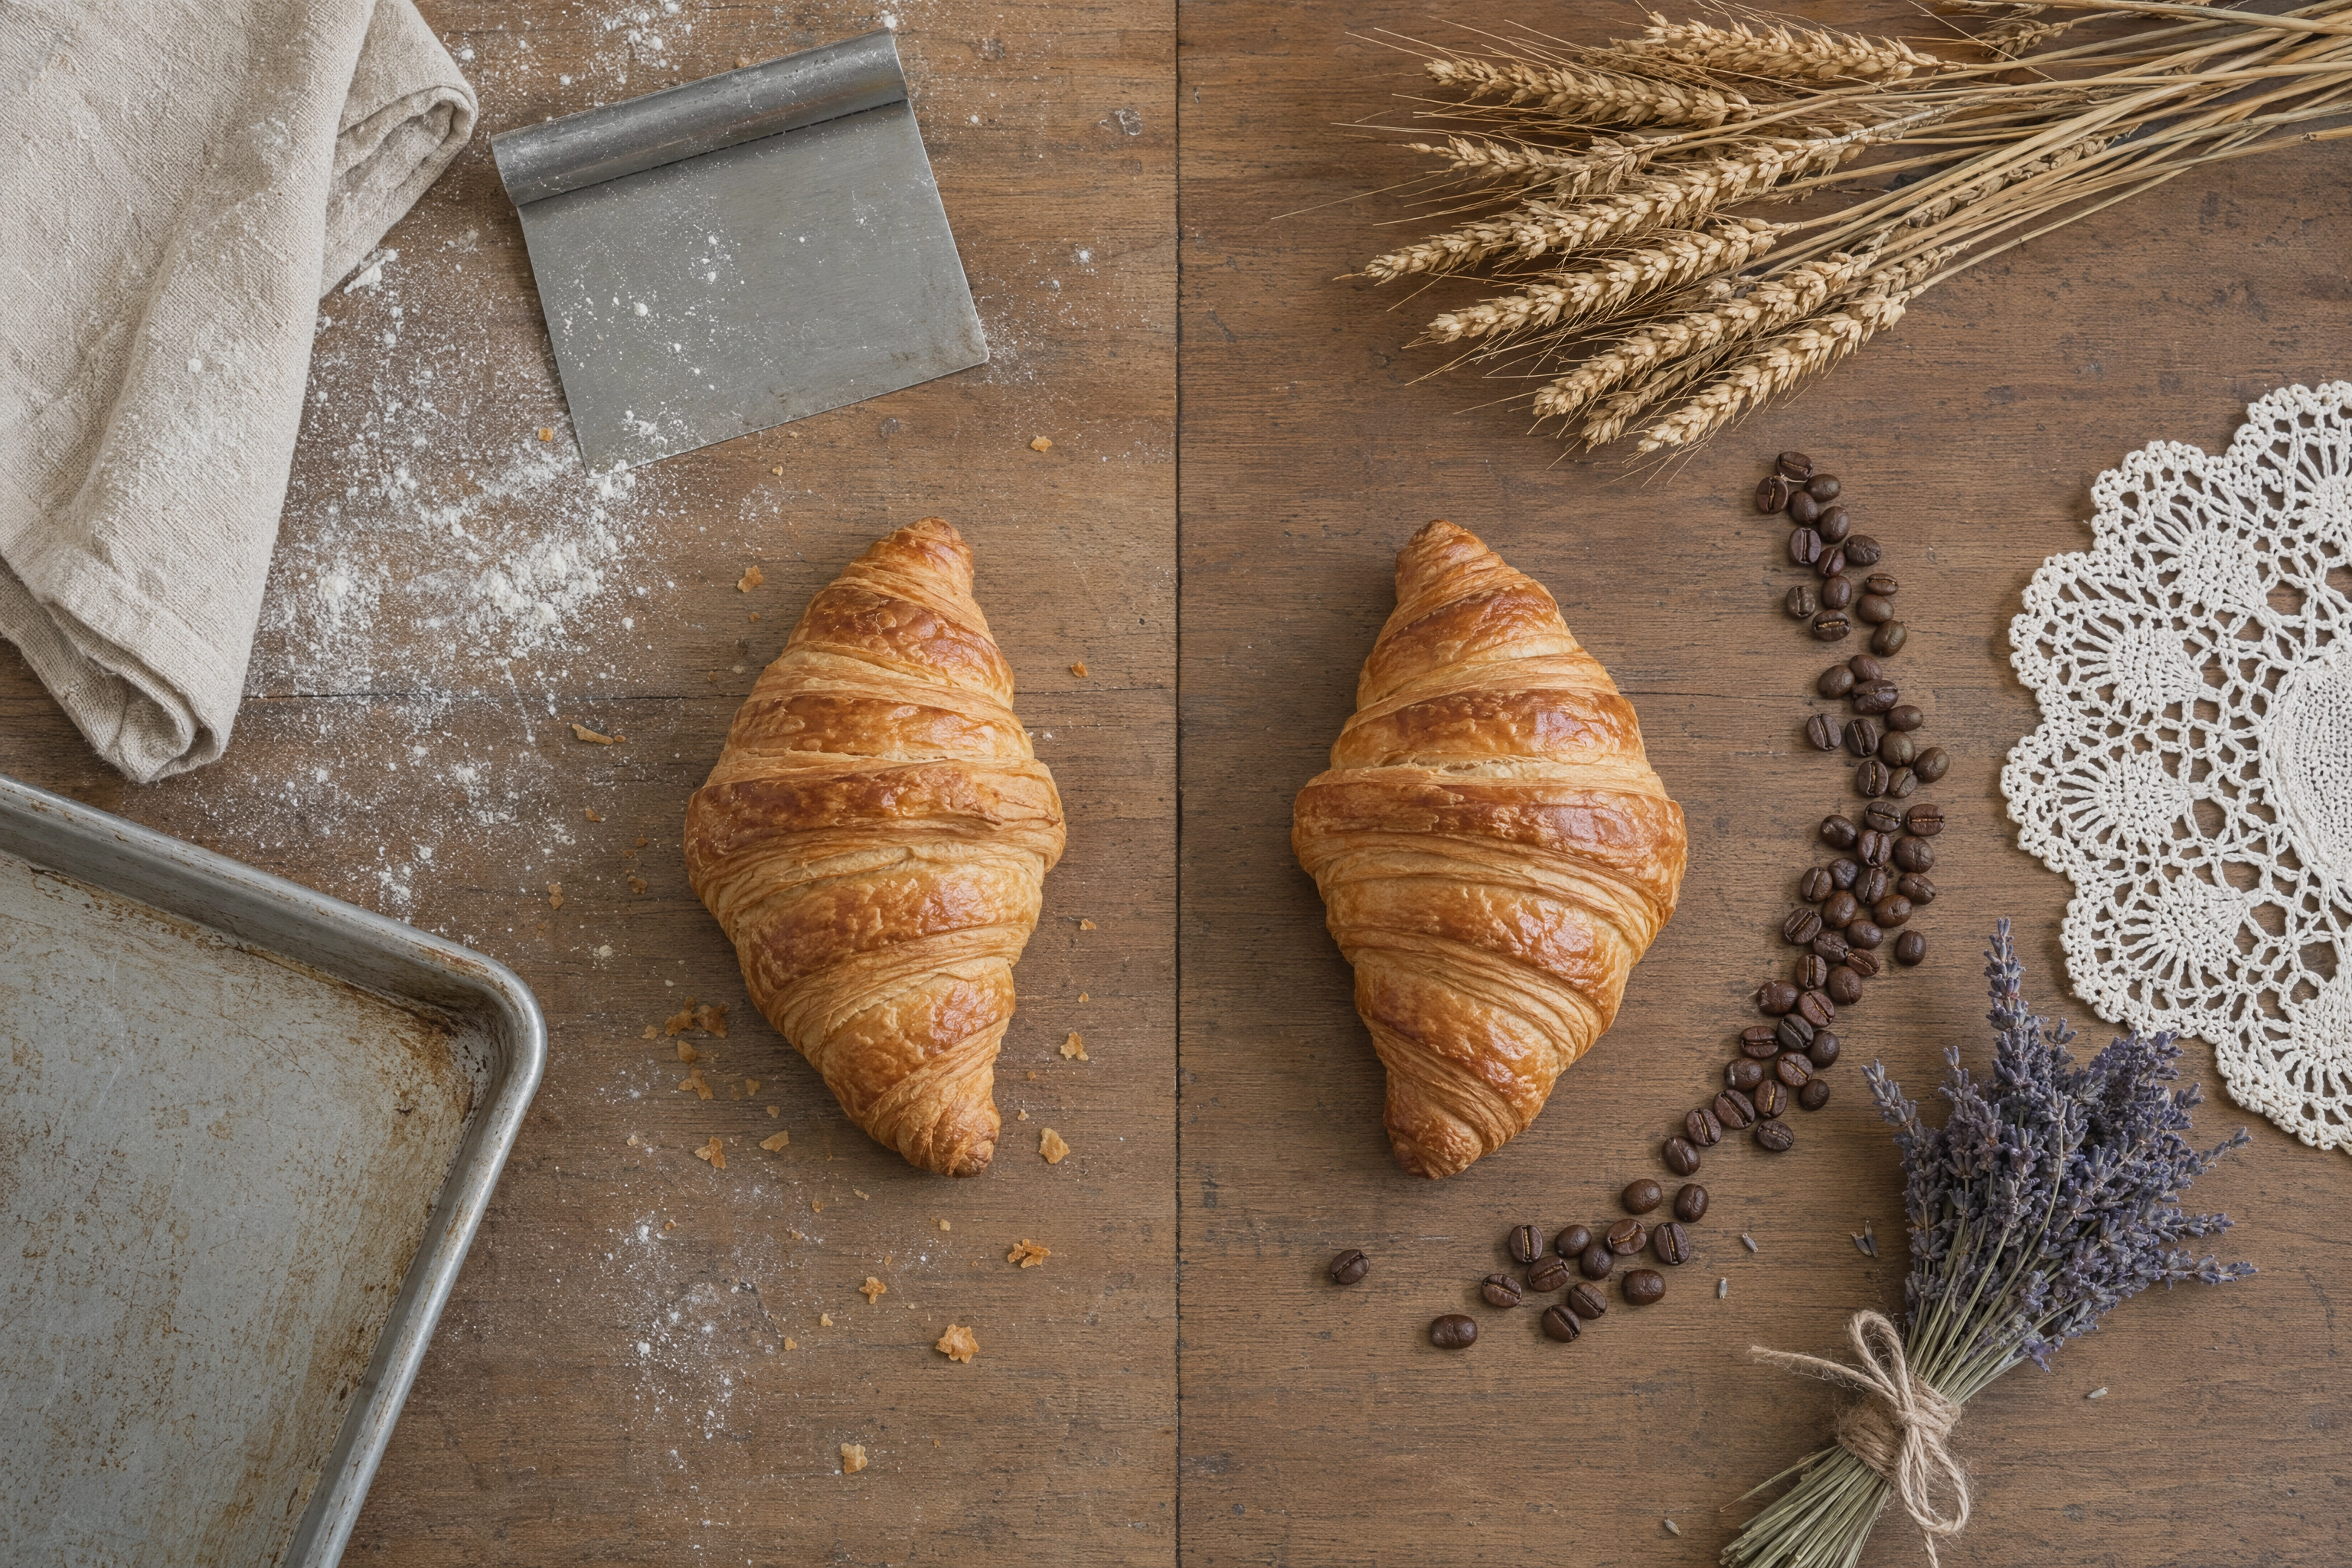 Real bakery props compared with stock-photo cliche props around two identical croissants
Good, because they're true: a light dusting of flour on the board (never on the finished bake), a bench scraper, a folded linen cloth, a used-but-clean sheet pan, a cooling rack, a paper bag with a fold in it.
Bad, because everyone recognises them instantly: wheat sheaves, scattered coffee beans, mismatched vintage cutlery, dried flowers, and anything sprinkled in a perfect arc. That last one is the tell. Real crumbs fall where they fall.
Crumbs, incidentally, are allowed and usually help — they suggest someone just ate something good. A visibly dirty surface is a different matter, and it's one of the fastest ways to get a delivery listing rejected.
Good styling ideas come off the baking bench, not out of a catalogue. The best ideas are already sitting on your shelves.
Where each bakery photoshoot frame actually lands
Sort every frame into a destination before you shoot it, because the destination sets the rules. The same danish needs two completely different treatments depending on whether it's going on a delivery app or a poster.
Delivery menu tiles
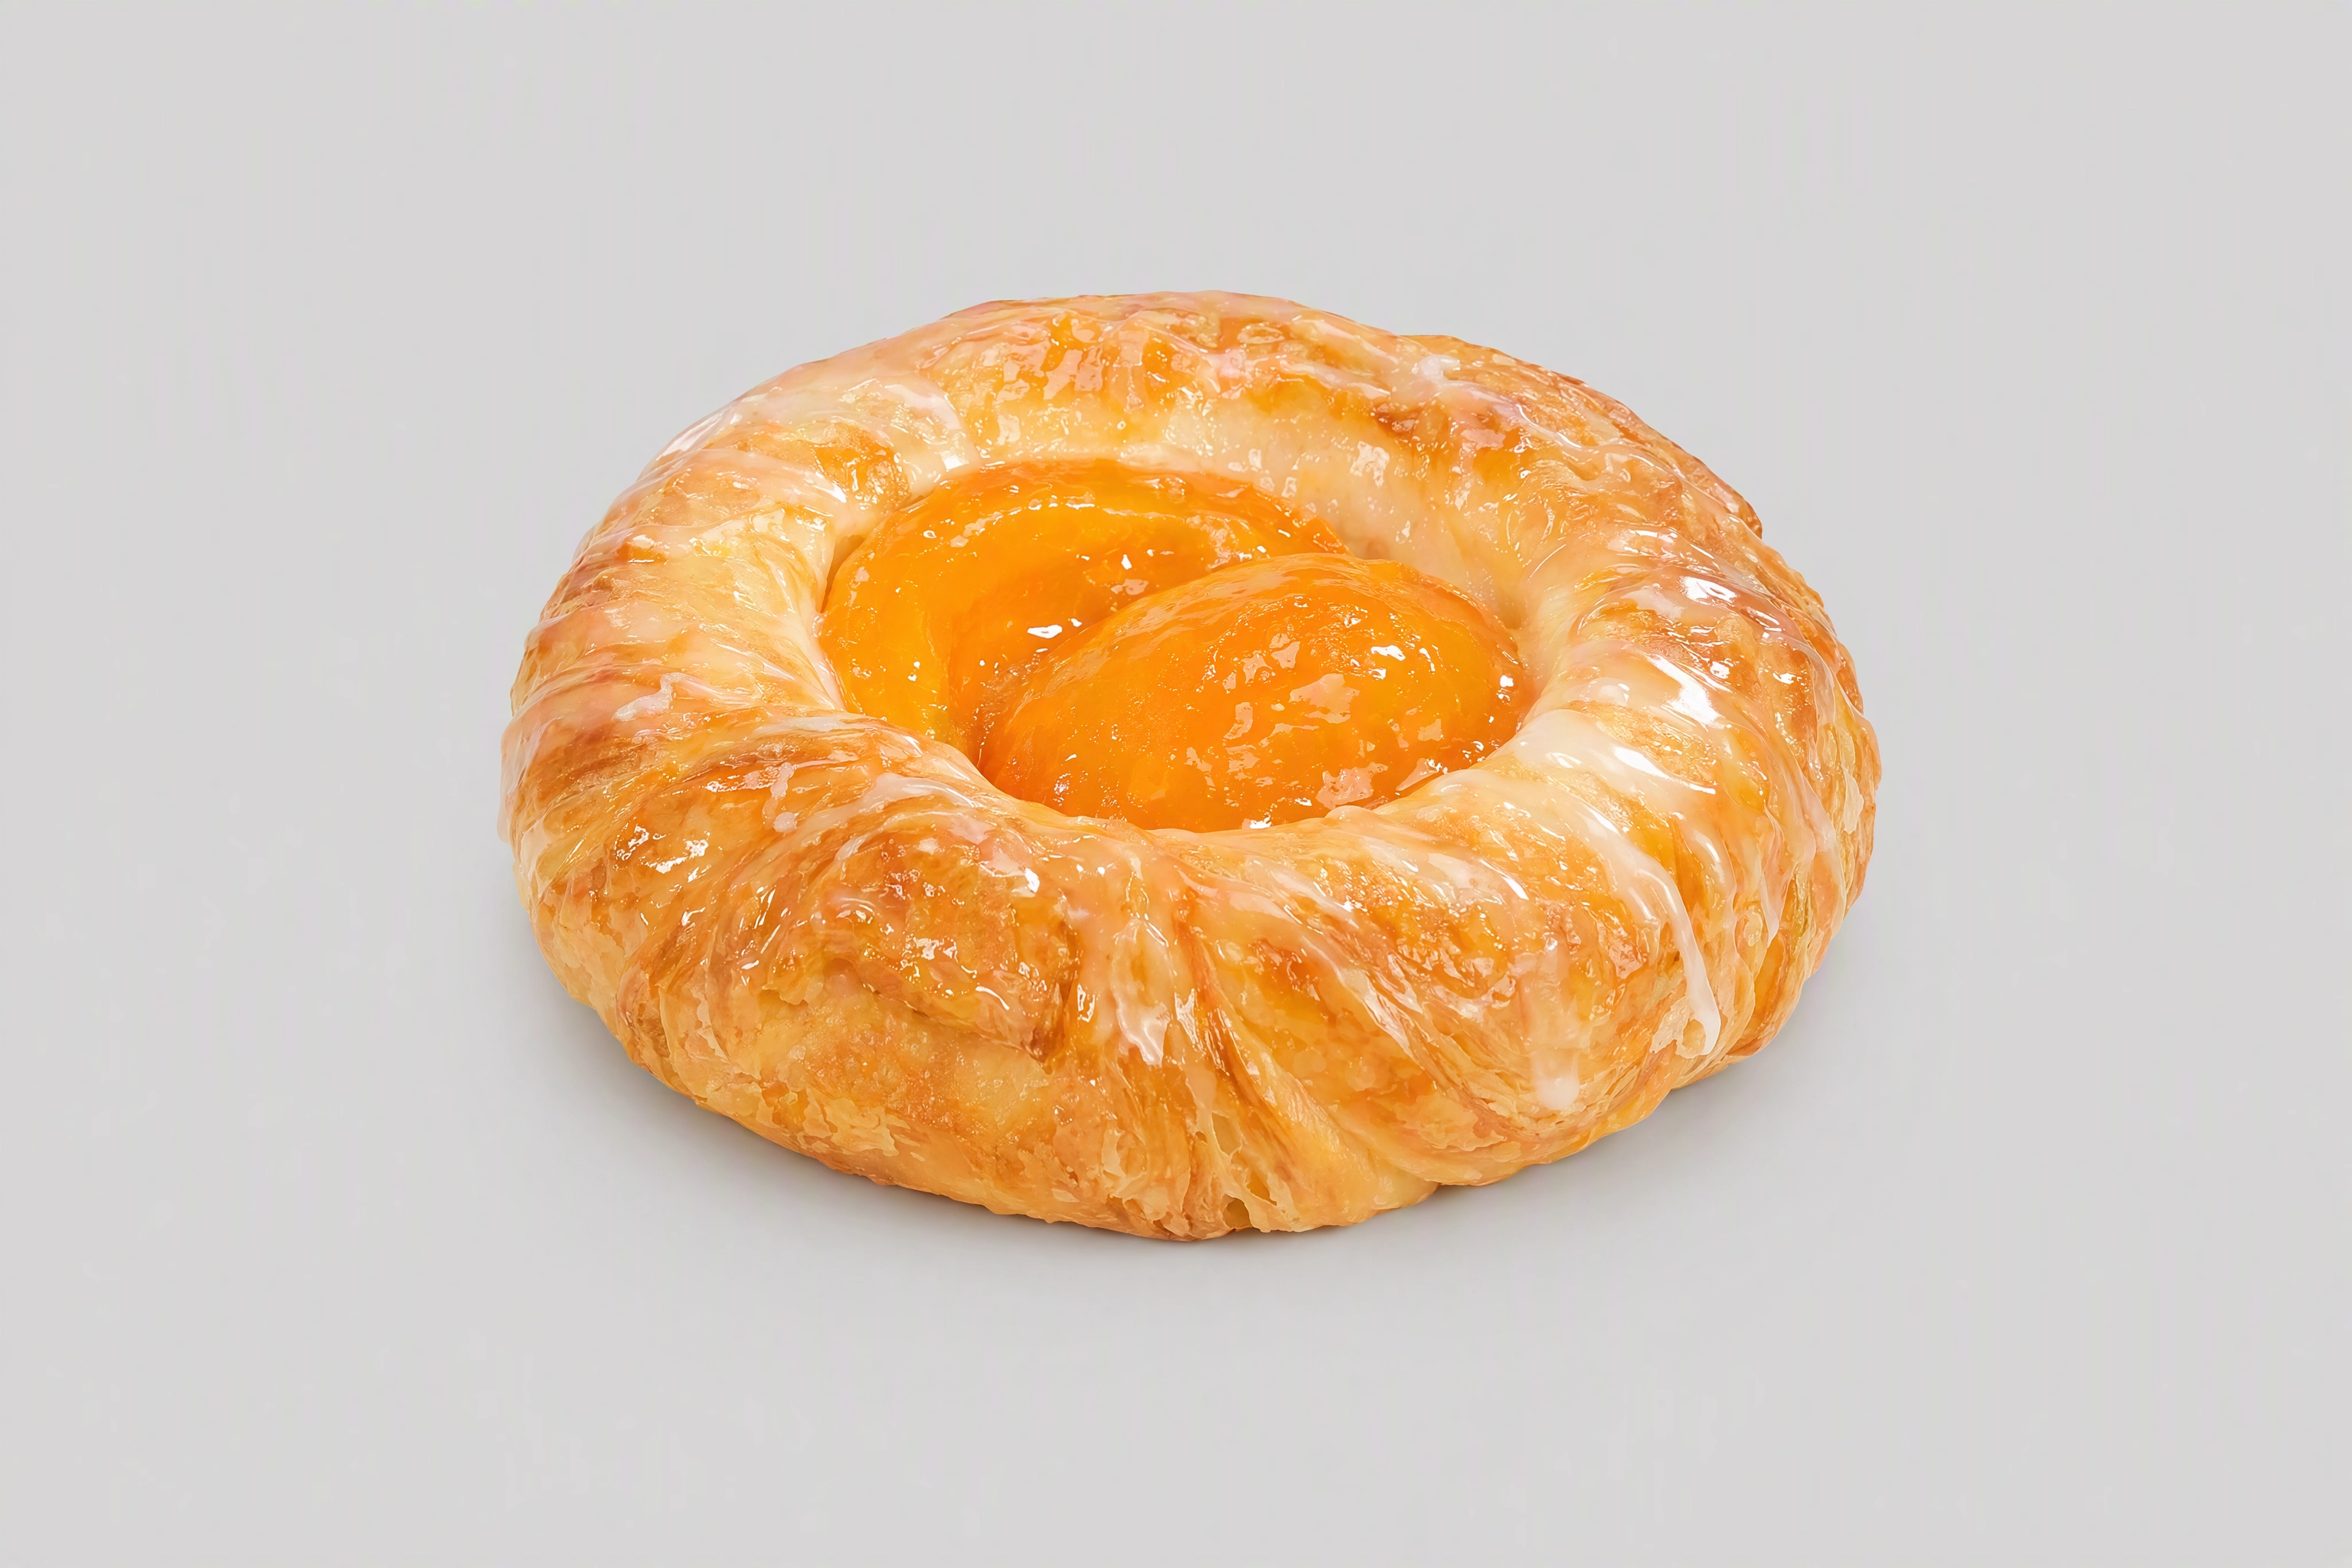 Plain brightly lit single danish centred on a neutral background, styled as a delivery app menu tile
Delivery platforms want a single item, centred, filling most of the frame, brightly and evenly lit, on a plain surface, with no text, no logos, no strong shadows and no people beyond hands. Uber Eats and DoorDash both reject for poor lighting, blur and overlaid text.
Which means the moody, near-black window frame you love will fail there. So shoot a plain version of every hero item: same pastry, same session, bright even light, clean background, generous margin. It takes ninety seconds per item while the station is already built.
Exact pixel dimensions, crops and rejection reasons are in our DoorDash photo requirements breakdown and the delivery app photography guide.
Related: Uber Eats and DoorDash menu pictures, platform by platform.
Google Business Profile and local search
For a bakery, this is probably the highest-return destination on the list and almost nobody treats it seriously.
Google states that businesses which add photos to their Business Profiles receive 42% more requests for directions on Maps and 35% more clicks through to their websites than businesses that don't. For a shop whose entire trade is people within a two-kilometre radius deciding where to walk, direction requests are the metric that matters.
Post the whole set, not just close-ups: the counter, the full case, the storefront from the street, the window display, the seating if you have it. Someone deciding between you and the bakery two streets over is trying to picture walking in. Give them the room, not only the croissant.
Consistency beats polish here. Ten frames sharing one aesthetic do more for your branding than one perfect picture surrounded by nine bad images.
Instagram and Pinterest
There's a reason the search results for bakery photoshoot inspiration are almost entirely pin boards. Pinterest passed 619 million monthly active users in Q4 2025 and 631 million by early 2026, and food and drink is one of its largest categories. It is a visual search engine that happens to be free.
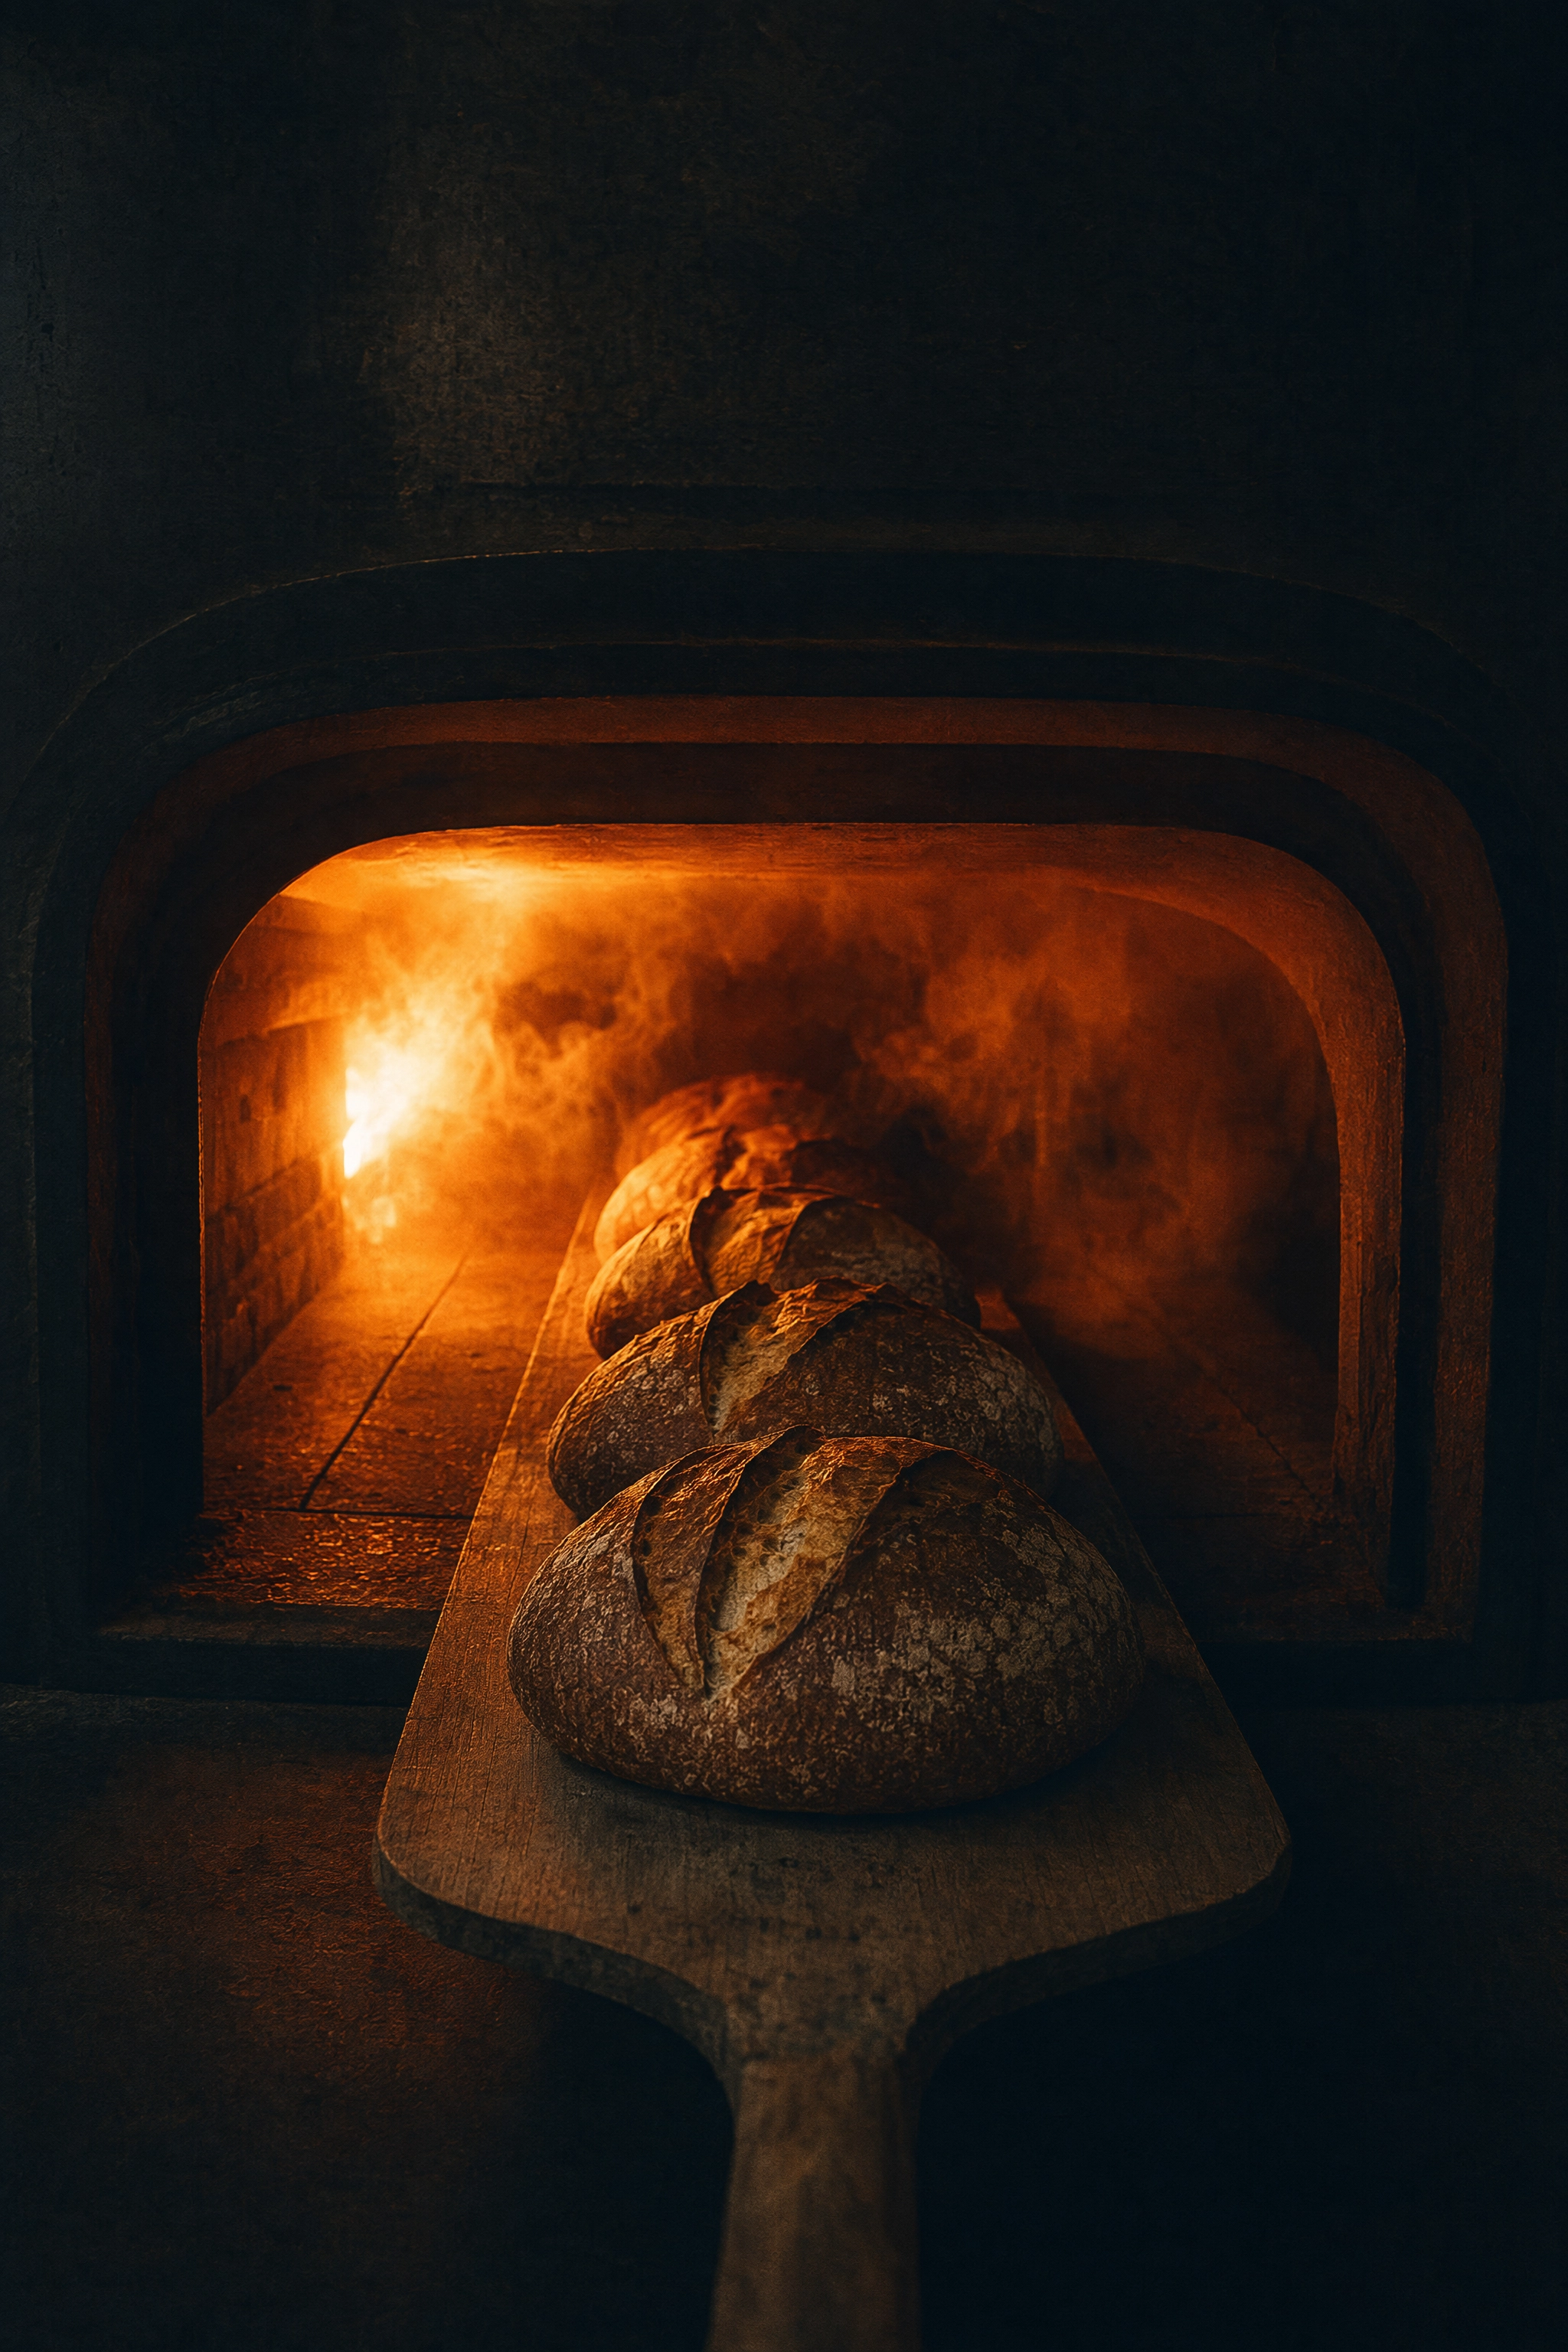 Vertical process shot of scored sourdough loaves sliding into a glowing deck oven for social content
The two platforms reward different frames. Pinterest wants vertical, process-led, seasonal, how-it's-made — pin the 4am material and the seasonal window. Instagram wants the counter, the cut and the queue. Shoot vertically at least once during the morning; both platforms punish a landscape crop. Most of the bakery photography ideas that travel there are process frames, not finished bakes.
Pinterest also surfaces related interests under every board, which is how a bakery gets found by somebody who started out searching for wedding cakes. Pin related bakes as a set — the plain croissant, the pain au chocolat, the kouign-amann — so a board reads as a range rather than a scrapbook.
One thing worth saying plainly: use those boards as briefs, not as templates. The ideas bakery owners get from a saved pin are usually sound; the frames themselves belong to someone else's case, someone else's counter and someone else's light. And when you pin your own process work, the boards start working for you instead of for your competition.
Related: Pinterest style transfer if you want a saved pin's look applied to your own bake, and food photography for Instagram for the feed side.
Print: flyers, window posters and menu boards
Print needs headroom in two senses. Shoot wider than you think you need and leave genuine negative space for type — a designer cannot invent room that isn't in the file. And shoot at the highest resolution your camera offers, because an A3 poster reveals every soft edge that looked fine on a phone.
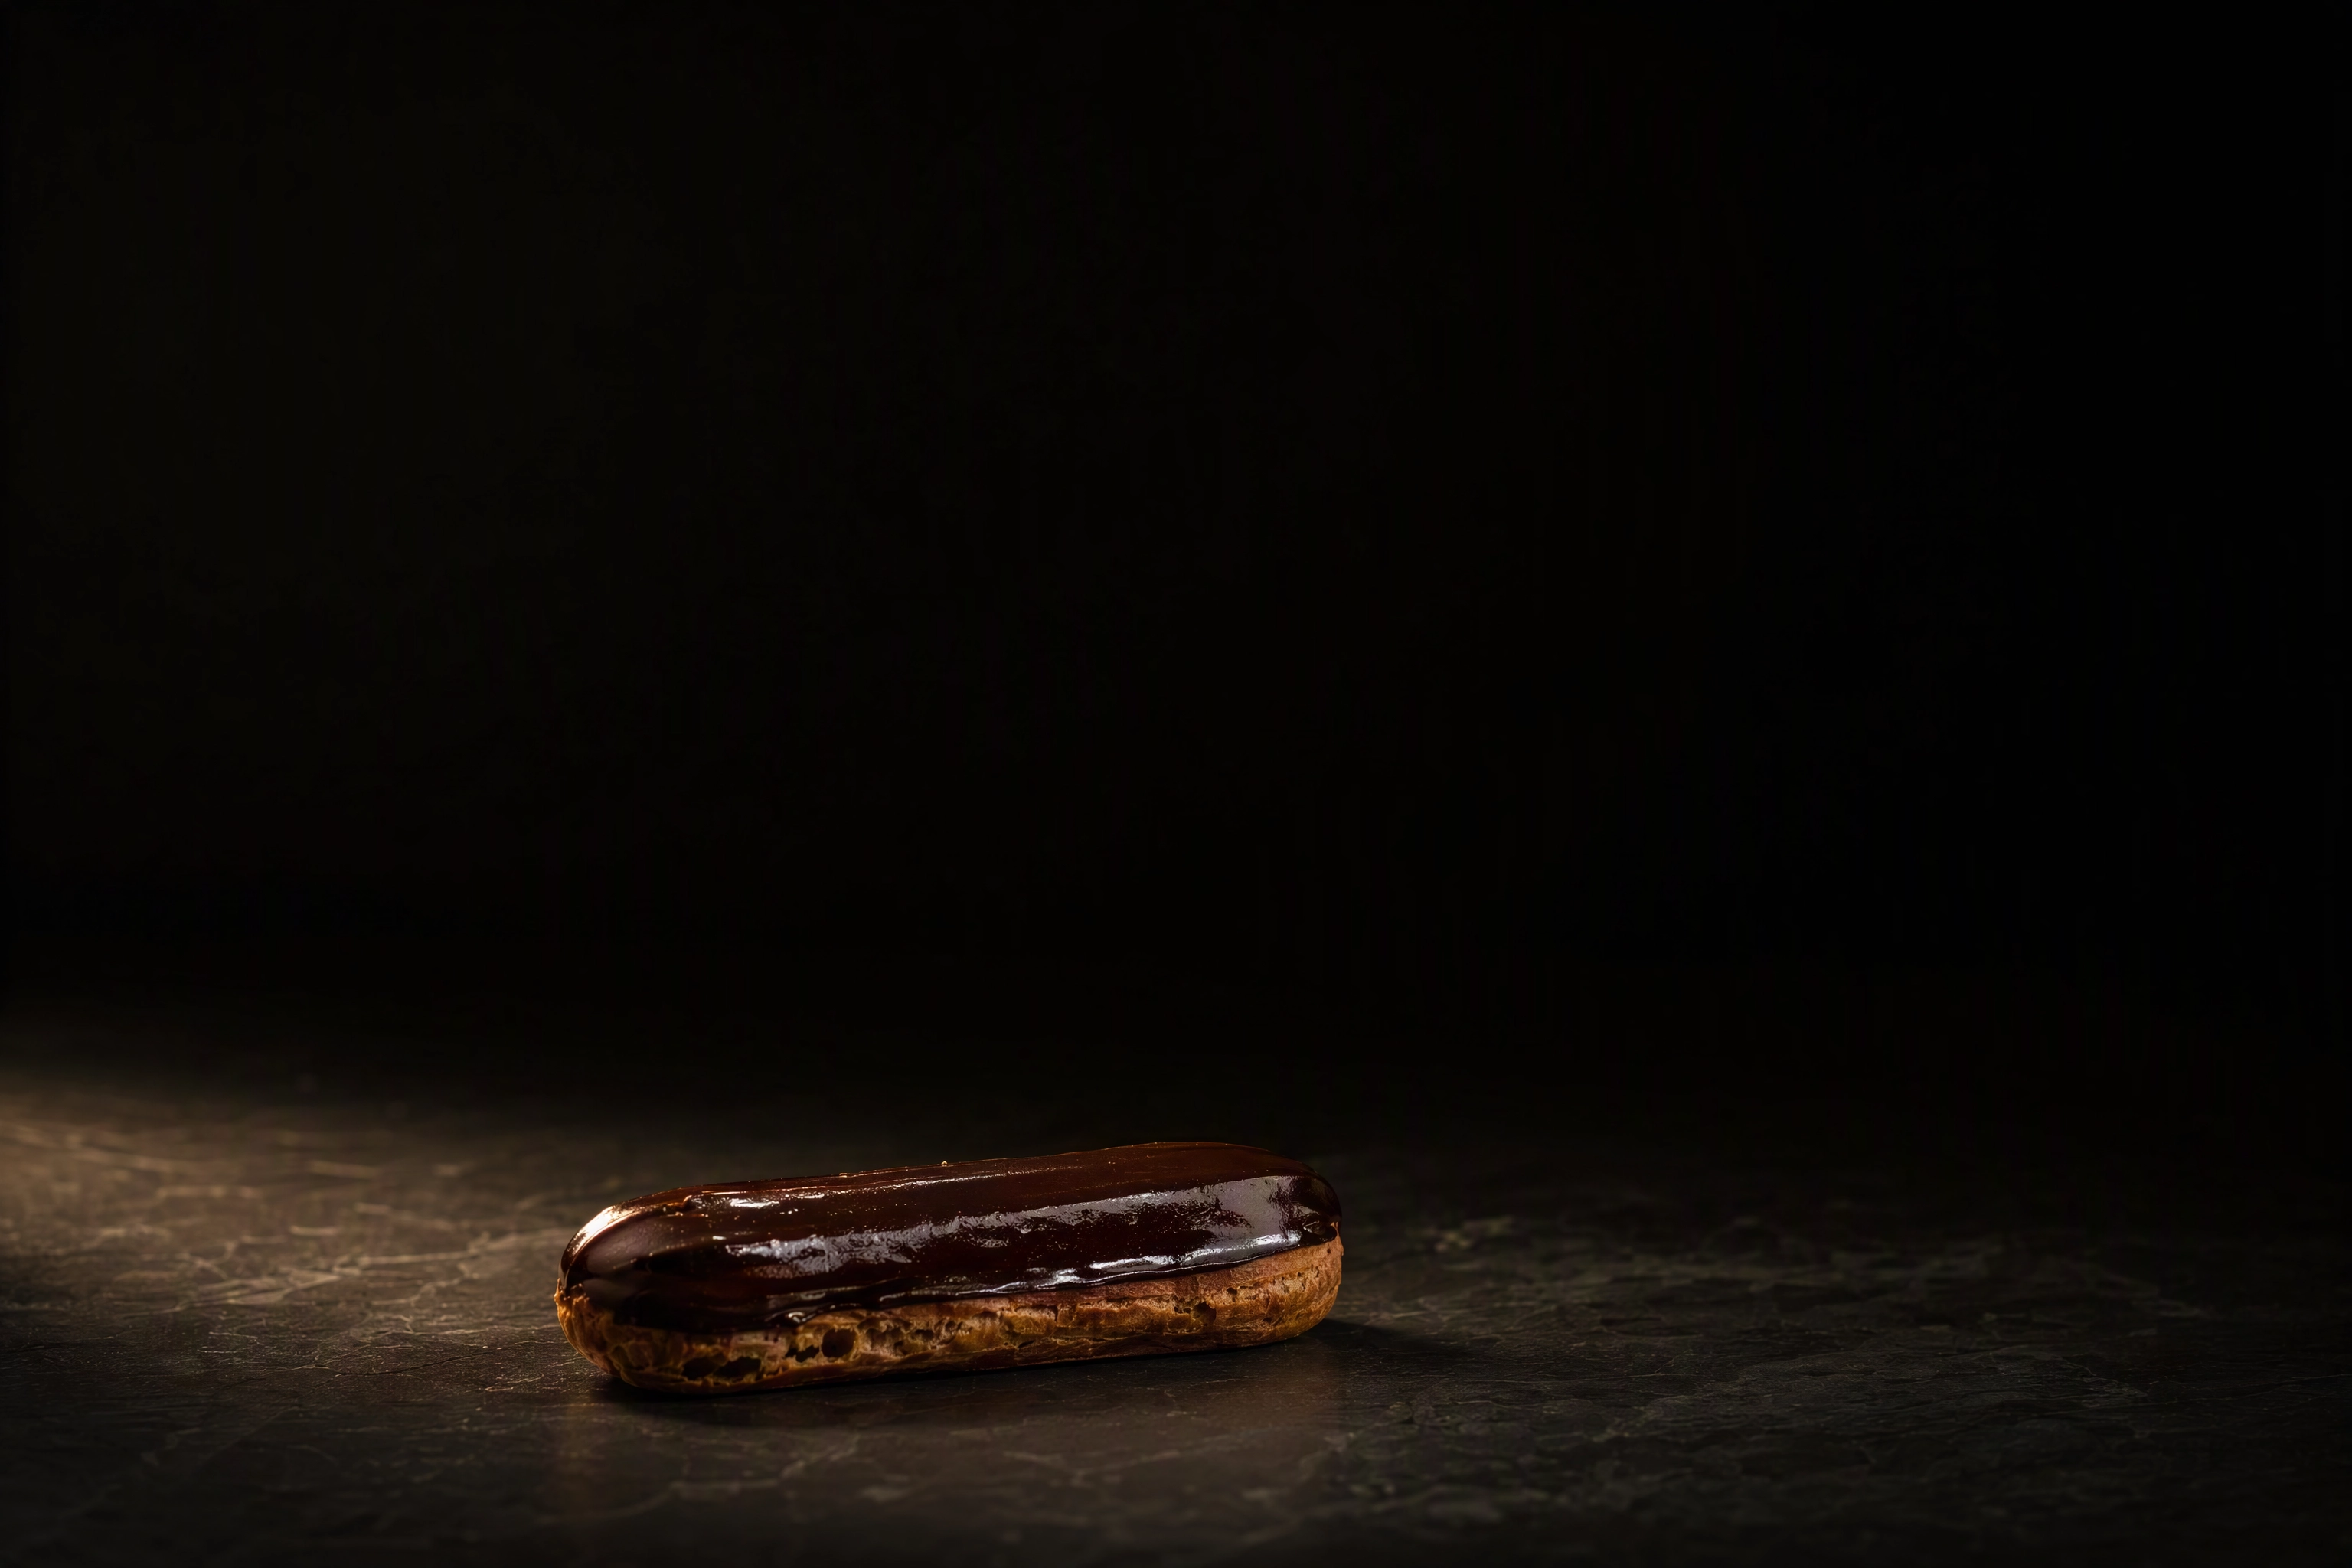 Single eclair placed low in a wide dark frame leaving negative space above for poster headline type
A single hero pastry in the lower third of a wide frame, with a clean dark field above it, is the most reusable print asset in this entire list. One frame, six months of posters — as long as the aesthetic stays consistent across the whole series. The food flyer ideas post covers the layout side, and restaurant menu board design covers the in-store boards.
Shooting by item: bread, cakes and the small stuff
Three families of baked goods, three genuinely different problems. Bread, cakes and desserts each want a different camera height, and the pastries in between borrow from all three.
Bread and sourdough
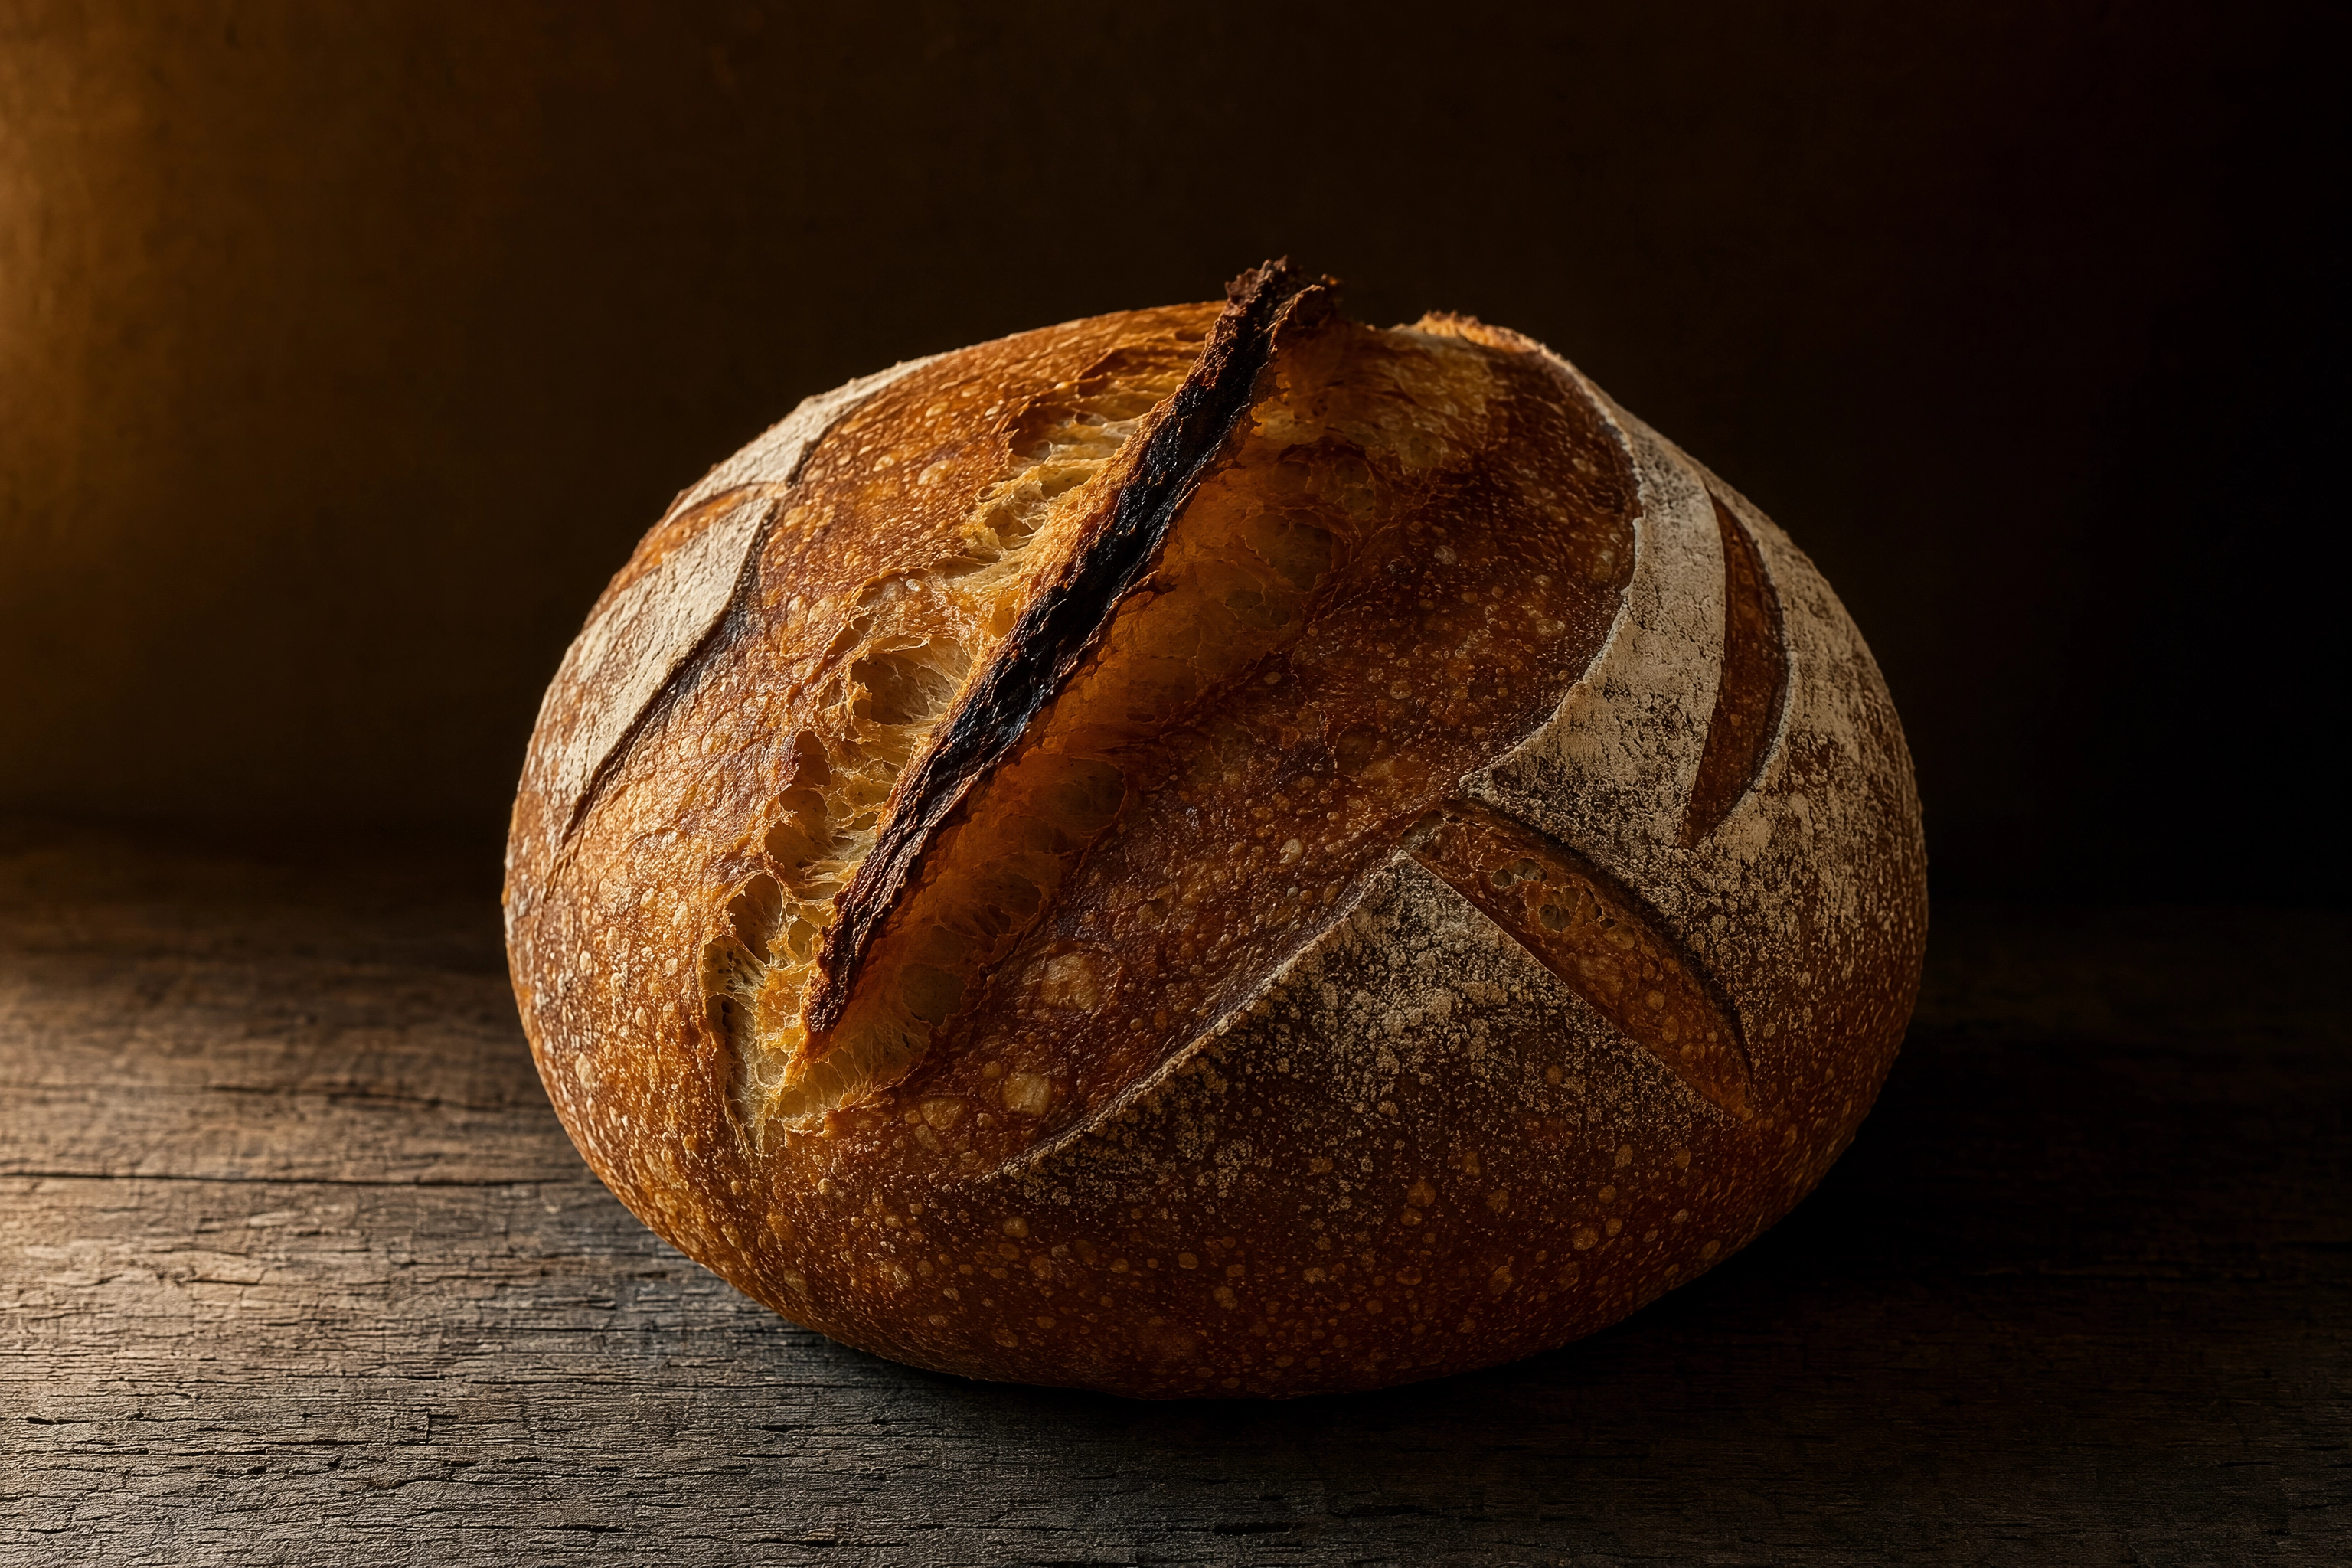 Whole scored sourdough boule under raking side light showing the ear, blistered crust and flour lines
Crust is topography. Light has to skim across the ear and the scoring, not hit it head-on, or a beautifully opened loaf reads as a brown lump. Come down close to the bench and let the shadows do the describing.
Shoot the loaf whole and cut in the same sitting — the pair is far more persuasive than either alone, and you'll want both for the menu.
Keep the tone warm. Bread photographed under cool light looks stale, and there is no editing move that fully undoes it. Dark backgrounds flatter rye and sourdough; pale backgrounds flatter soft white loaves and enriched doughs. More at bread photography.
Cakes and celebration work
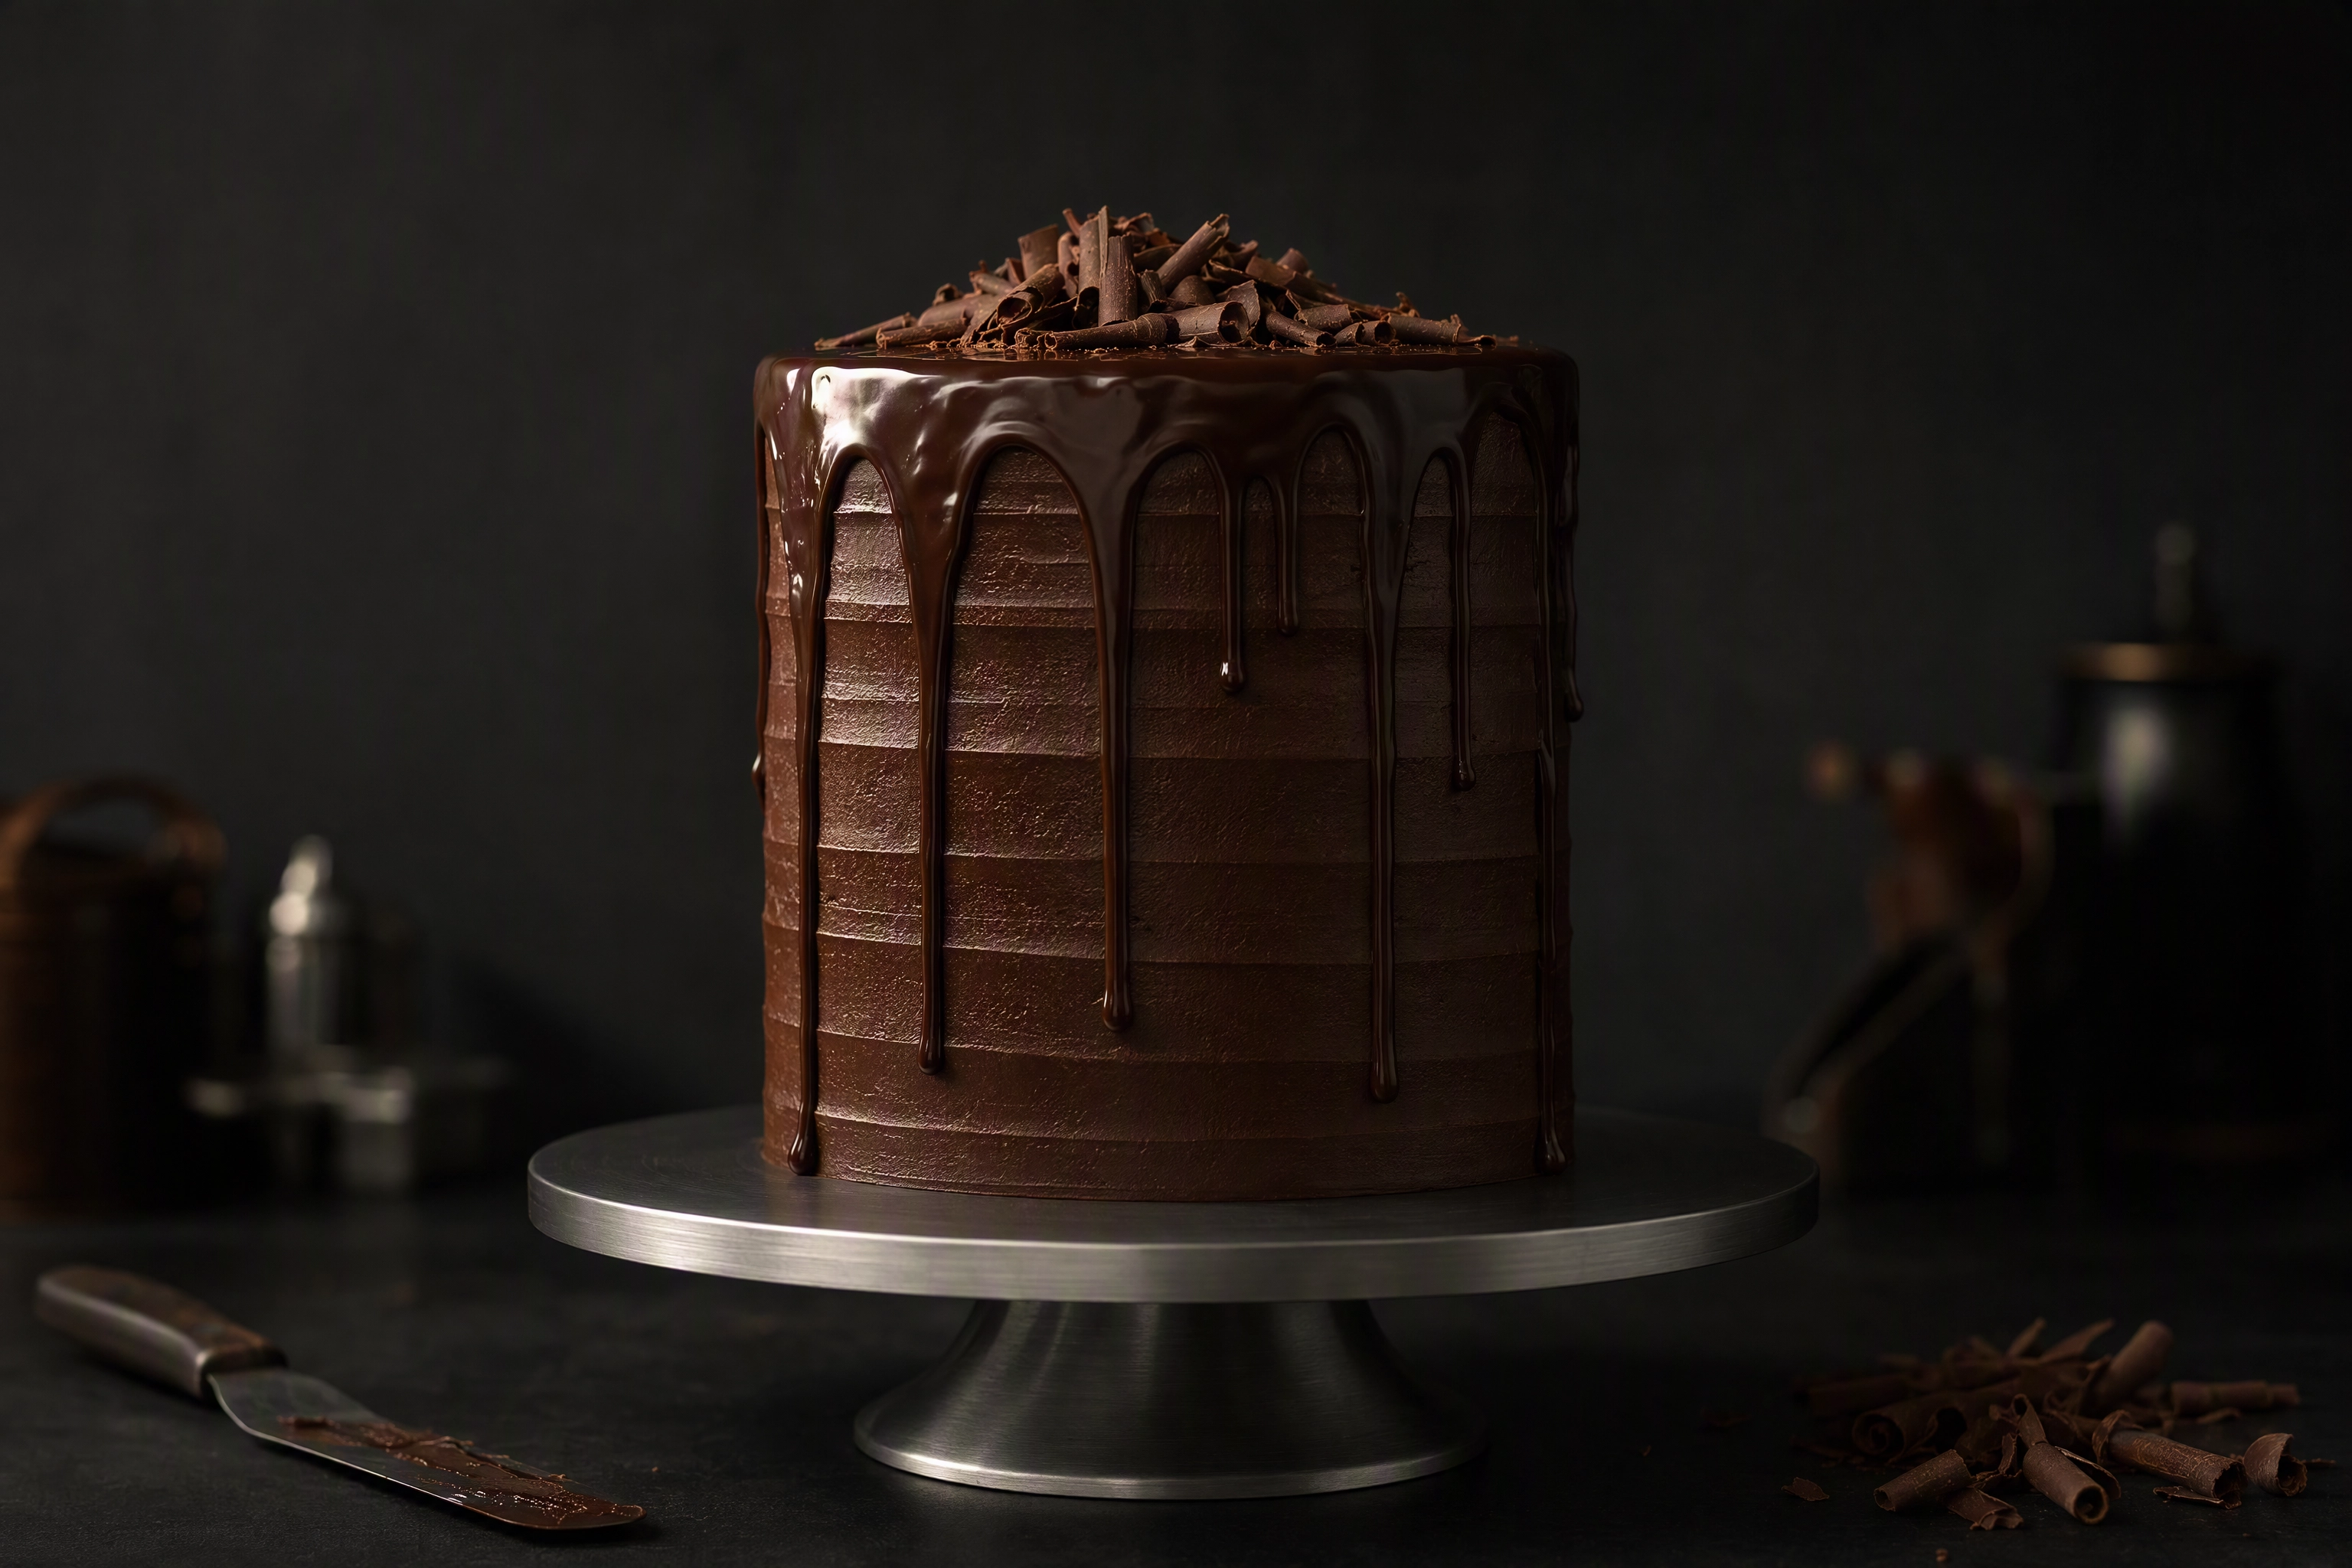 Layer cake on a turntable under a single spotlight against a dark background for celebration cake photography
Cakes are vertical objects and most people photograph them from above, which destroys the one thing that makes them worth the money. Drop the camera to eye level, or no more than 20 degrees above the top edge, so the layers stay visible.
A decorating turntable, one large soft source and a dark background gives you a portrait rather than a catalogue entry. Glossy ganache and mirror glaze are the difficulty: they reflect the entire room, so the source needs to be big and soft enough that its reflection becomes a clean sweep of highlight rather than a small hard bulb.
Always shoot the slice as well as the whole cake. Celebration work sells on the cross-section — that's the frame that gets shared, and the same rule holds for most plated desserts. See cake photography and cupcake photography for the decorated end of the range.
Cookies, donuts and the small stuff
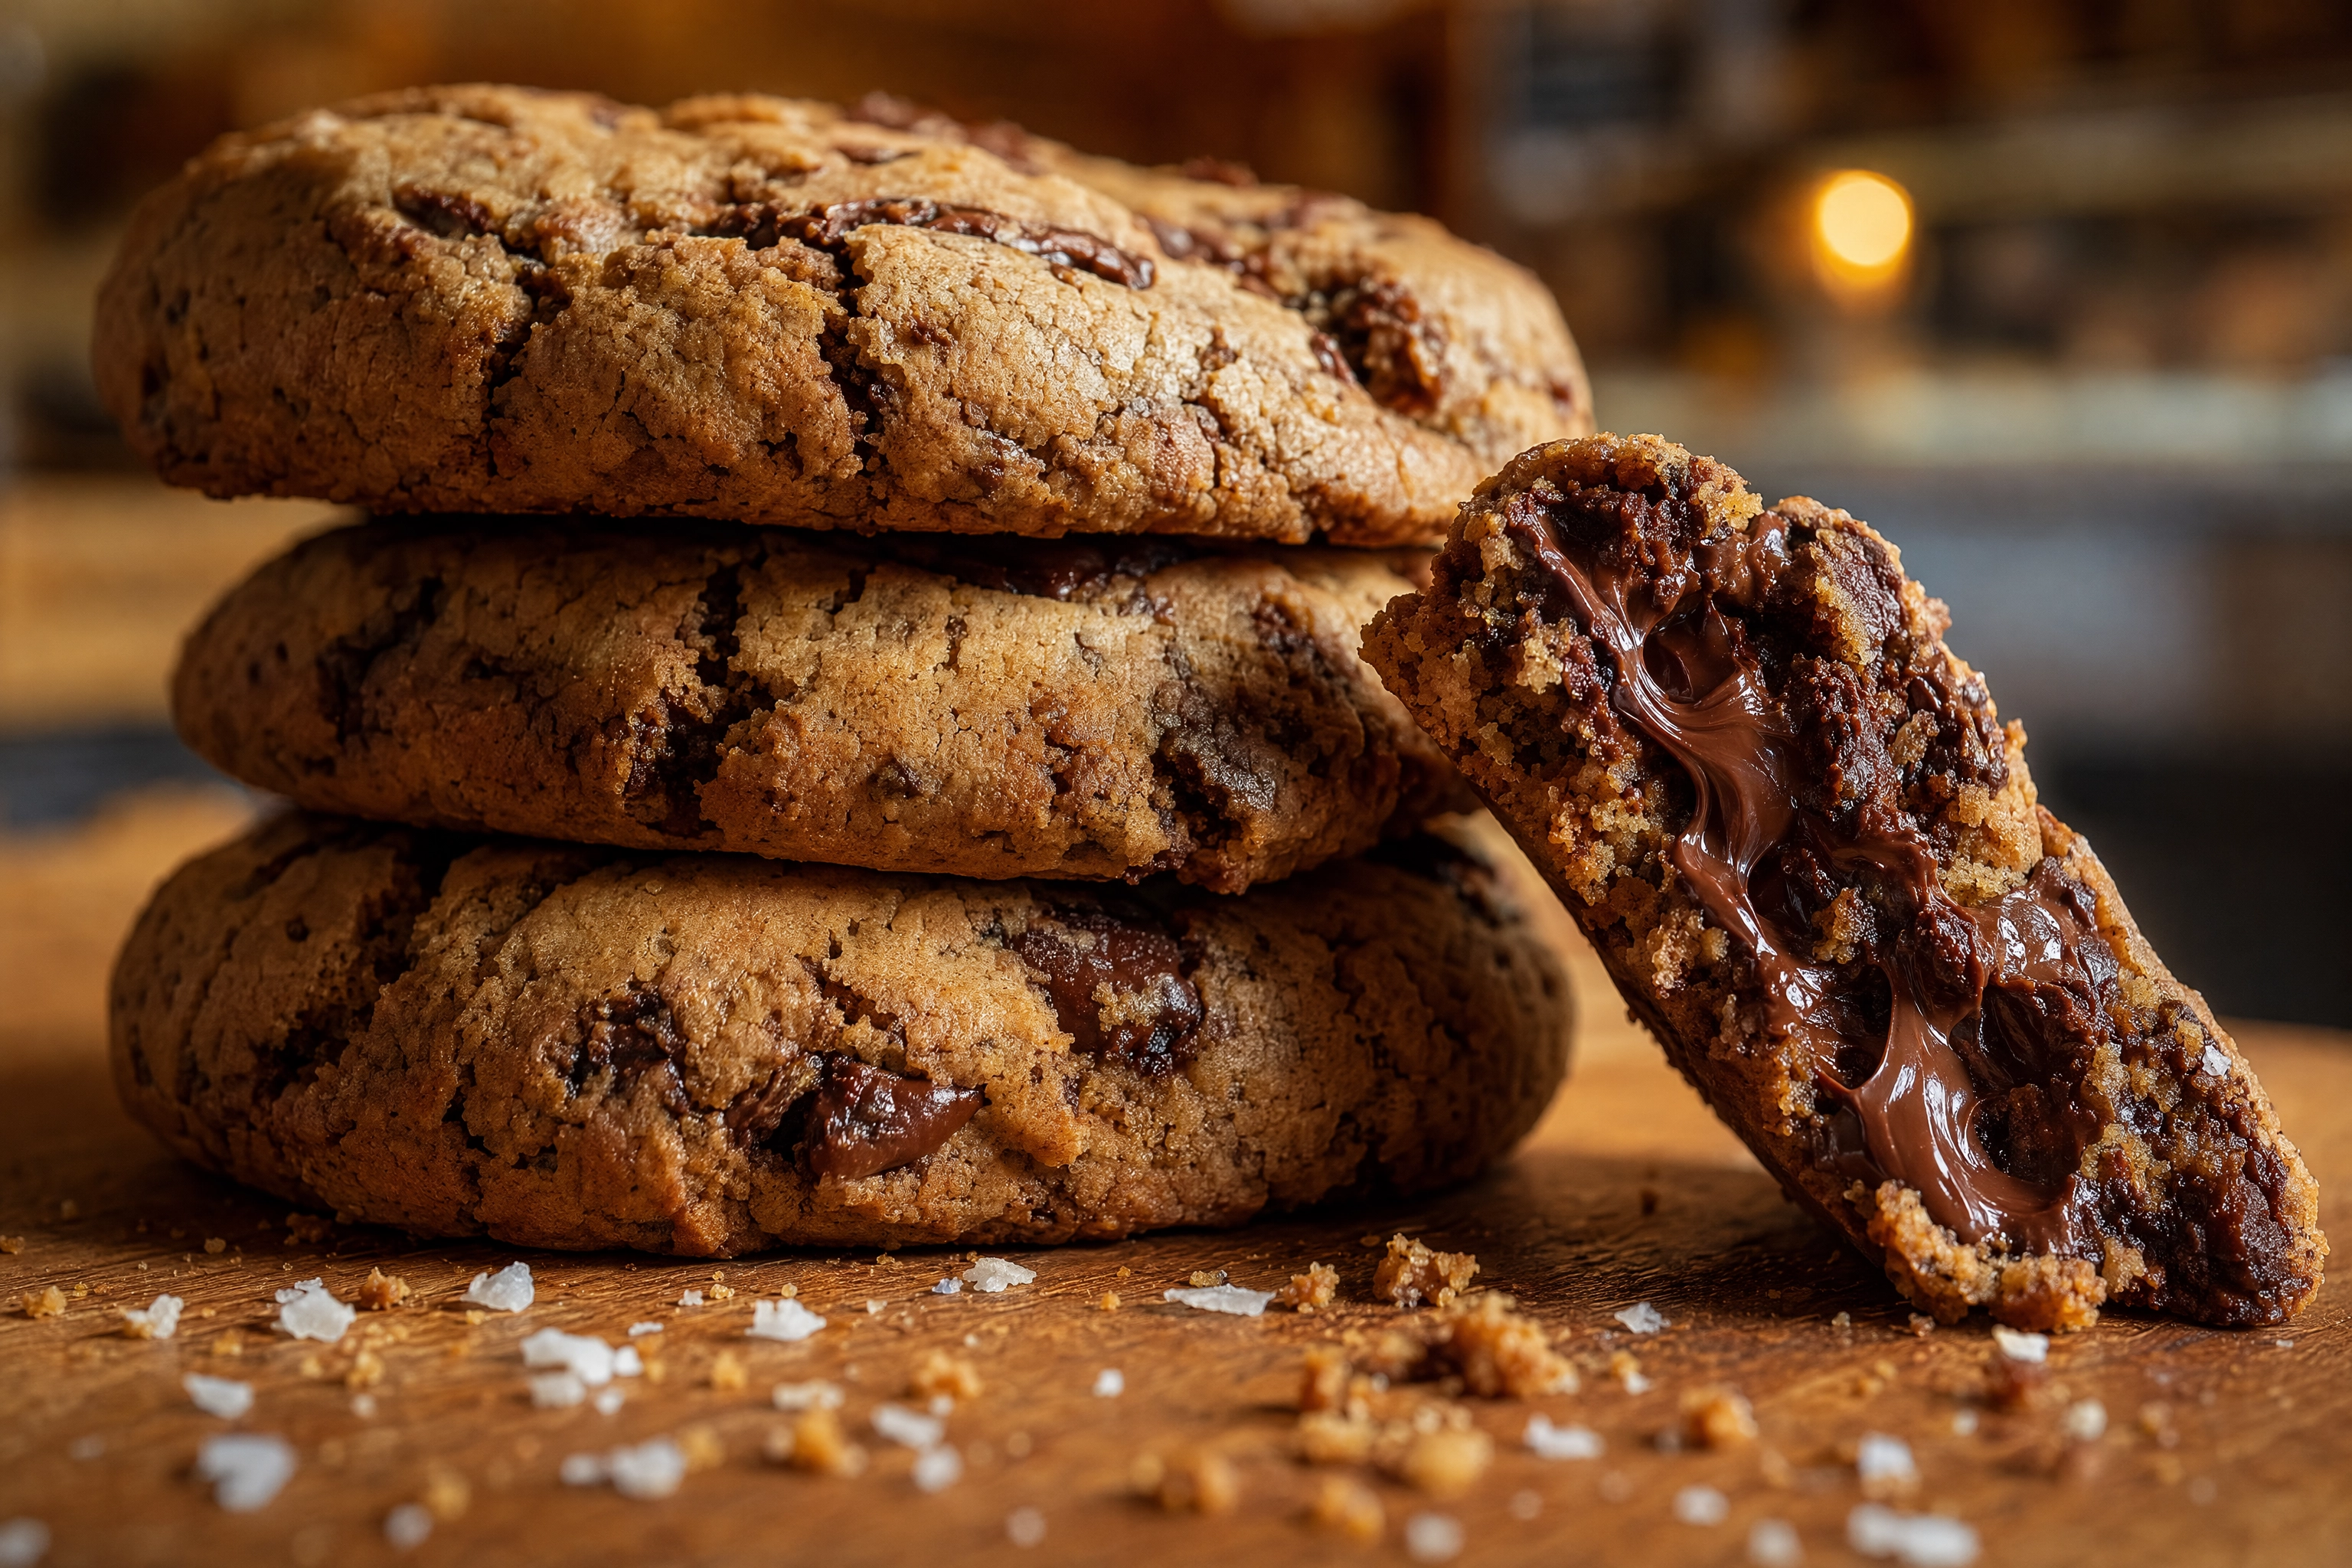 Eye-level macro of a leaning cookie stack with one cookie broken open to reveal a molten chocolate interior
Small items die alone in a wide frame — a lone financier on a big board looks like a mistake. Small pastries need rhythm: three of them, or a leaning stack, or one snapped in half with the interior facing the lens.
Glaze needs a reflection to read as glaze — a bright soft source somewhere it can bounce off, or a donut just looks matte and dry. Matte cookies need the opposite: hard texture light across the craggy surface.
Get low. Macro at eye level beats overhead for anything with height, and a broken edge in the foreground is worth more than three perfect whole ones. Donuts, cookies and small desserts all want the same aesthetic: tight, tactile, low. Deeper on both: cookie photography, donut photography, and dessert photography for the plated end.
What a bakery photoshoot costs, and the faster route
Booking out a morning of professional bakery photography runs roughly $500 to $2,500 depending on city, scope and licensing, and that's before styling, props or usage rights get added. Our food photography cost breakdown puts half-days at $400 to $1,200 and full days at $750 to $2,500, with hidden extras adding 40 to 60% on top of the quoted figure.
Now apply the rotation. A bakery that changes its range seasonally needs four shoots a year. That's $2,000 to $4,000 annually before a single flyer gets designed — against margins in an industry that, per IBISWorld, runs to $17.8bn across 9,112 US bakery cafes with growth of about 1.3% a year. Thin is the operative word.
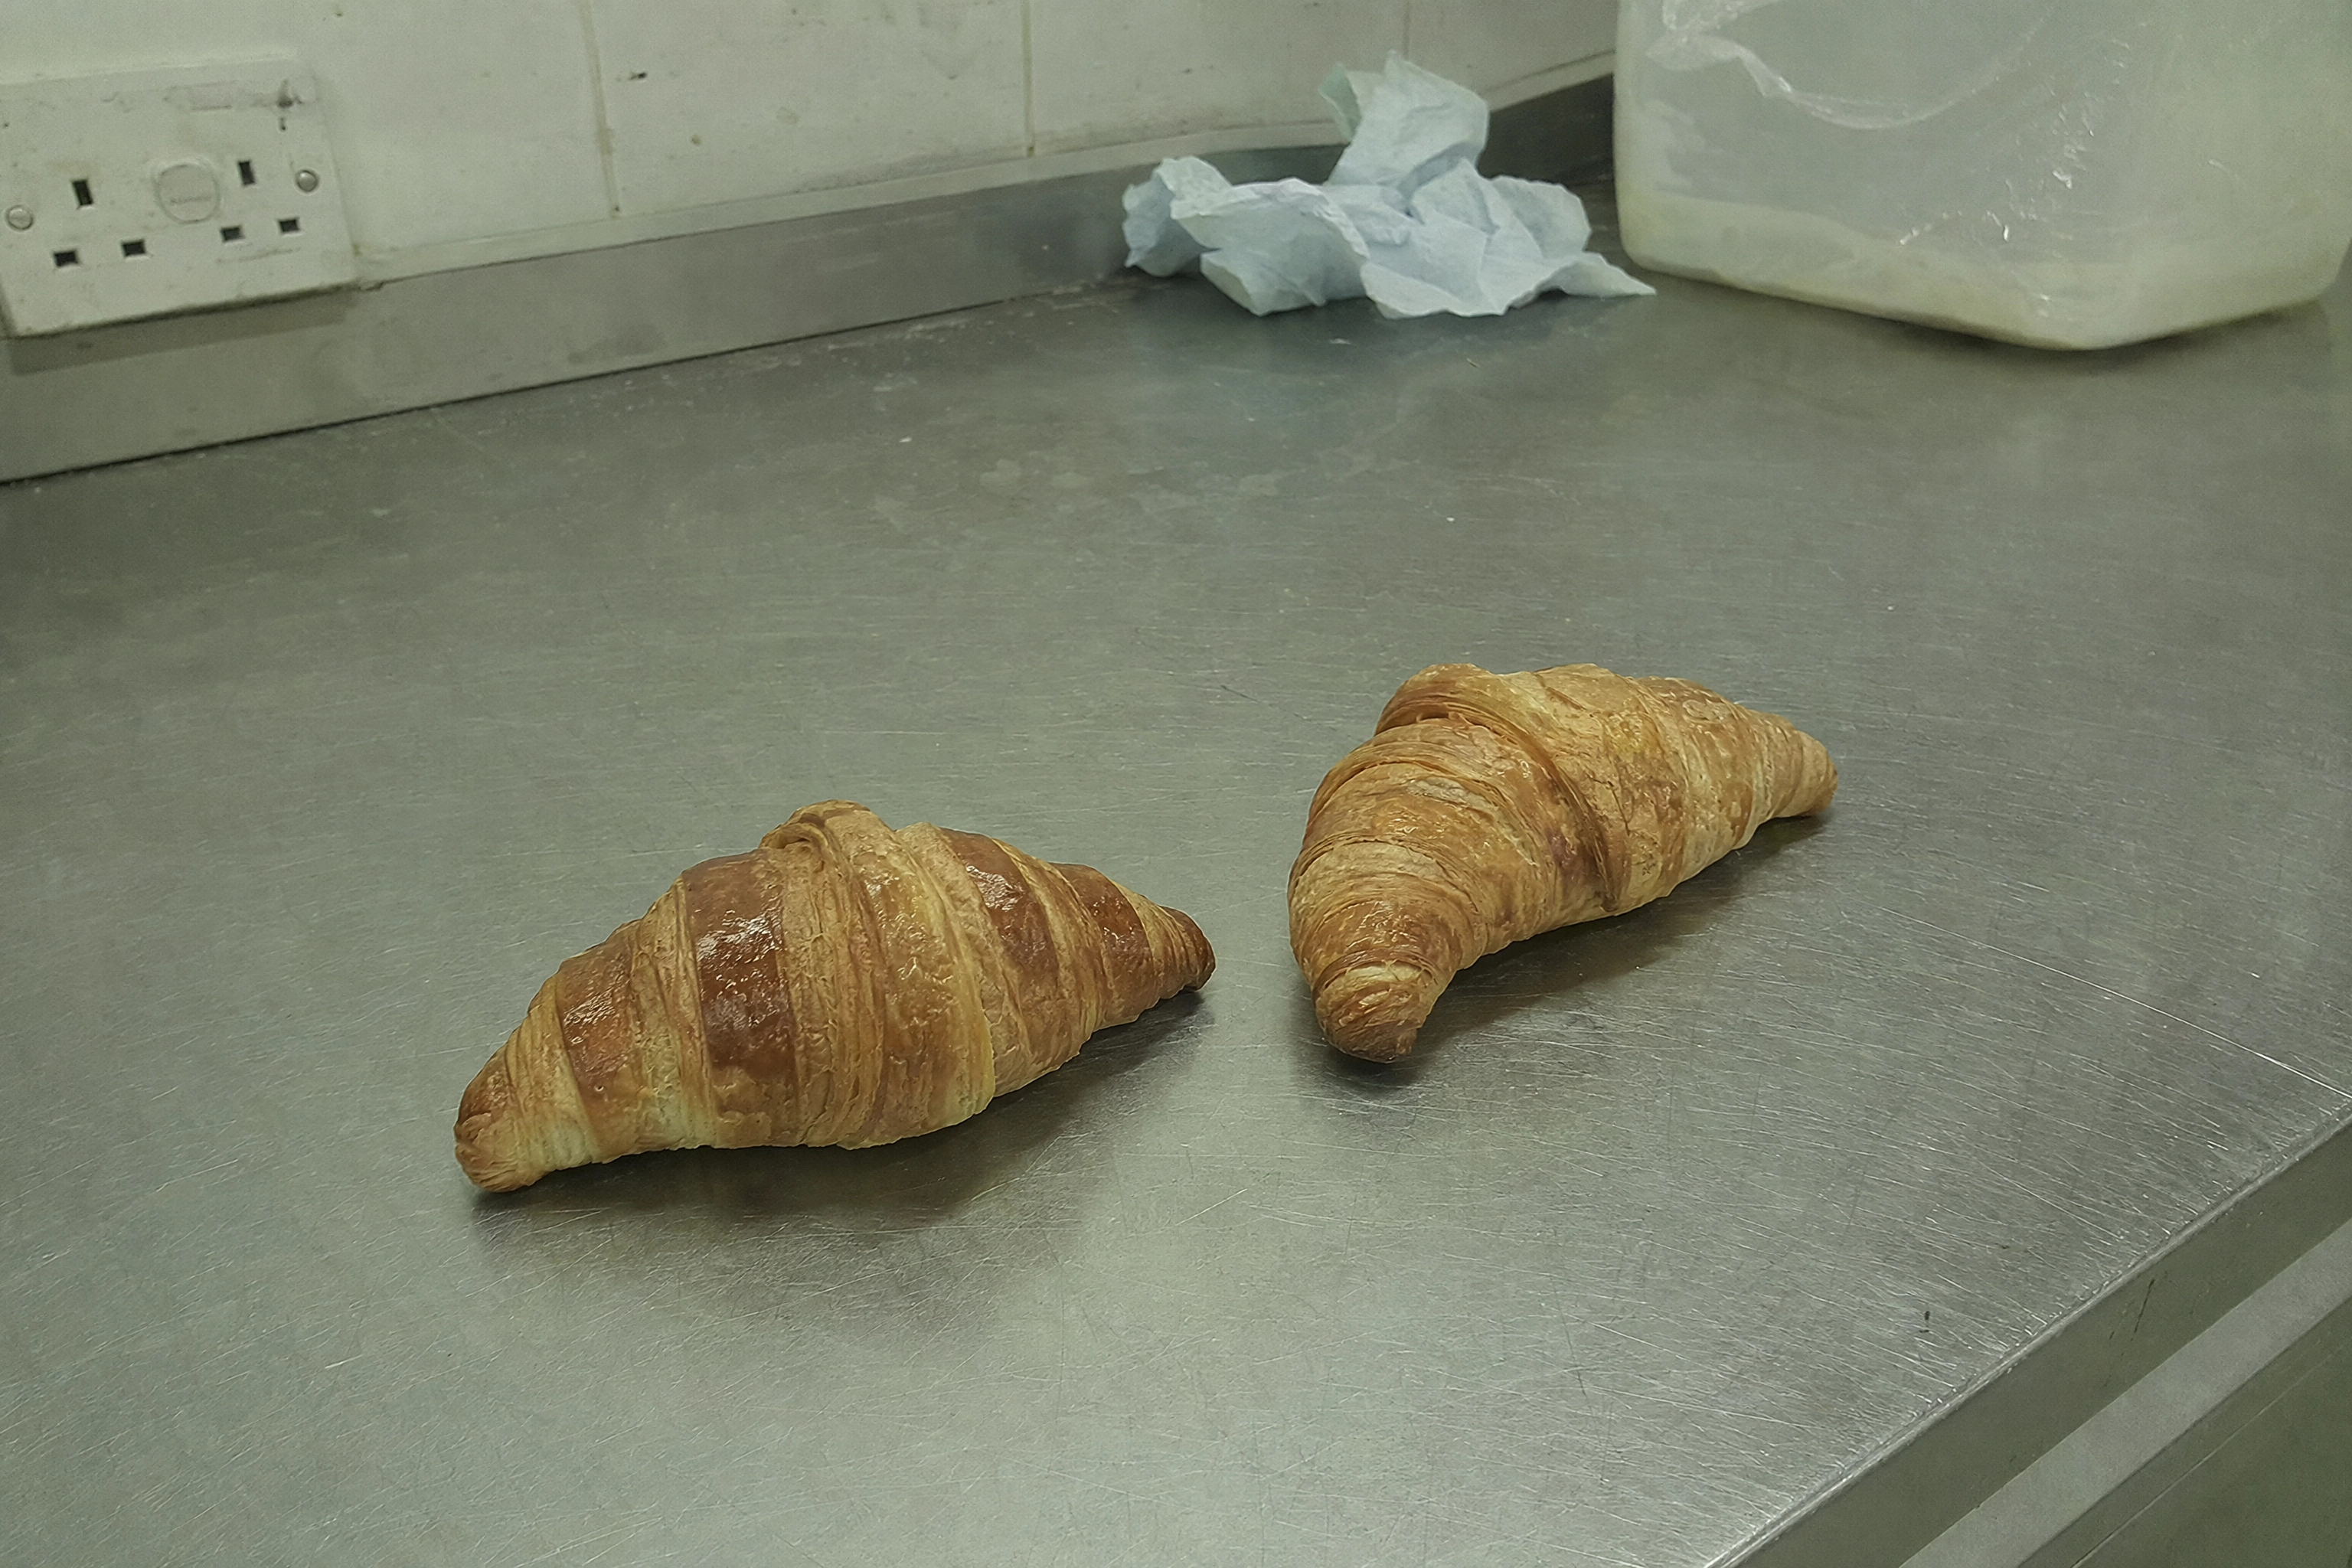 Flat unflattering phone snap of croissants on a stainless bench under fluorescent light before AI styling
A self-run bakery photoshoot costs a morning of labour and the specimens you hold back. What it produces is raw material — correctly composed, correctly angled, often imperfectly lit, because you were working in a dark room at 5am with one lamp.
That gap is what FoodShot AI closes. Upload the phone frame, pick from 200+ styles, and get a 2K menu-ready result in about 2 minutes. Plans start at $15/month for 25 credits; on the $45 Business plan it works out around $0.45 an image. Commercial rights come with the paid plans. Bakeries specifically get the bakery use-case walkthrough, and full plan details are on pricing.
Two honest limits. It works from your uploads, so it can't invent a bake you didn't make. And it can't produce the counter, the queue or the window — those are yours to shoot, which is exactly why setups 4, 5 and 6 above are on the list.
Either way, the target is the same: the kind of photography bakery teams can sustain without hiring anyone. Shoot honest frames at 5am, fix the light afterwards, and repeat it every season.
Related: restaurant photography pricing if you want the quote-by-quote breakdown before you decide.
Five mistakes in almost every bakery photoshoot
These turn up in nearly every bakery photography set we review, and they're the ideas bakery owners most often inherit from a pin board. All five are free to fix.
- Shooting through the case glass. Reflections, green cast, price cards. Open the case.
- Dusting flour on the finished bake. It reads as raw or dusty rather than fresh. Flour belongs on the board, never on the crust.
- One angle for forty items. Overhead for everything flattens croissants and decapitates cakes. Vary by item height: overhead for flat, three-quarter for laminated, eye level for tall.
- Mixed colour temperature in one frame. Warm case strip plus cool overhead equals muddy. Kill one of them.
- No plain version of the hero. The moody frame you love can't go on a delivery listing. Shoot both while the station is up — it costs ninety seconds.
A sixth, if you'll allow it: shooting only the baked goods. The counter, the window and the hands in the dough are what make a bakery feel like a place rather than a catalogue, and they're the frames that carry your branding everywhere else.
Frequently Asked Questions
What time of day should a bakery photoshoot happen?
In the 30 to 45 minutes between your last bake landing and the doors opening — typically somewhere between 5:30am and 7:30am. That's the only window where the entire range exists at once, at its best, with nobody in the room. If you want the storefront and window frames too, add a second short session at blue hour after close.
How do I photograph pastries in a display case without reflections?
Take them out of the case. That single move solves most of it. If you genuinely must shoot through the glass, use a circular polariser at roughly 56 degrees off perpendicular rather than straight on, put something dark behind the camera, switch off the light source that's mirroring, and clean the pane and remove price cards first.
Do I need a real camera for a bakery photoshoot, or is a phone enough?
A recent phone is enough for menus, delivery listings and social. Light and specimen selection matter far more than the sensor. A dedicated camera earns its place for large print, where resolution shows, and for very shallow depth of field on hero frames. Our phone food photography guide covers the settings worth changing.
How many pictures does a bakery actually need?
Realistically: one hero per top-selling line (usually 8 to 12), one plain delivery version of each of those, one full case lineup, three or four process frames, two counter frames and one window frame. That's around 30 to 40 usable pictures a season, which is comfortably one morning's work once the station is built.
How is a bakery photoshoot different from baking photography?
Baking photography is the craft of shooting baked goods — light, styling, steam, flour, the ritual of making. A bakery photoshoot is the business exercise of covering a real shop's range, venue and brand in one morning under service constraints. Same subject, different job, different output.
What happens to the baked goods after the shoot?
The pastries go straight back into service or to staff, which is why the whole thing runs before opening rather than after. Nothing gets glued, sprayed or varnished — every item in the frame should be a real one you'd sell, both because it photographs better and because a customer will eventually compare the picture with the pastry in their hand.
How often should a bakery reshoot?
Run a full bakery photoshoot once per seasonal range change — three to six times a year — plus a quick top-up whenever a new line launches. Hold your evergreen items — the plain croissant, the sourdough, the everyday cookie — and only re-shoot those when the recipe or the plating genuinely changes.
Ready to shoot? Start with the 27 food photoshoot ideas hub for setups beyond the bakery, then explore how AI food photography for bakeries turns a 5am phone frame into something menu-ready.