Best Tripod for Food Photography (Overhead Shots Solved)
 Ali Tanis14 min read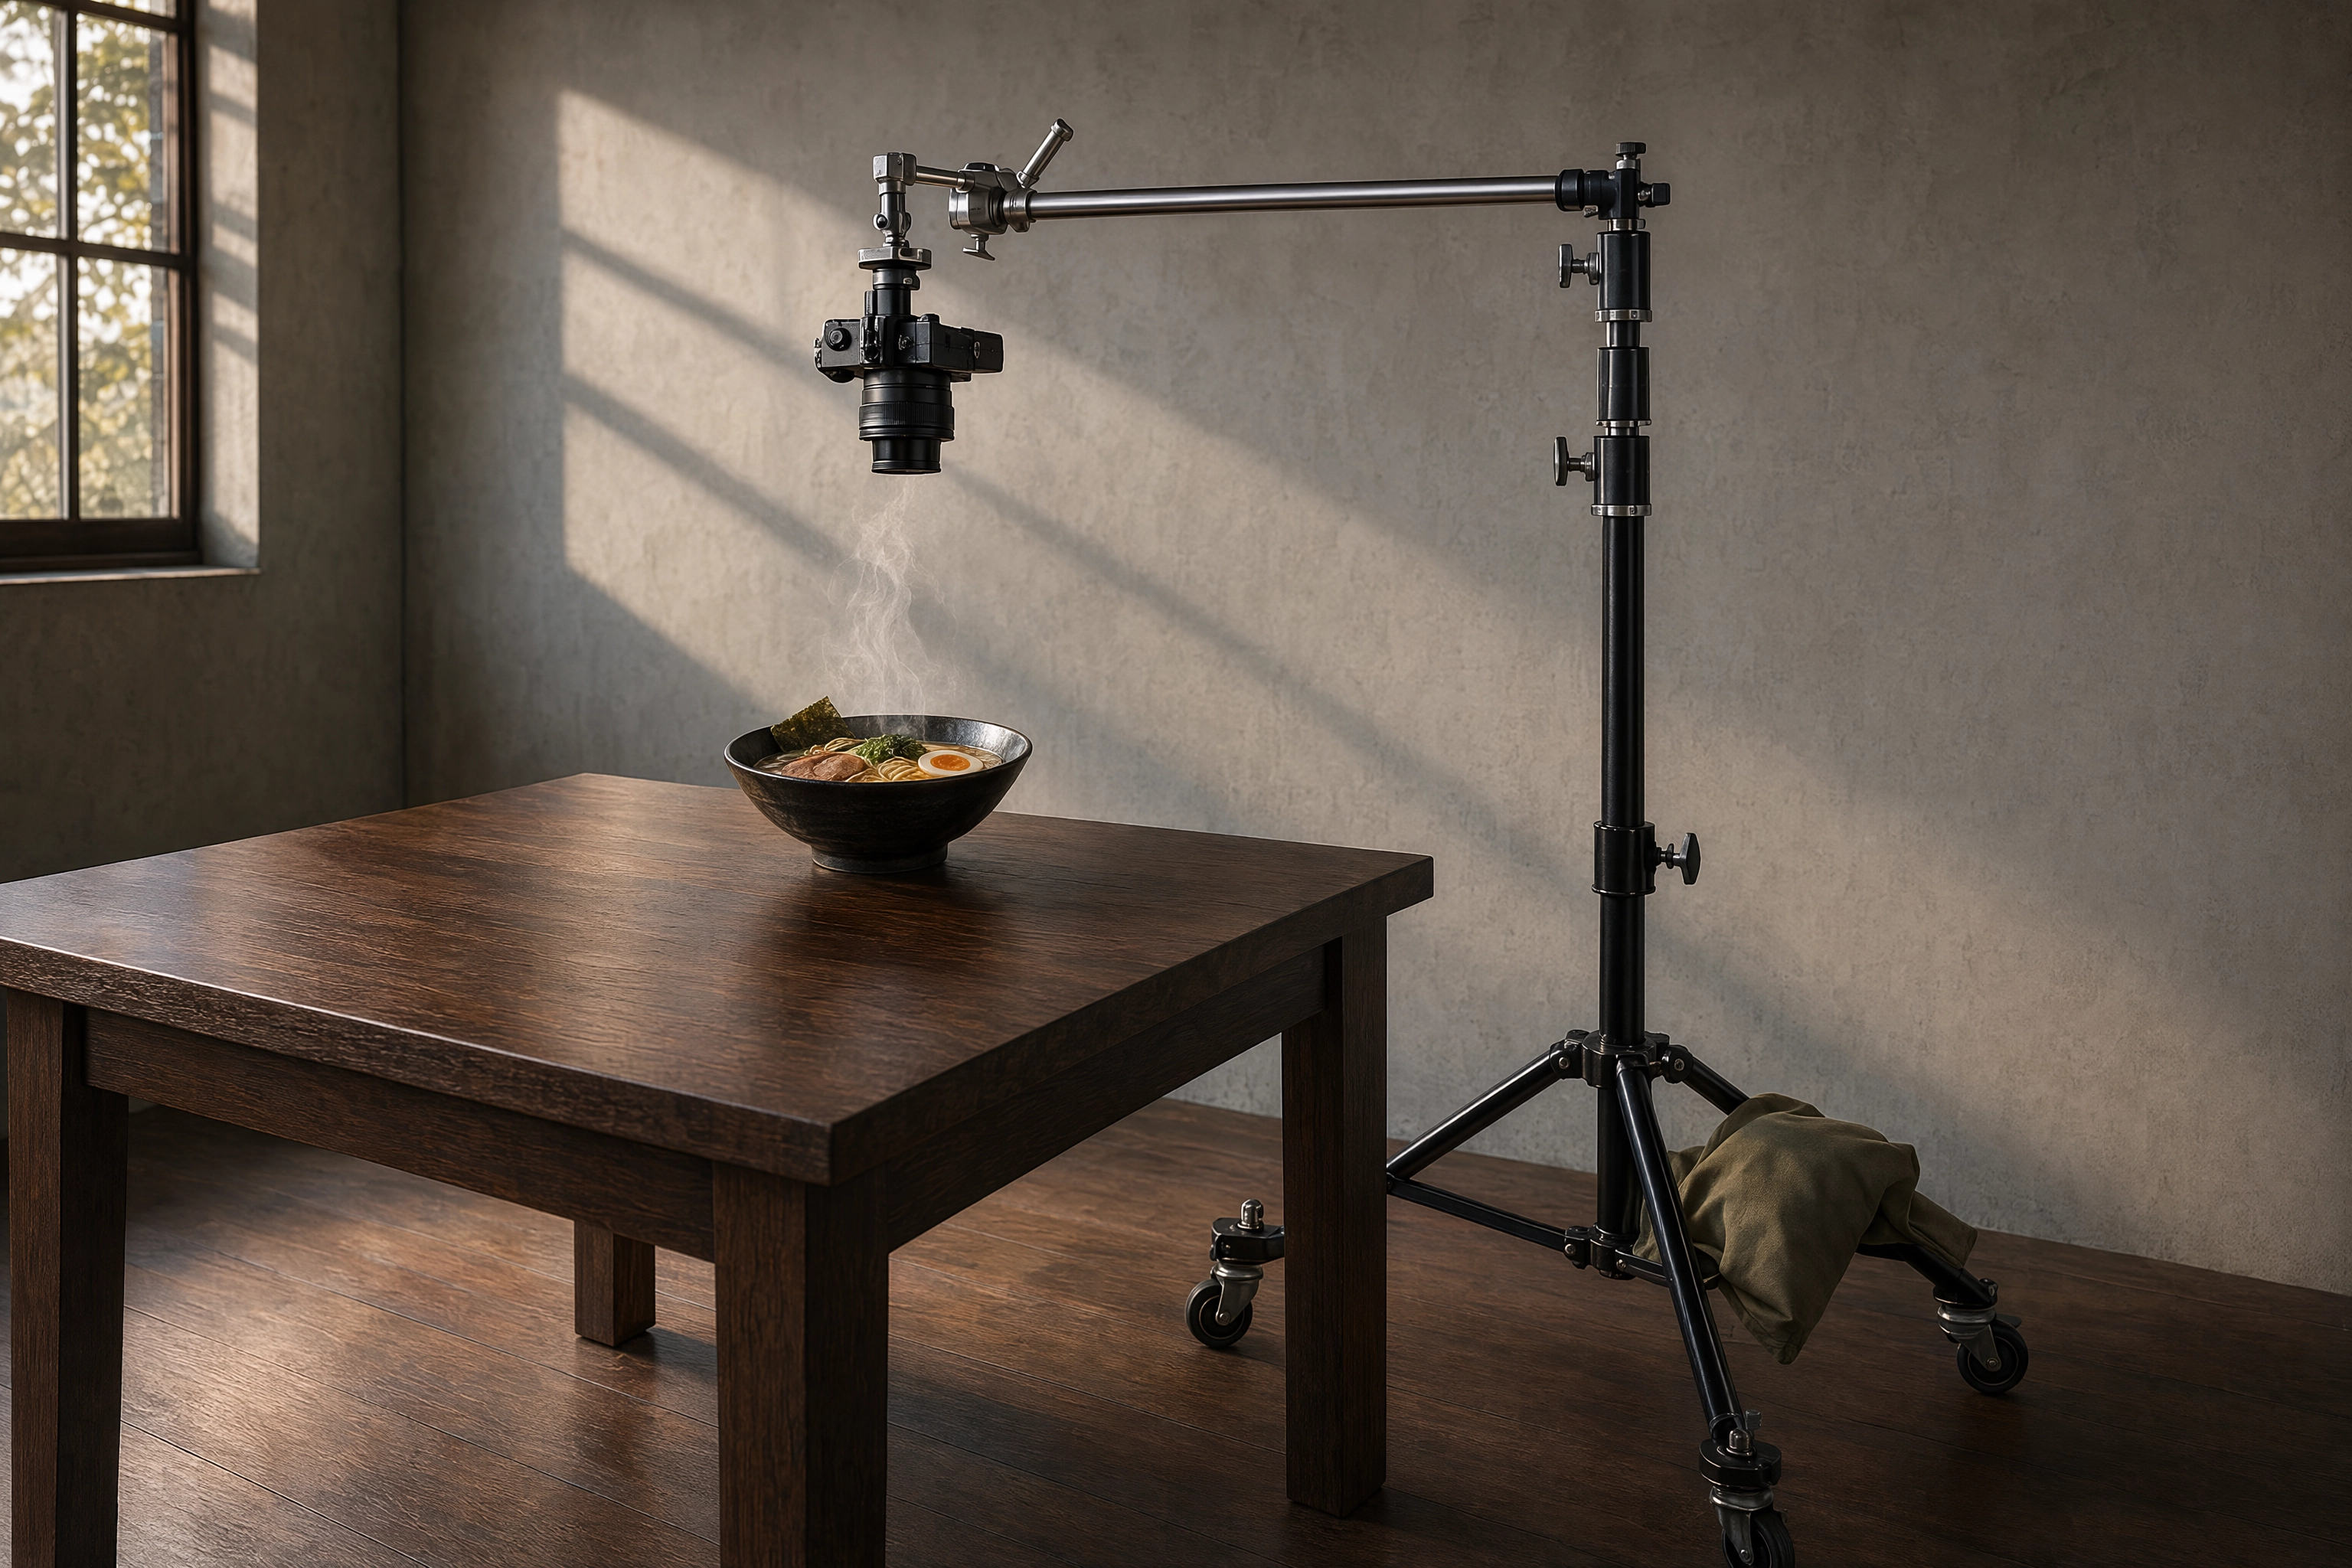
Most gear guides answer the wrong question. You are not agonising over aluminium versus carbon fibre — you are trying to suspend a camera over the middle of a table, aimed straight down at a bowl of ramen, and hold it there for forty dishes without a leg sliding into frame. That is why picking a tripod for food photography is harder than picking one for landscapes.
Quick Summary: The best tripod for food photography is whichever one can put a camera over the middle of a table. A standard tripod cannot, because its centre column only travels along the axis where the legs converge. Three fixes work: a 90° horizontal column (Manfrotto 190 or 055 class), a lateral side arm on legs you already own (about $109), or a C-stand with a boom ($130-220). Whichever you pick, sandbag it: an off-axis camera is a lever, and levers fall.
Why a Standard Tripod Fails the Flat Lay
Look at where the legs meet. That junction sits under the camera, and the column only slides up and down the same line. The one place a normal tripod can never reach is out over open space — exactly where it belongs for a flat lay.
So you do what everyone does first: shove the legs against the table, splay them, tilt the ball head down, and end up at 70° — neither a true top-down nor a clean 45. Push closer and a leg enters the frame. Photographers on r/AskPhotography reach two conclusions: legs that lean to 90°, or a studio stand instead.
That is the real test for a tripod for food photography: can it get the camera out over open space? Flat-lay shots are the defining angle here, and the ones handheld shooting cannot repeat.
How High Does the Camera Actually Need to Be?
Nobody publishes this number, and it decides which equipment you need.
A dining table is 30 inches (76 cm). On full frame, framing a scene 30 cm across, a 50mm lens sits roughly 45-50 cm above the surface. A 100mm macro — the more flattering choice for tight work — sits 90-95 cm above it.
So the camera floats 120-170 cm off the floor with nothing beneath it — and a 190-class tripod tops out near 160 cm with the column pointing up, not out. Knowing that, the accessory market makes sense: side arms, offset stands and booms all fill the same two metres of empty air. Our lens breakdown covers working distances.
Four Ways to Get a Camera Over the Middle of a Table
Every tripod for food photography solves that geometry, or fails. Four routes, cheapest to most rigid, depending on whether you shoot ten images a month or a hundred dishes a week for restaurants.
1. The 90° Horizontal Centre Column
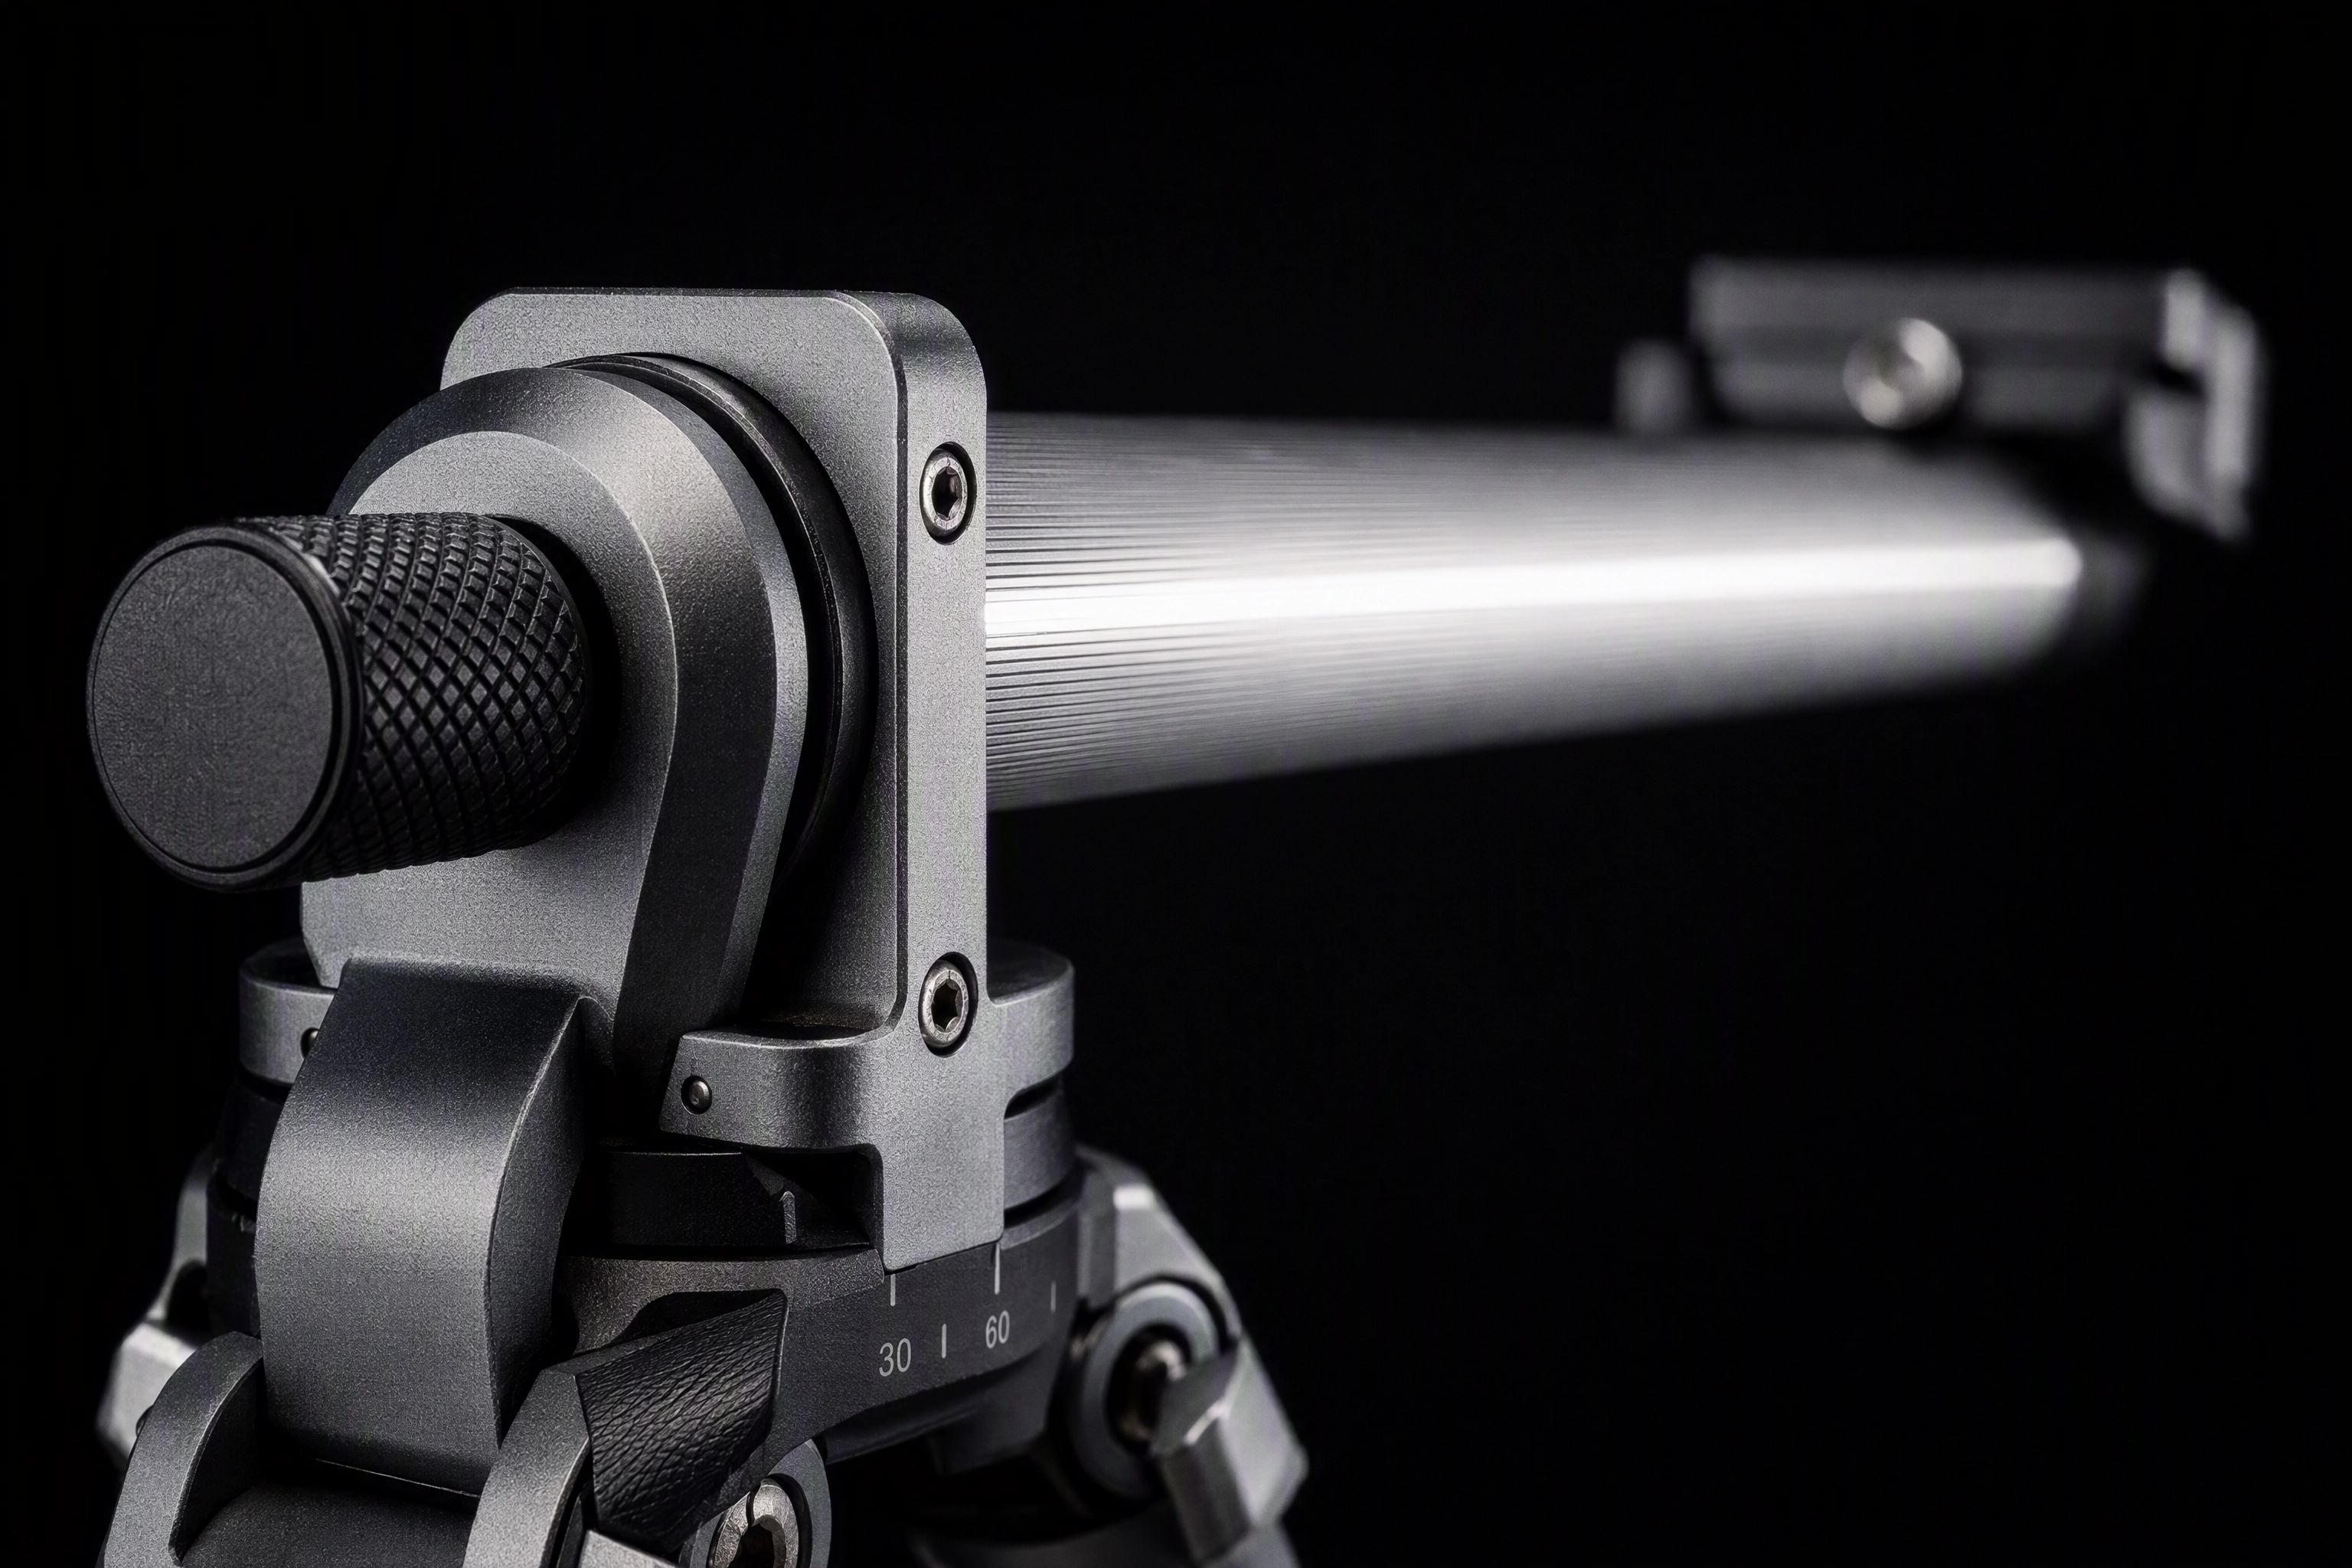 Macro detail of a tripod centre column locked horizontal at the collar hinge for overhead food shots
Some tripods let the centre column swing from vertical to horizontal, becoming a short built-in extension. The Manfrotto 190 and 055 families are the reference: the MT055XPRO3 carries 9 kg (19.8 lb), reaches 170 cm, and drops to 9 cm for low-angle work. Manfrotto's gear guide calls that column indispensable for shooting from above.
It is the cleanest single purchase and the usual answer to "which tripod for food photography should I buy" — and the wobbliest. Once the column goes horizontal, camera mass moves off-axis: the tripod becomes an unbalanced lever, and touching the shutter makes it ring. Four habits fix that:
- Point one leg directly under the load. Biggest gain available, and it costs nothing.
- Hang weight from the centre hook opposite: a camera bag, a $15 sandbag, a lot of tinned tomatoes.
- Never touch the camera mid-exposure. A 2-second self-timer minimum; a remote is better.
- Retract the column. Extension multiplies flex. Take height from the legs.
Tripods in this class run $200-350 new, under half that used.
2. A Lateral Side Arm on the Legs You Already Own
The cheapest upgrade path, and the one most people miss. A side arm clamps to the top of an existing column and offsets the camera away from the legs. The Manfrotto 131DB is the classic — 60 cm, 1.2 kg, 3/8" thread, with mounting points at both ends for a counterweight. Around $109, and it fits almost any legs.
The counterweight is not optional: with a body on one end and nothing on the other, the bar rotates under load however hard you crank it. It works for phones and compact mirrorless under about 1.5 kg, and fails with a full-size body and a macro on 60 cm of unsupported metal. The honest sum: $109 plus a $15 sandbag beats a $250 tripod if your legs are solid.
3. A C-Stand With a Boom Arm
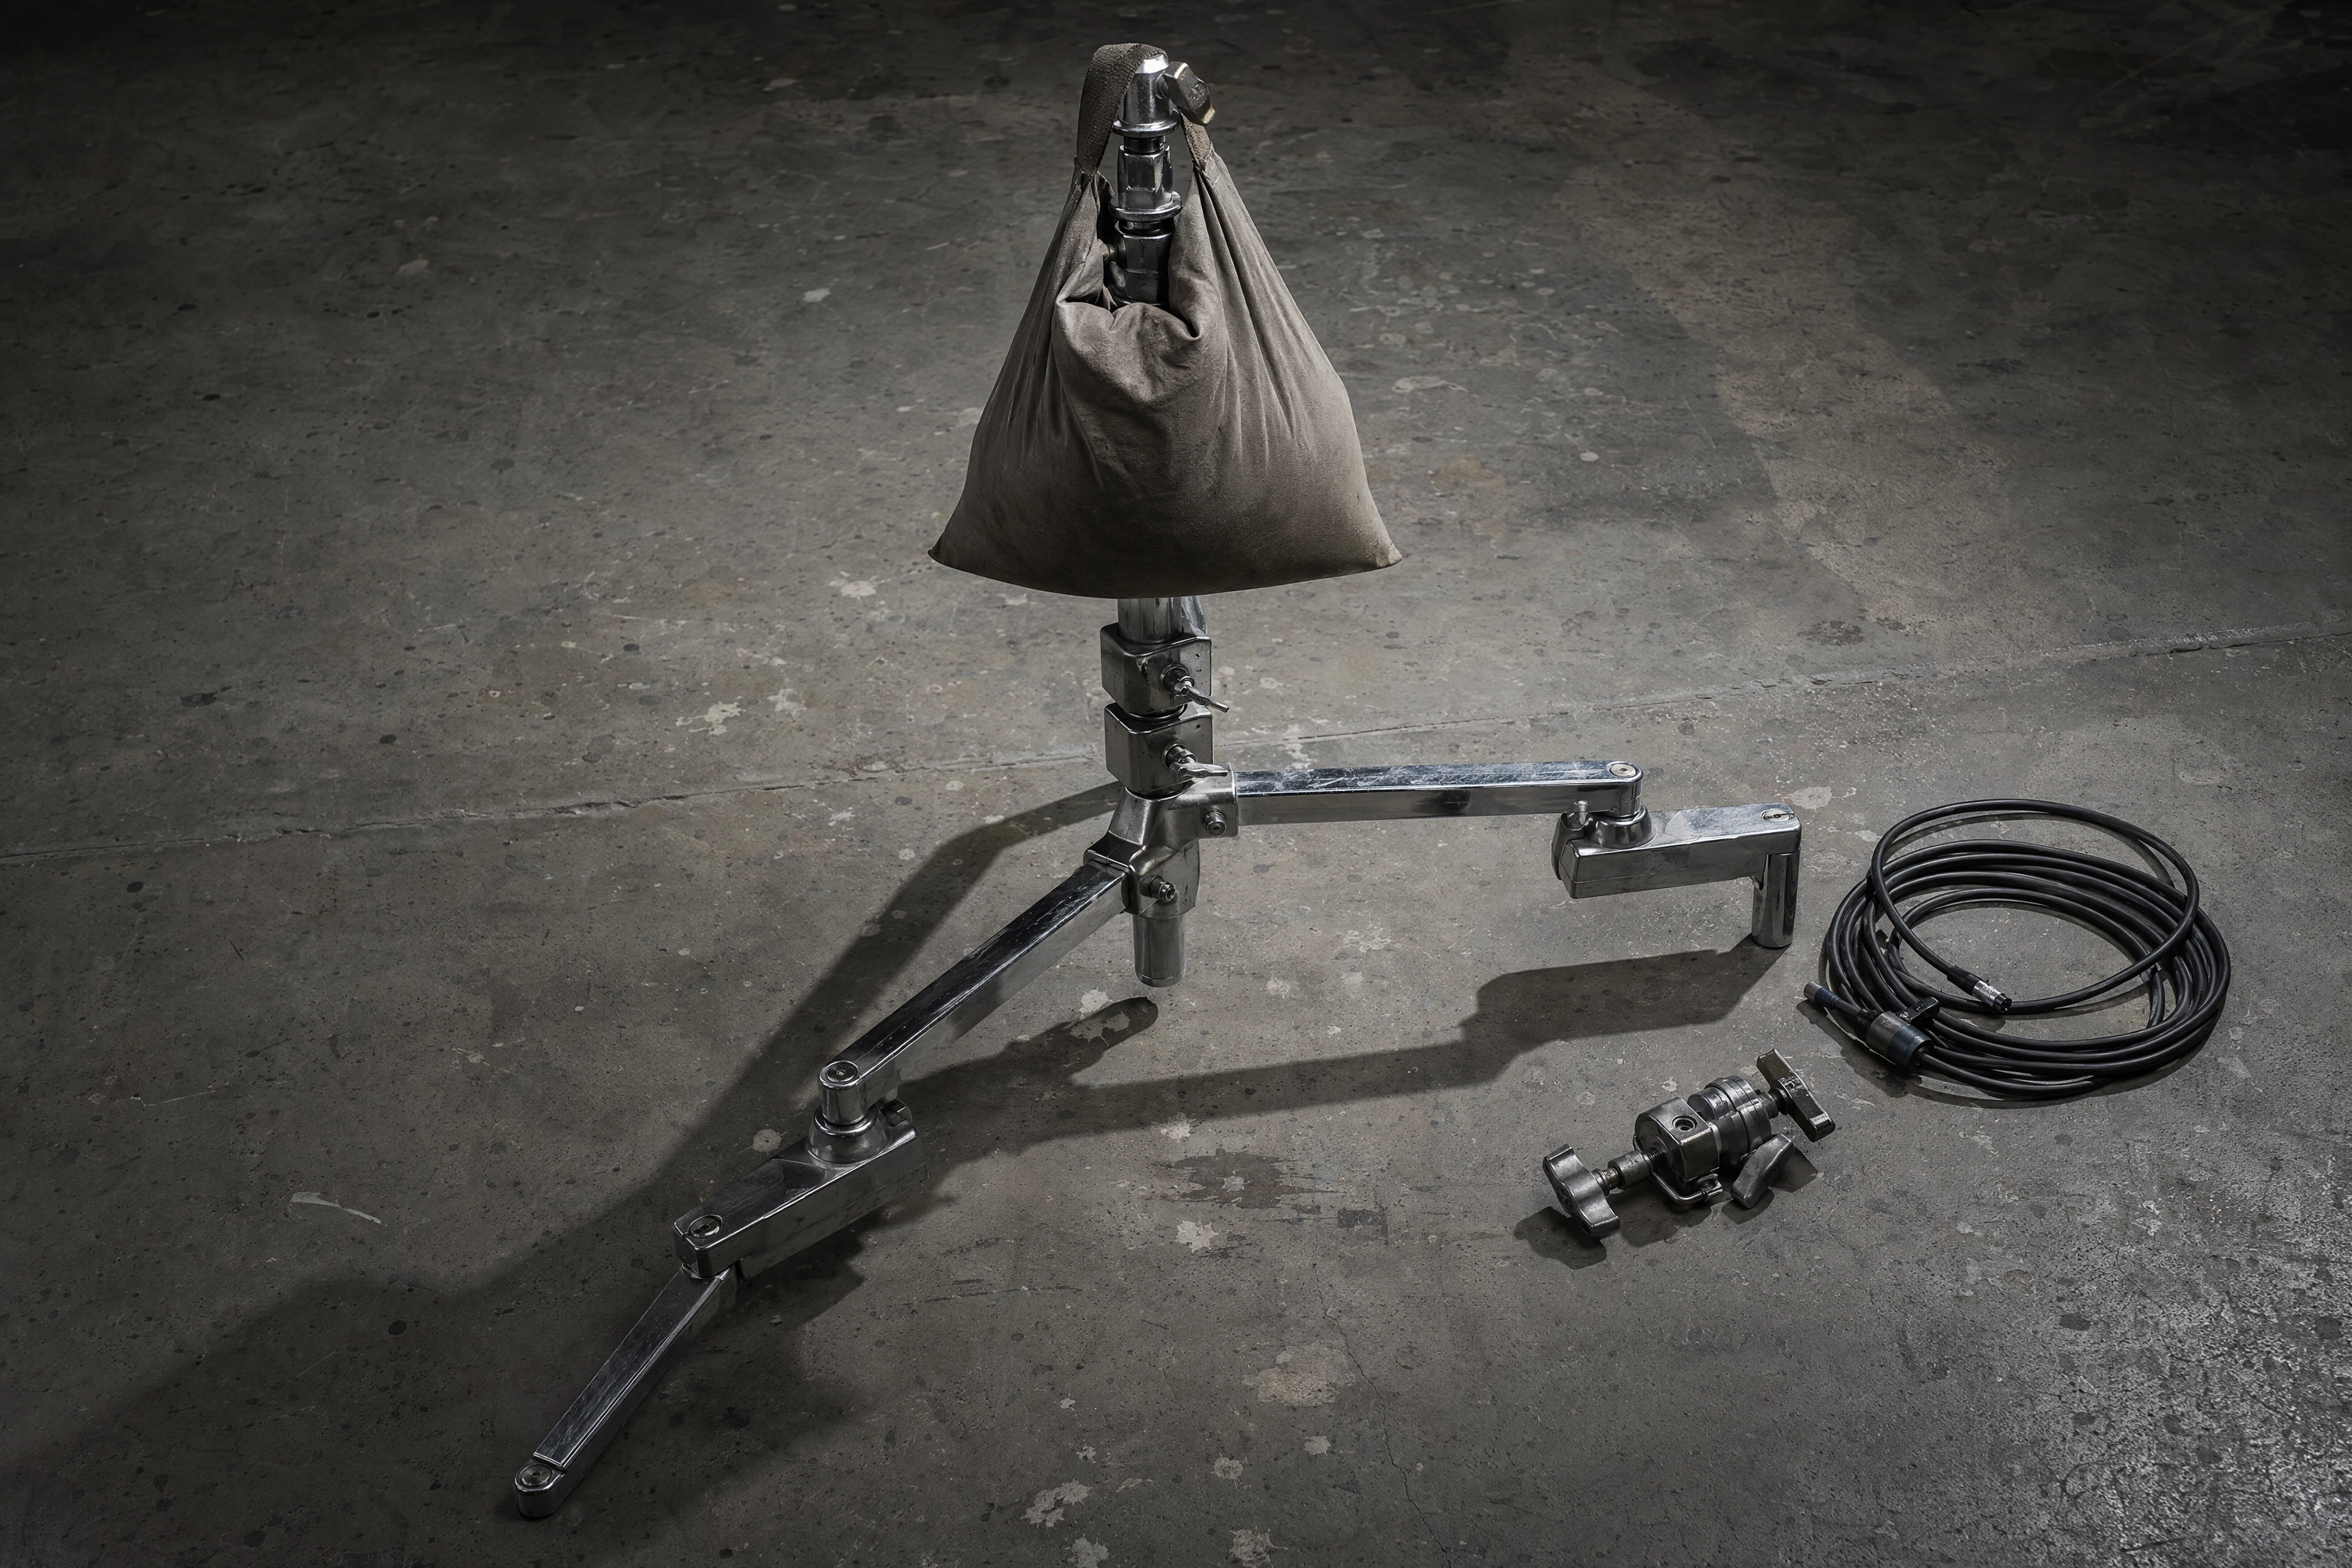 Chrome C-stand base with offset stacked legs and a sandbag weighting it down for overhead camera work
Walk onto a commercial set and the camera is rarely on a tripod. It is on a C-stand — century stand, named for the 100-inch reflector it once held.
The design solves the geometry outright: its legs stack at different heights and offset rather than splaying, so the base stands beside a table while a grip arm reaches over it. The Avenger A2033F is the standard — chrome steel, 22 lb payload, 52 to 129 inches, about $218 new and $130 used.
Two details most tutorials get wrong:
The sandbag goes on the tallest leg — the one you reach out over. The legs sit at different heights on purpose, so the load ends up above the widest part of the base. Go over a short leg and you have built a trebuchet.
The 40-inch grip arm in the kit is not a boom. It holds flags and reflectors; hanging a camera over a table needs a proper boom rated for it.
With a grip head, boom and two sandbags, a full rig lands near $350-450 — the last support you will buy.
4. A Fixed Rig for Repeatable Menu Work
Shooting a whole menu rather than one hero dish? Use a copy stand or fixed overhead rig: a camera locked to a vertical post above a baseboard, height set once. Nothing moves, so dish one and dish forty match exactly — you stop composing and start swapping plates. Across a menu photoshoot of forty items that is six hours turned into two.
Why a Tripod Earns Its Space Even at 45°
Sharpness is the obvious benefit. It is not the valuable one.
Forty Dishes That Have to Look Like One Set
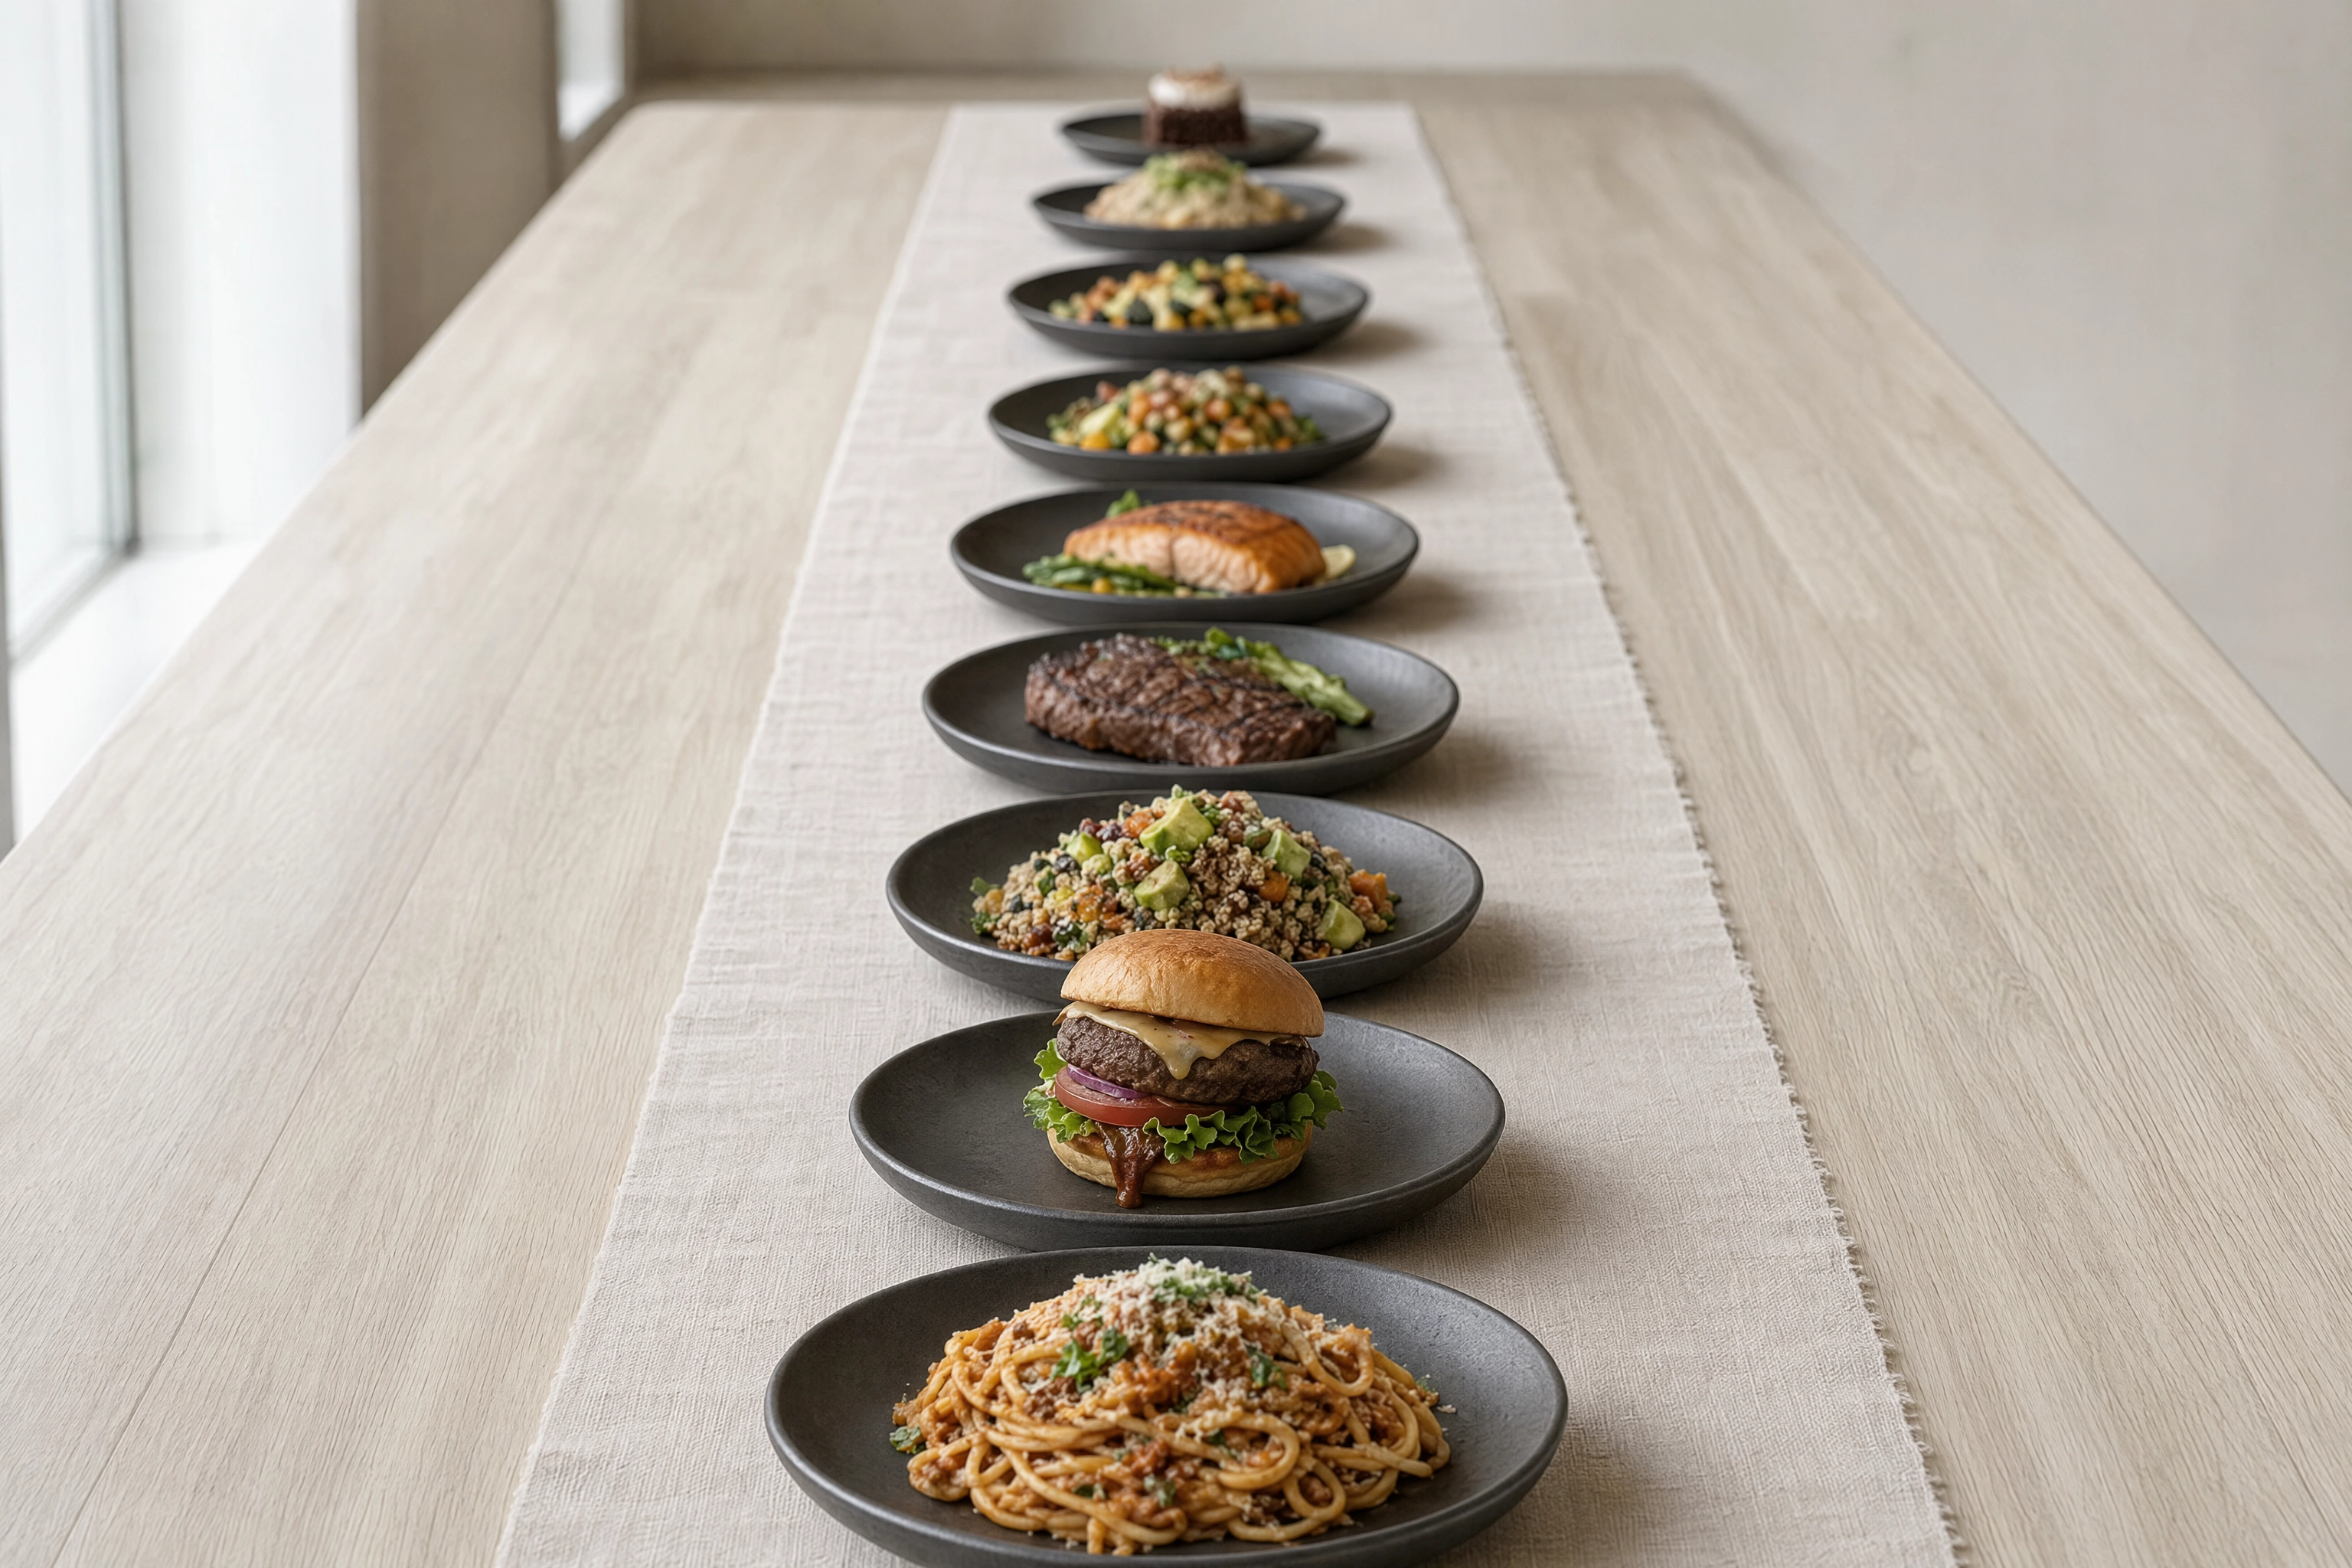 Nine dishes on identical plates lined up down a table showing consistent framing across a menu shoot
Scroll any delivery app menu. The sets that look professional are rarely the best-styled — they are shot from matching height, distance and angle, so the grid reads as one body of work.
Handheld, you drift: five centimetres closer on the pasta, ten degrees steeper on the salad, a different crop on the dessert. Nobody notices one photo; everybody notices the grid. That is among the most common delivery app mistakes, and it costs orders.
A locked camera removes the variable: frame once, tape the dish position, swap plates. A new special shot six weeks later drops into the set with no visible seam — worth a lot to cafes and kitchens changing the board weekly, and the logic behind our menu guide and restaurant walkthrough.
Slow Shutter Speeds in a Dim Dining Room
The reciprocal rule puts your handheld floor near 1 over the focal length — 1/100s on a 100mm lens, faster on a crop sensor. High-resolution sensors are less forgiving: tremor that looked sharp on a 12MP file shows as softness on a 45MP one.
Restaurants are dark. Shooting inside a working restaurant during service, handheld, you choose between ISO 6400 and blur. Using support you sit at 1/15s, or a full second, at base ISO. Image quality holds, and the file survives a crop to a square tile. Stabilisation buys a couple of stops but not a one-second exposure — which is what makes ambient window work practical. See our lighting guide.
The Head Matters More Than the Legs
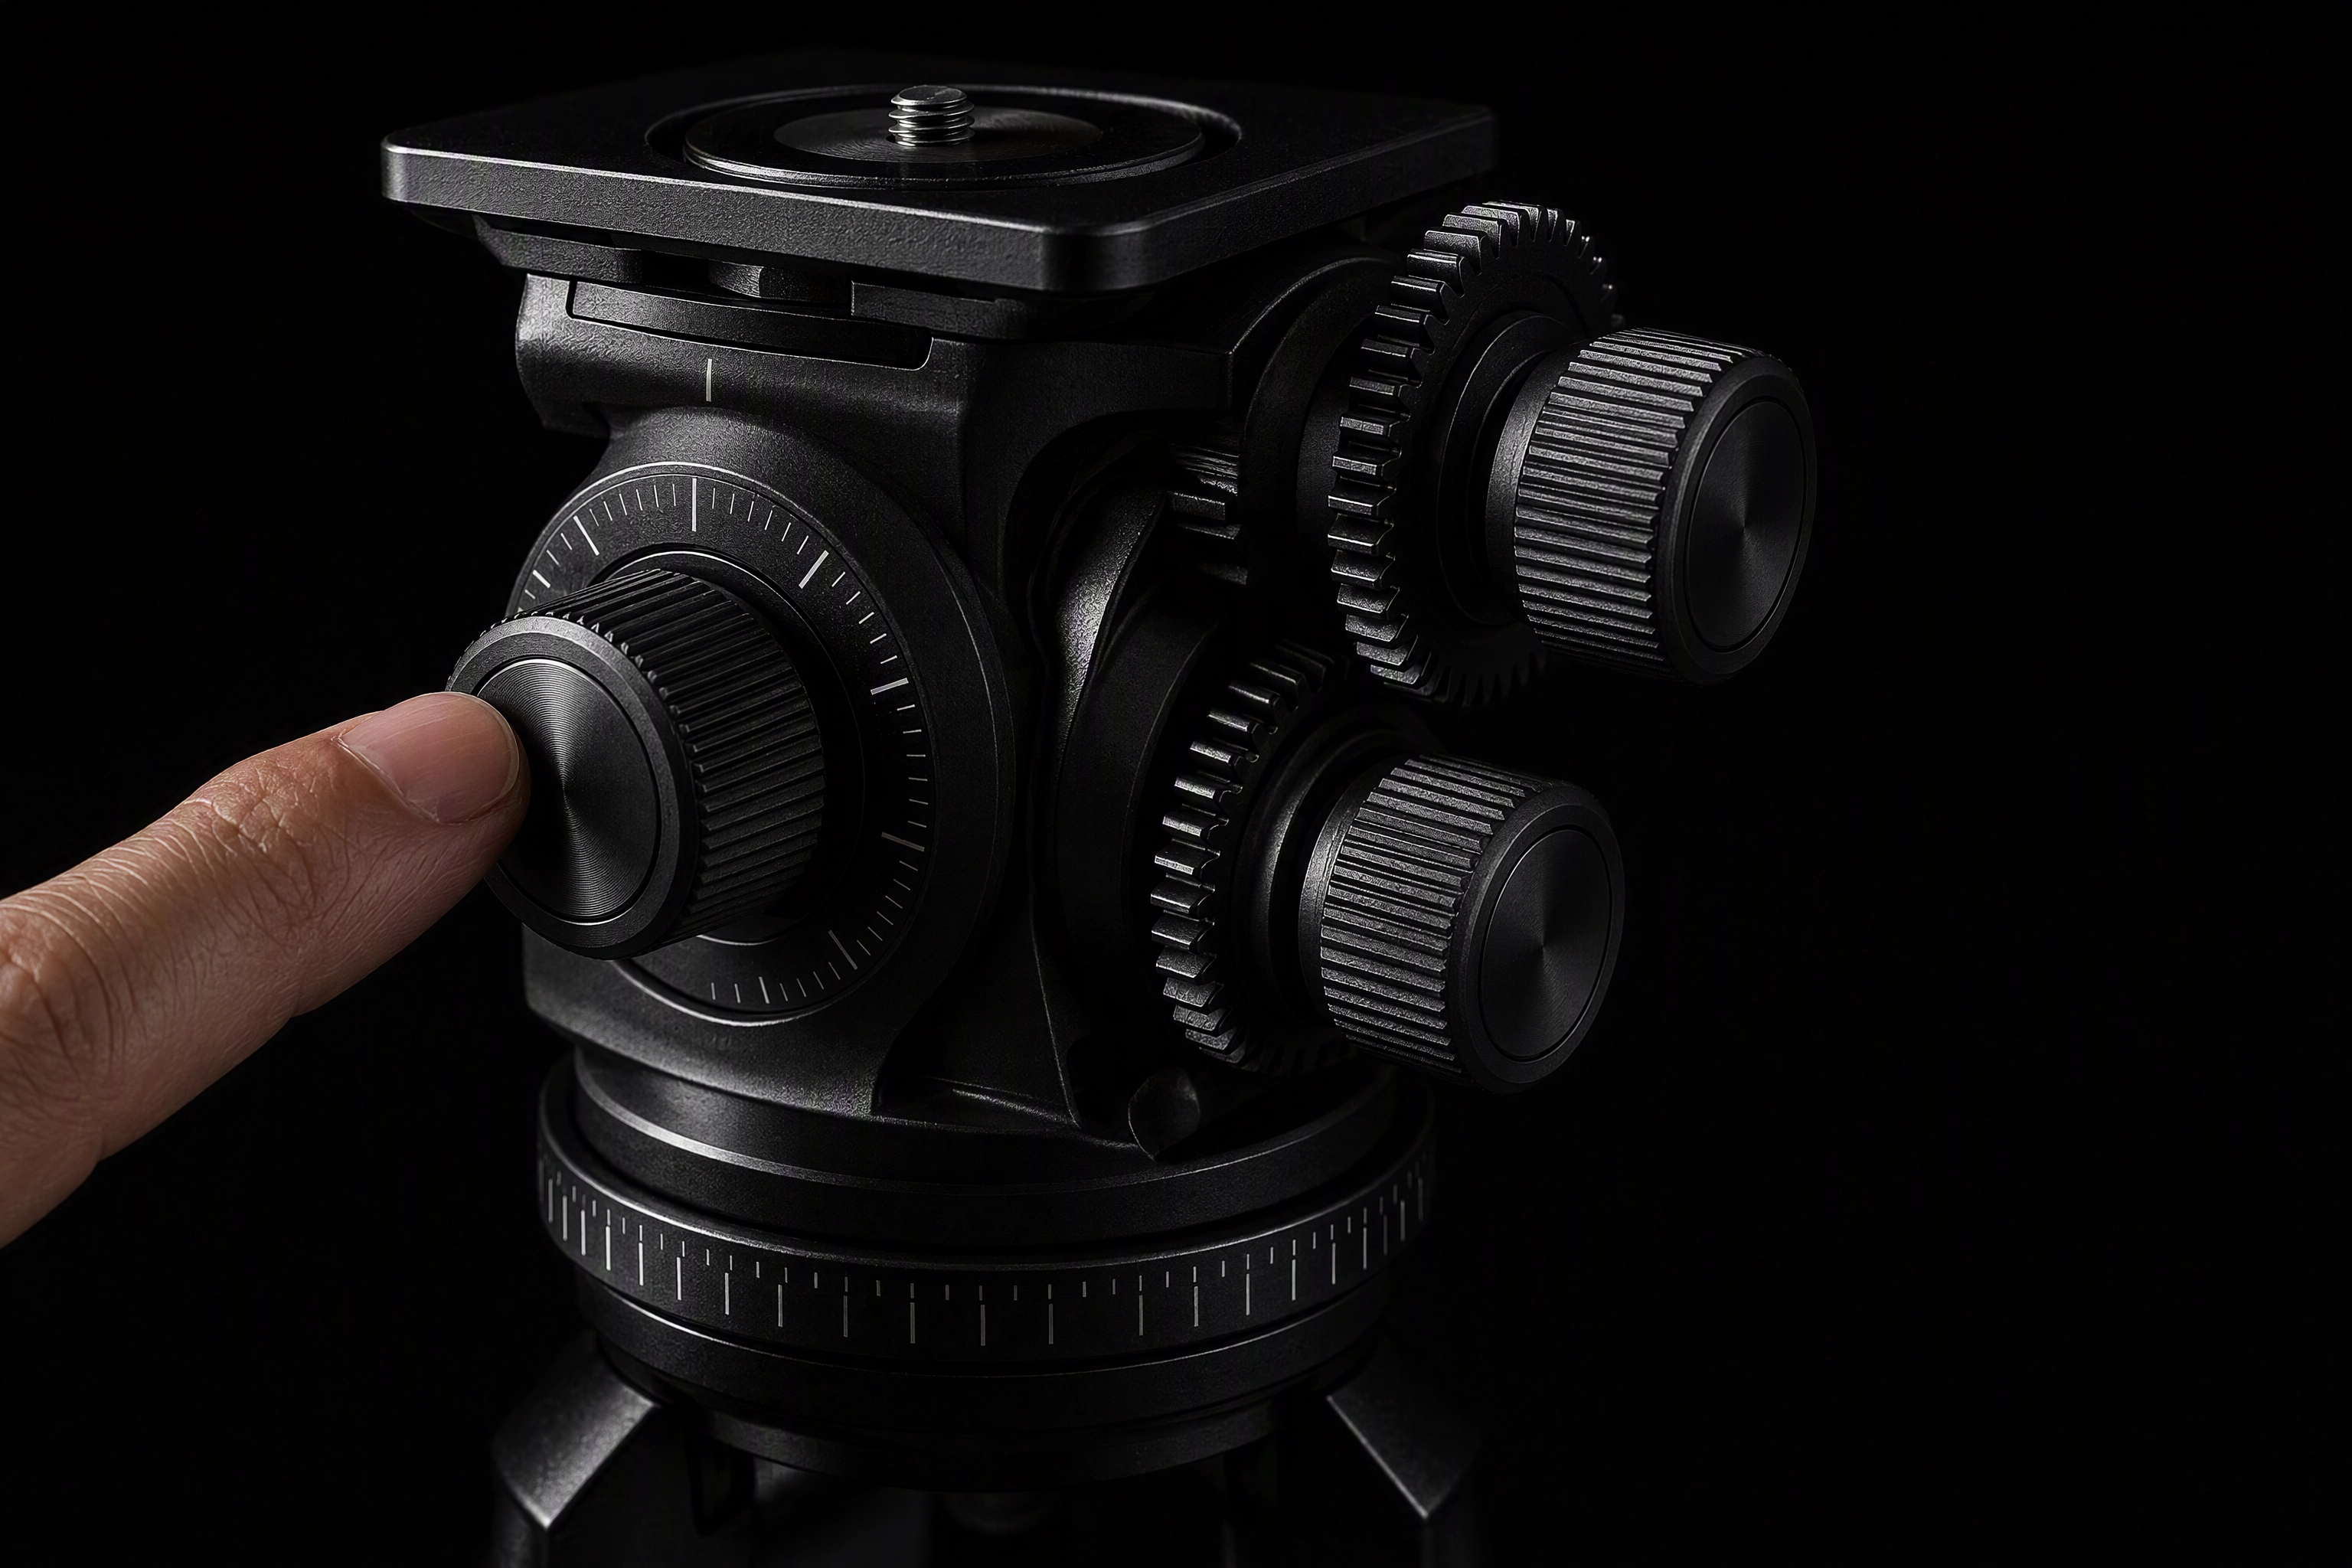 Geared tripod head with separate pan, tilt and roll knobs, the precise head choice for food photography
Most people spend the budget on legs and bolt a $30 ball head on top. On a tripod for food photography that is backwards.
A ball head is fast: loosen one knob and the camera goes anywhere. That freedom is the problem. You cannot change tilt without disturbing roll, and most sag as they lock — fine for landscapes, maddening when forty dishes must match.
A 3-way or geared head separates pan, tilt and roll onto independent controls. Set level once, then touch only the axis you need. The consensus on Photography Stack Exchange matches working sets: precision beats speed when a shot has to repeat.
Two things to check. Levelling: shooting down, a 2° tilt turns a round plate into an oval, so an electronic level is essential. Quick-release: Arca-Swiss plates move a body between legs, side arm and C-stand without tools.
The Best Tripod for Food Photography at Three Budgets
Most "best tripod for food photography" round-ups are funded by affiliate commissions, which is why they recommend the priciest thing on the page. Sometimes the cheap answer is correct, and no affiliate deal sits behind these.
Under $150: the Honest Starter
A K&F Concept or Neewer aluminium tripod with a rotating multi-angle column rated for 8-10 kg. K&F's tripod range includes 76-inch and 90-inch models with removable booms swinging 0-180°, working for a phone or compact mirrorless at a fifth of the premium price. What you give up: plastic-heavy locks, a column that creeps, visible flex past a kit lens.
It is not the tripod food professionals use, but it gets you shooting. Two tips: check the used market for older aluminium legs, which sell under $150 and outlast anything new here, and buy a $15 sandbag first.
$150 to $400: What Most Food Photographers Should Buy
Two routes. One: Manfrotto 190 or 055 aluminium legs with the 90° column plus a 3-way head, roughly $250-400 all in — rigid enough for a full-frame body and a macro, low enough for dish level, still working in fifteen years. Two: keep your legs and add the 131DB side arm plus a sandbag, about $125.
If your support is already stable, route two is the smarter spend and leaves money for props and surfaces, which change images more than legs do. This is where a tripod for food photography stops being a compromise.
$400 and Up: the Repeatable Studio Setup
A C-stand, a real boom, two sandbags, a geared head and a tether cable — roughly $450-600, less with used steel. Professionals own this and a tripod; they are not alternatives. The C-stand handles top-down and awkward offsets; legs handle 45° and straight-on, pack down, and travel. A home studio built for regular commercial work ends with both — though under twenty images a month, a wobbly tripod you carry beats a perfect C-stand in a cupboard.
The Flat-Lay Setup Checklist
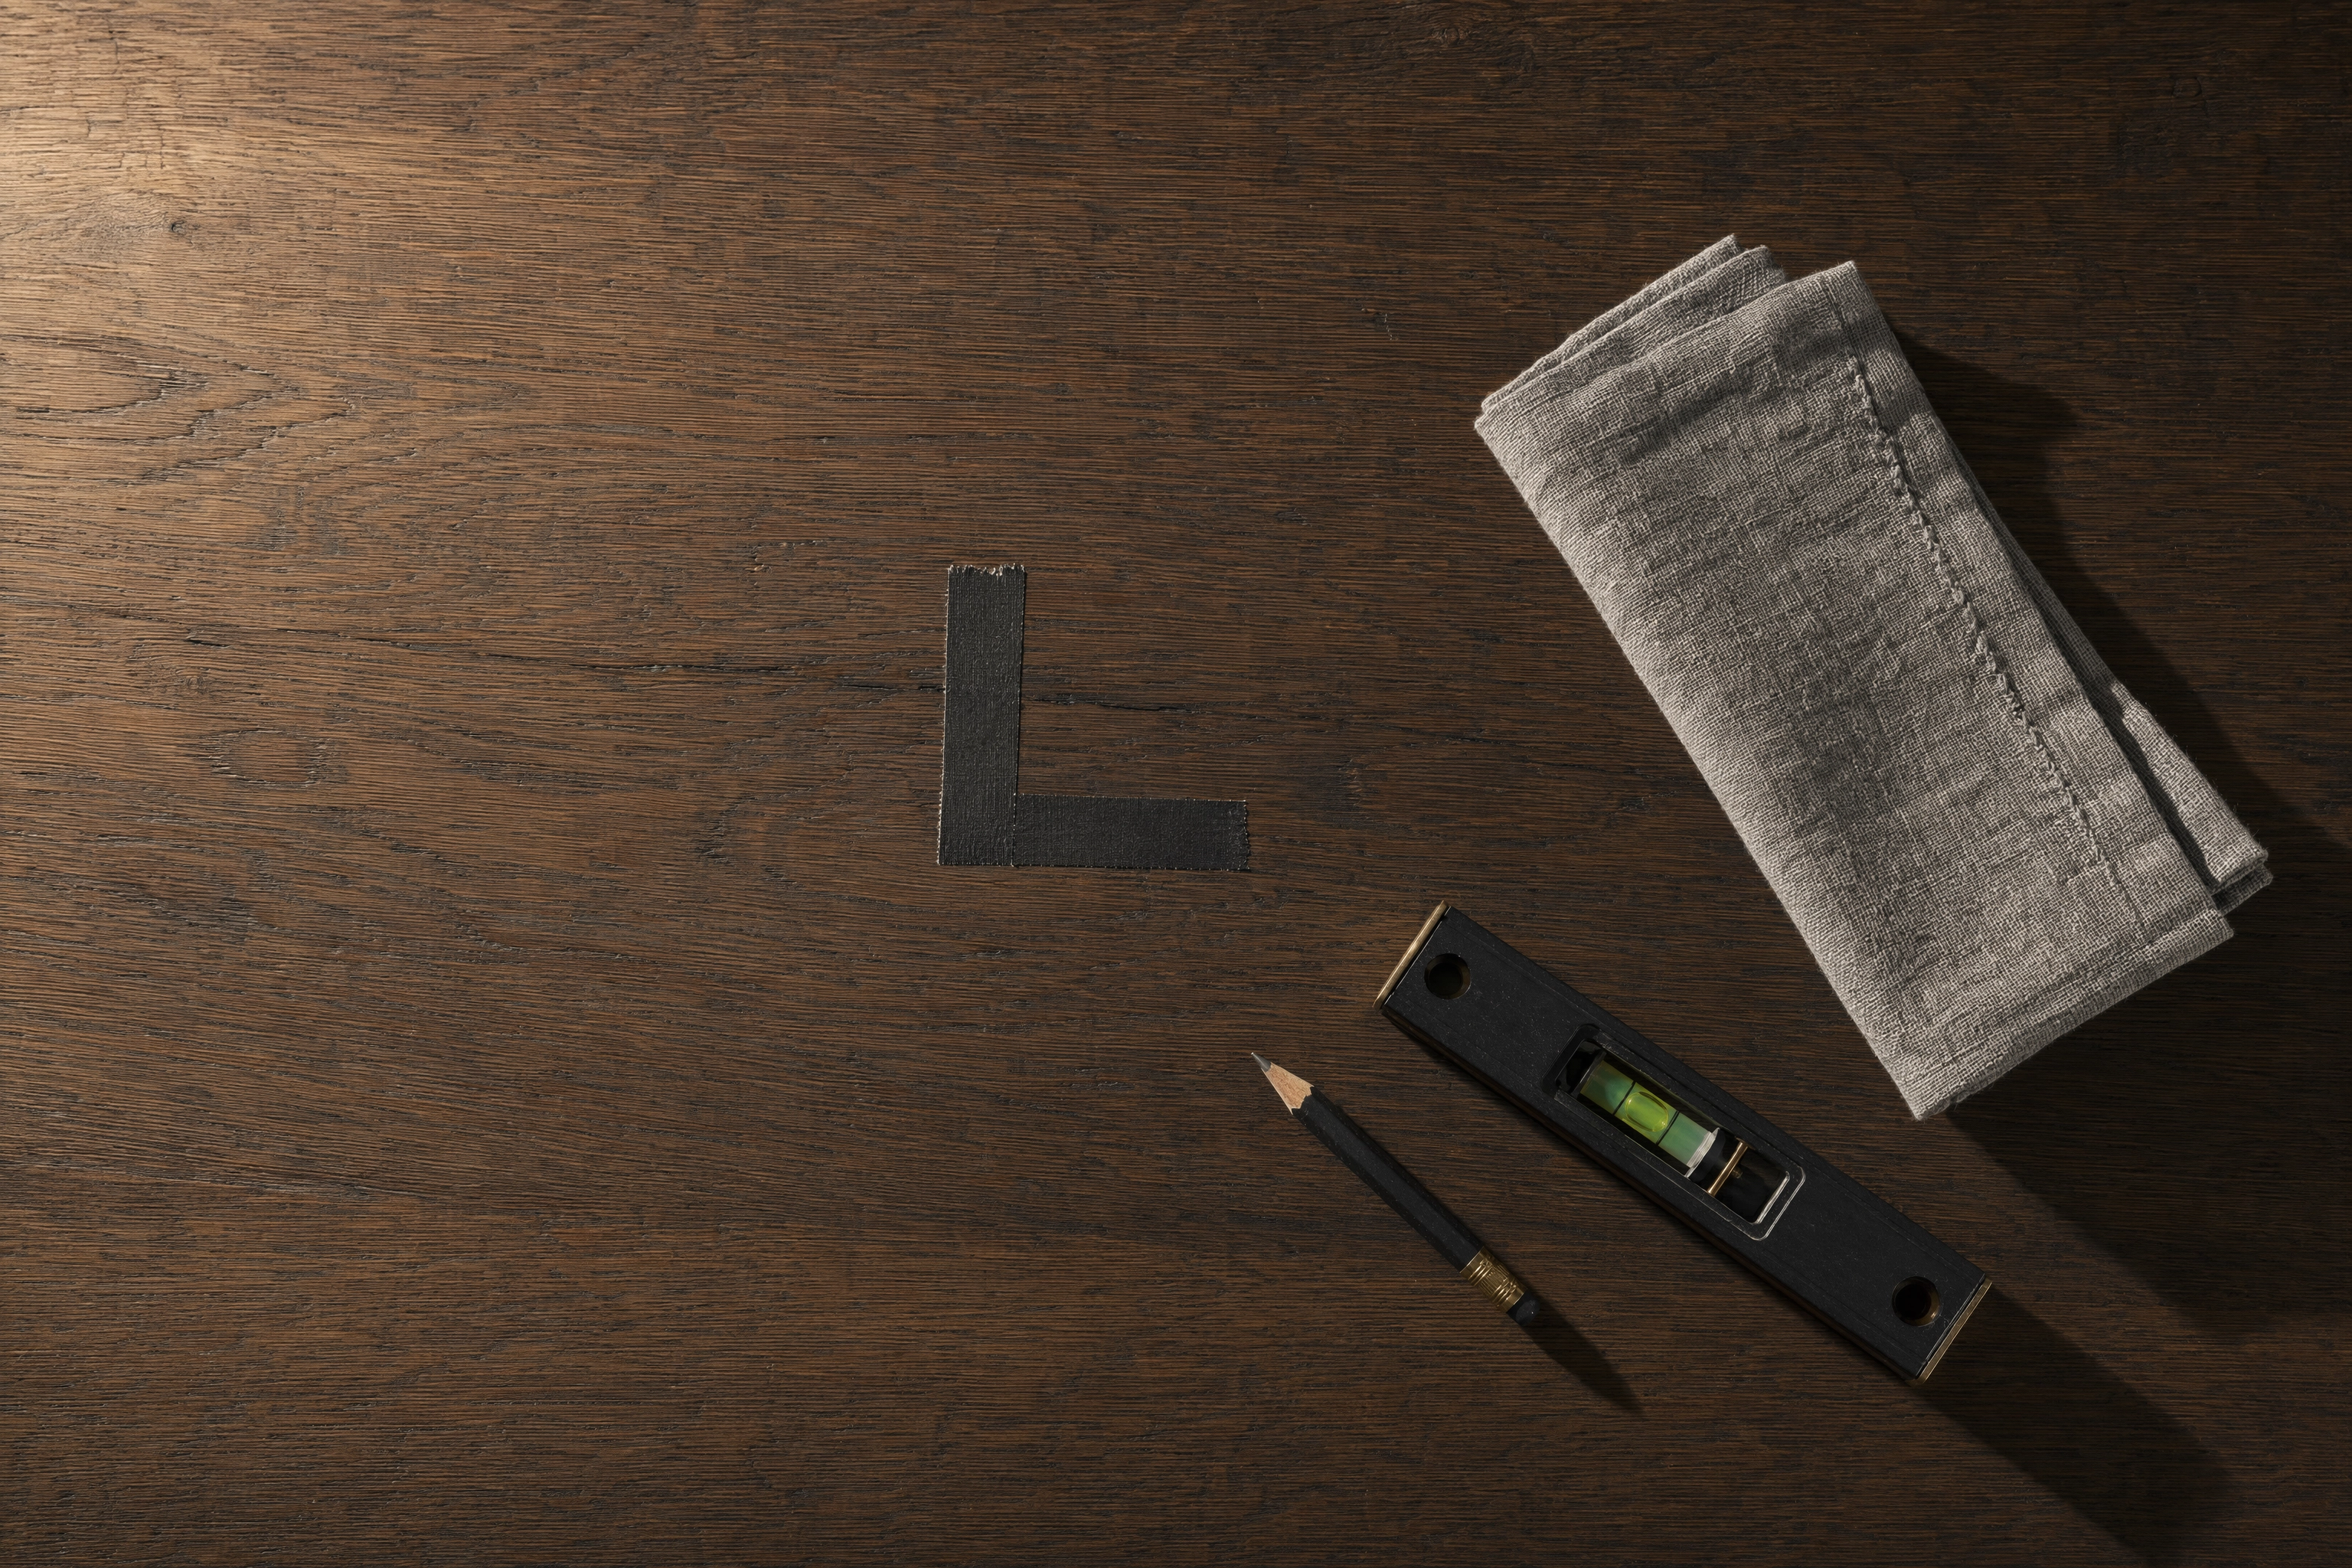 Gaffer tape register marks on a table for repeatable plate placement in overhead food photography
Run this once and any tripod for food photography setup repeats itself all session.
- Sandbag first, camera second. Weight the base before anything expensive goes out on the boom.
- Set height using the legs. Extend the column last, and only as far as you must.
- Level in two axes. Use the in-camera level, not the tiny bubble, and recheck after tightening.
- Tape the dish position. Two strips of gaffer tape where the plate sits — what makes dish forty match dish one.
- Kill the touch. Self-timer, remote or tether, using enough cable slack that nothing pulls the rig.
- Shoot one reference frame, compare every later frame to it, and recheck level after any move.
Skipping step four is why most menu sets look subtly off.
What a Tripod Fixes, and the Three Things It Doesn't
Four variables sit between a phone snap and a menu-ready image:
- Camera stability — sharpness and repeatable framing.
- Light — direction, softness, whether the dish has dimension.
- Styling — plating, garnish, the shape of a sauce.
- Surface and background — what the dish sits on and what is behind it.
A tripod for food photography solves the first completely and permanently: one purchase, no ongoing cost, no skill curve beyond a checklist. That is why it is the first serious equipment most people buy.
The other three recur forever. Whatever a dining room gives you is what you get. Styling is a craft — read what a stylist does and you will see a whole profession. Backgrounds mean owning and storing surfaces, as our staging walkthrough shows.
That gap is what AI food photography is built for. Once a shot is stable and sharp, FoodShot AI restyles the light, surface and presentation from that frame, including 200+ styles across delivery, menu and fine-dining looks, at 2K in about 2 minutes. The tripod handles the physics; the software handles the art direction — which is why content creators and kitchens use both. We sell no gear; the comparison against traditional kit sits in our equipment guide on the blog, and pricing starts at $15/month.
Order matters: restyling a blurred, crooked photo returns a blurred, crooked photo in nicer colours. Ultimately stability comes first — the whole argument for owning a tripod for food photography at all.
Frequently Asked Questions
What is the best tripod for food photography if I only shoot flat lays?
Buy a C-stand with a boom arm — about $220, plus boom and sandbags. The offset base never puts a leg in frame. For one piece of equipment that does top-down and everything else, a Manfrotto 190 or 055 with the 90° column is the tripod food photographers land on.
Do I need a tripod for food photography if I shoot on a phone?
Yes — arguably more than a camera user does. Phone sensors are small, and night mode stacks frames, which only works cleanly when the phone is still. A phone clamp on a side arm costs under $30 — including a sandbag, that is the cheapest quality upgrade available. Threads on r/foodphotography agree.
Is a ball head or a 3-way head better for food photography?
A 3-way or geared head, in almost every case. The work is slow and repetitive: set an angle once, hold it across many dishes. Ball heads move 3 axes at once and settle as they lock, making matching frames tedious. Keep the ball for handheld shots.
Can a travel tripod handle overhead food photography?
Only with a phone or a very compact body. Travel legs are built to be minimal, and low mass is exactly wrong when the camera hangs off-axis. If that is what you own, extend the legs but not the column, hang a bag from the hook, and keep the lens short — the answer given on the forums too.
Do I need a C-stand, or is a horizontal column enough?
A horizontal column is enough if you shoot occasionally, use a compact body, and are willing to sandbag. It stops being enough when you shoot menus regularly, use heavy glass, or need the camera in the same position tomorrow. Most working food photographers own both: tripods and stands solve different halves of the job.